Enhancing your employees' phishing defense capabilities is crucial in today's evolving threat landscape. By integrating our PHISH Reporter with Microsoft Entra (formerly Azure AD), you can significantly boost your ability to respond to and mitigate phishing threats across your entire organization. This document guides you through creating and registering an application in Microsoft Entra, enabling PHISH Reporter to act on your users' inboxes.
Key Benefits
Empowered Threat Response: Automatically search for and manage similar emails across all user inboxes within your organization using custom rules. This enables swift, organization-wide action against identified phishing threats.
Rapid Mitigation: Quickly neutralize threats by moving suspicious emails to designated folders or deleting them, reducing the risk of further exposure.
Centralized Management: Manage email rules and actions from a single platform, ensuring consistency in your phishing response strategy.
Scalability: Effortlessly apply protective measures across your organization, regardless of size.
Time Efficiency: Dramatically reduce the time and effort required to manually search for and remove phishing emails.
Improved Security Posture: Proactively protect users by swiftly addressing identified threats.
Feature Requirements
To enable our Mailbox Threat Removal, it's necessary to establish a secure, authorized connection between our platform and your Microsoft 365 environment. This is achieved by creating and registering an application in Microsoft Entra. Here's why this step is crucial:
Authentication: The registered application serves as an identity for PHISH Reporter within your Microsoft environment, allowing for secure authentication.
Authorization: By registering the application, you precisely control what permissions and access levels are granted to our platform, ensuring it only has the necessary rights to perform its functions.
Security: This method adheres to OAuth 2.0 standards, providing a secure way to grant access without sharing user credentials.
Auditability: All actions performed by the registered application can be logged and audited, providing transparency and accountability.
Compliance: This approach aligns with best practices for third-party integrations, helping maintain compliance with various security standards and regulations.
Revocability: If needed, you can easily revoke or modify the application's permissions, maintaining full control over the integration.
By following the steps in this guide, you can create and register an application in Microsoft Entra, enabling PHISH Reporter to create rules and take actions that significantly enhance your organization's defense against phishing threats.
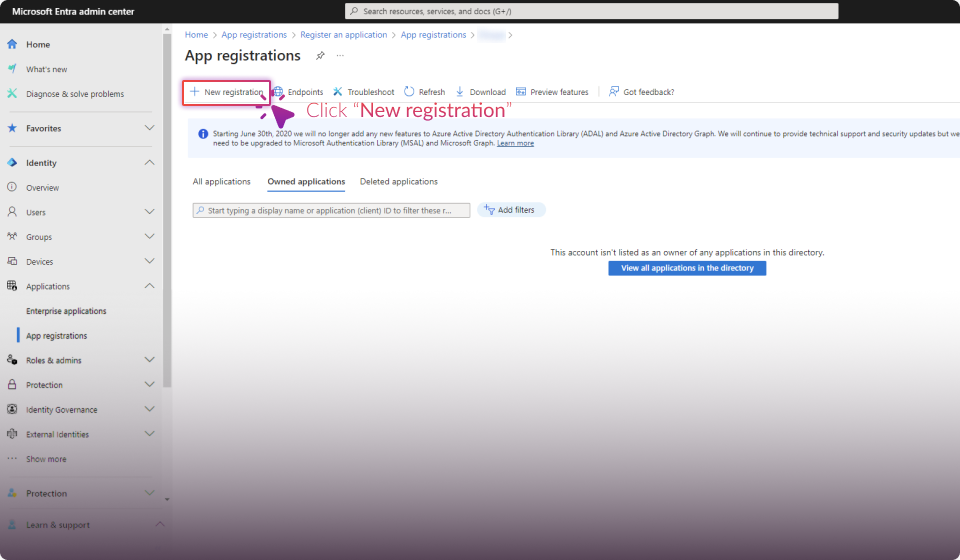
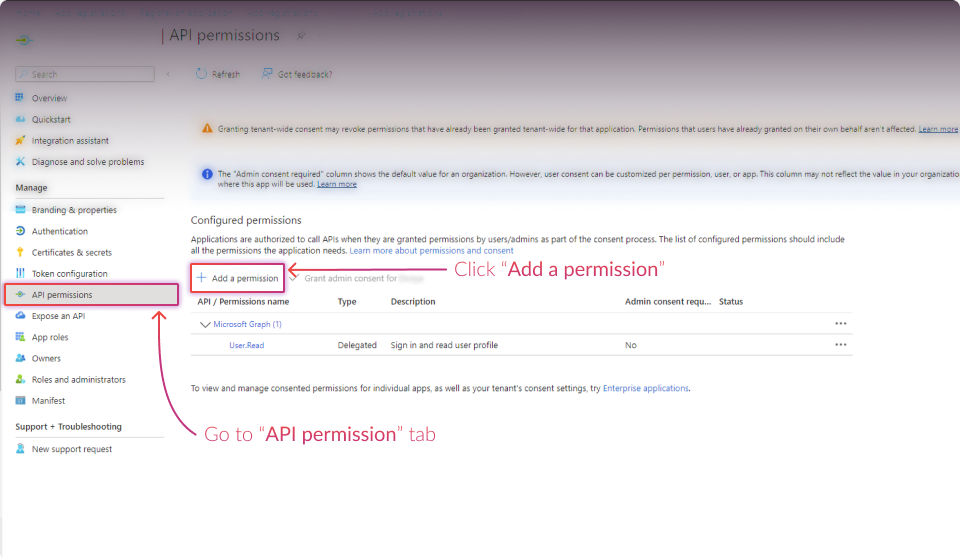
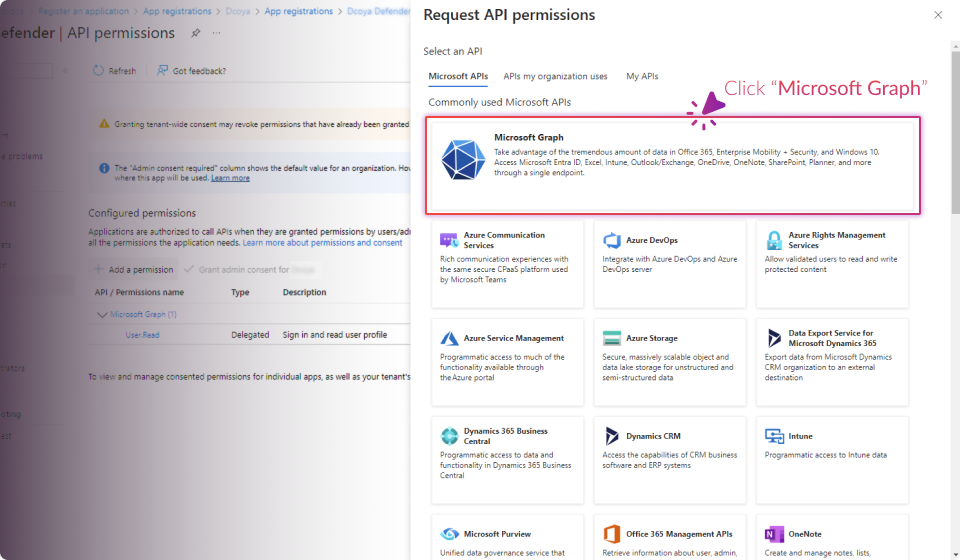
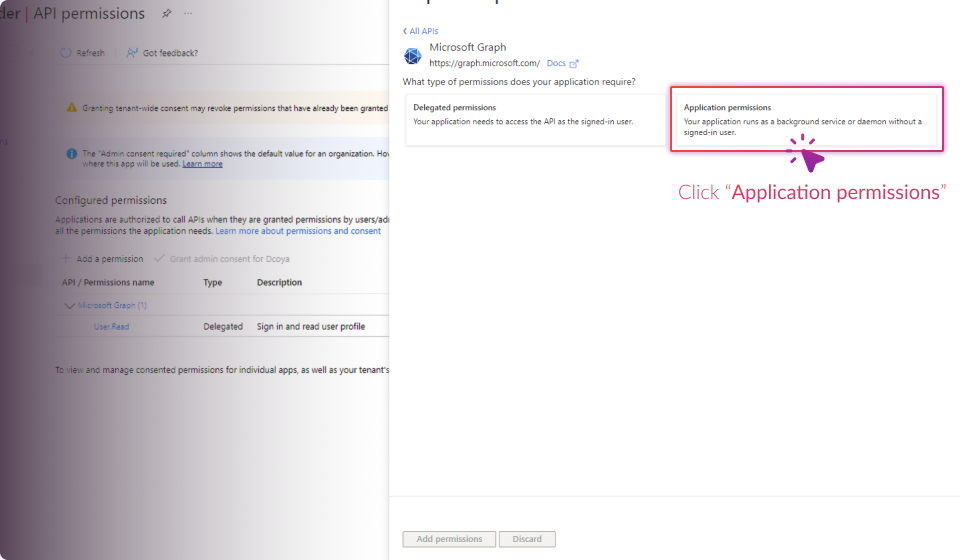
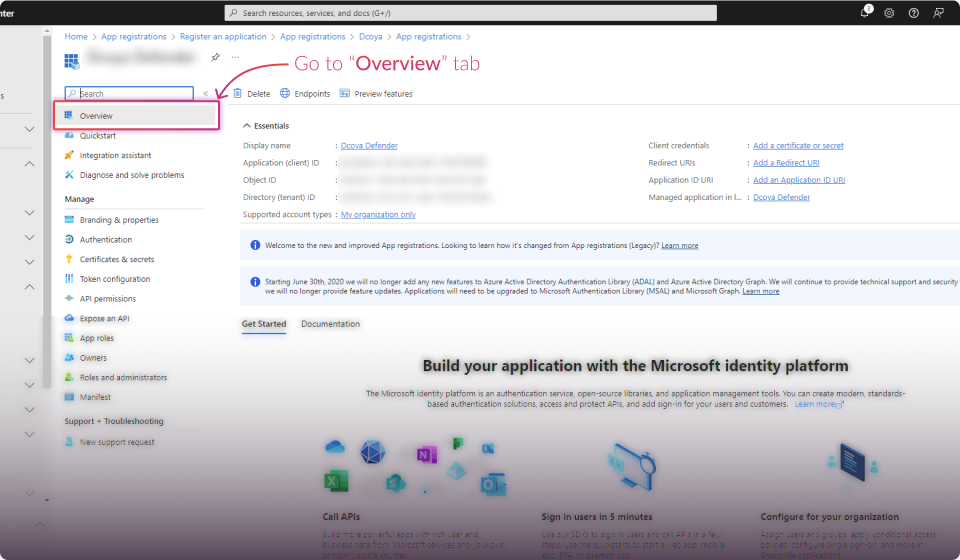
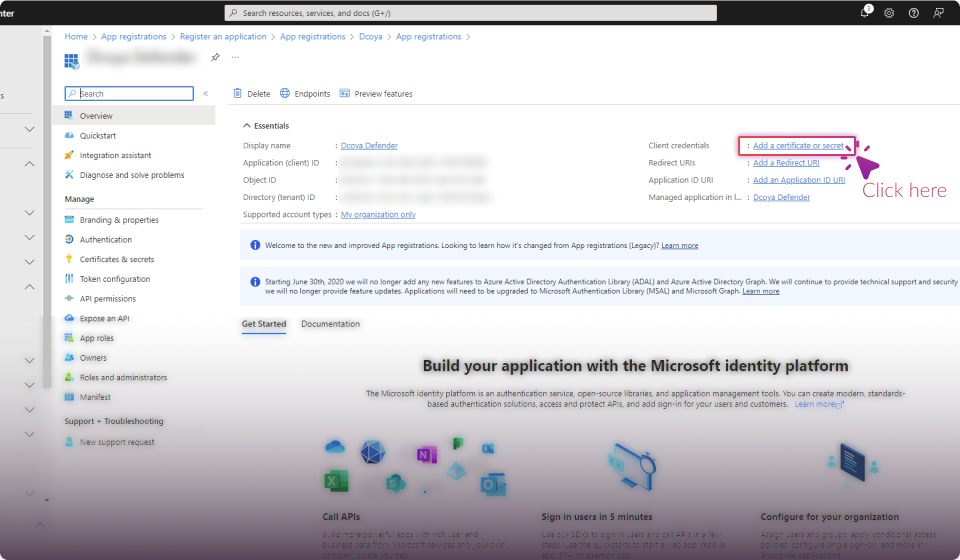
Configuring the Microsoft Entra Application
The following steps must be completed in https://entra.microsoft.com/ for the Mailbox Threat Removal feature to function optimally.


Establish Connection:
Click the "Connect" button.

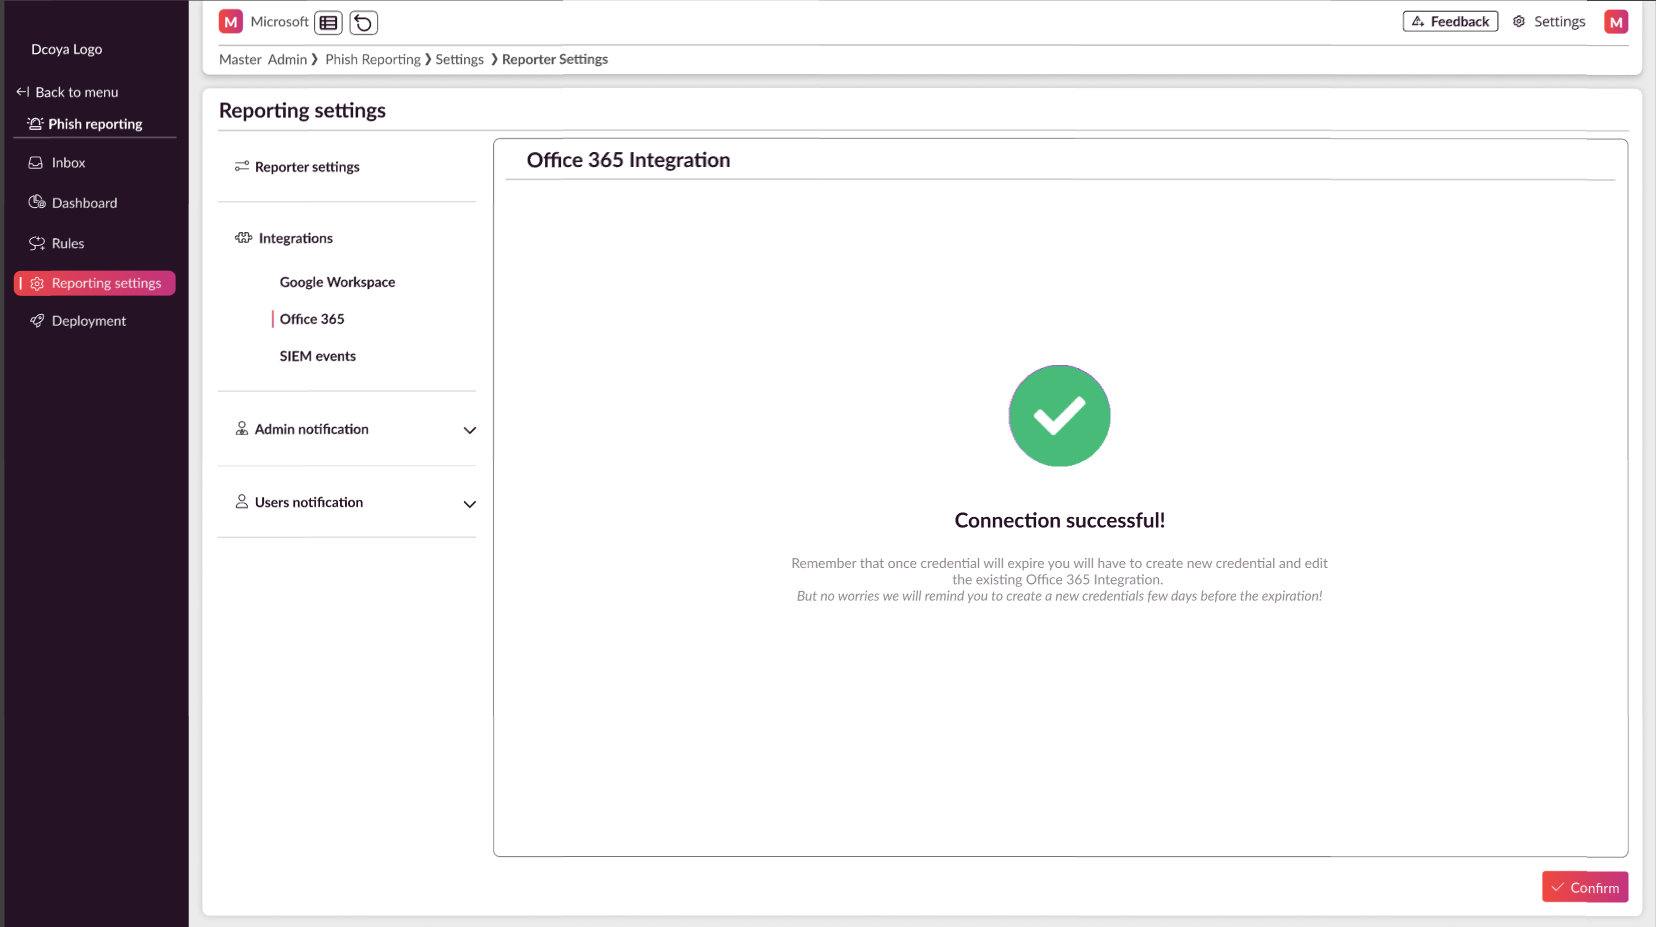
Verify Connection:
If successful, you'll see a "Connection Successful" message on the next page.
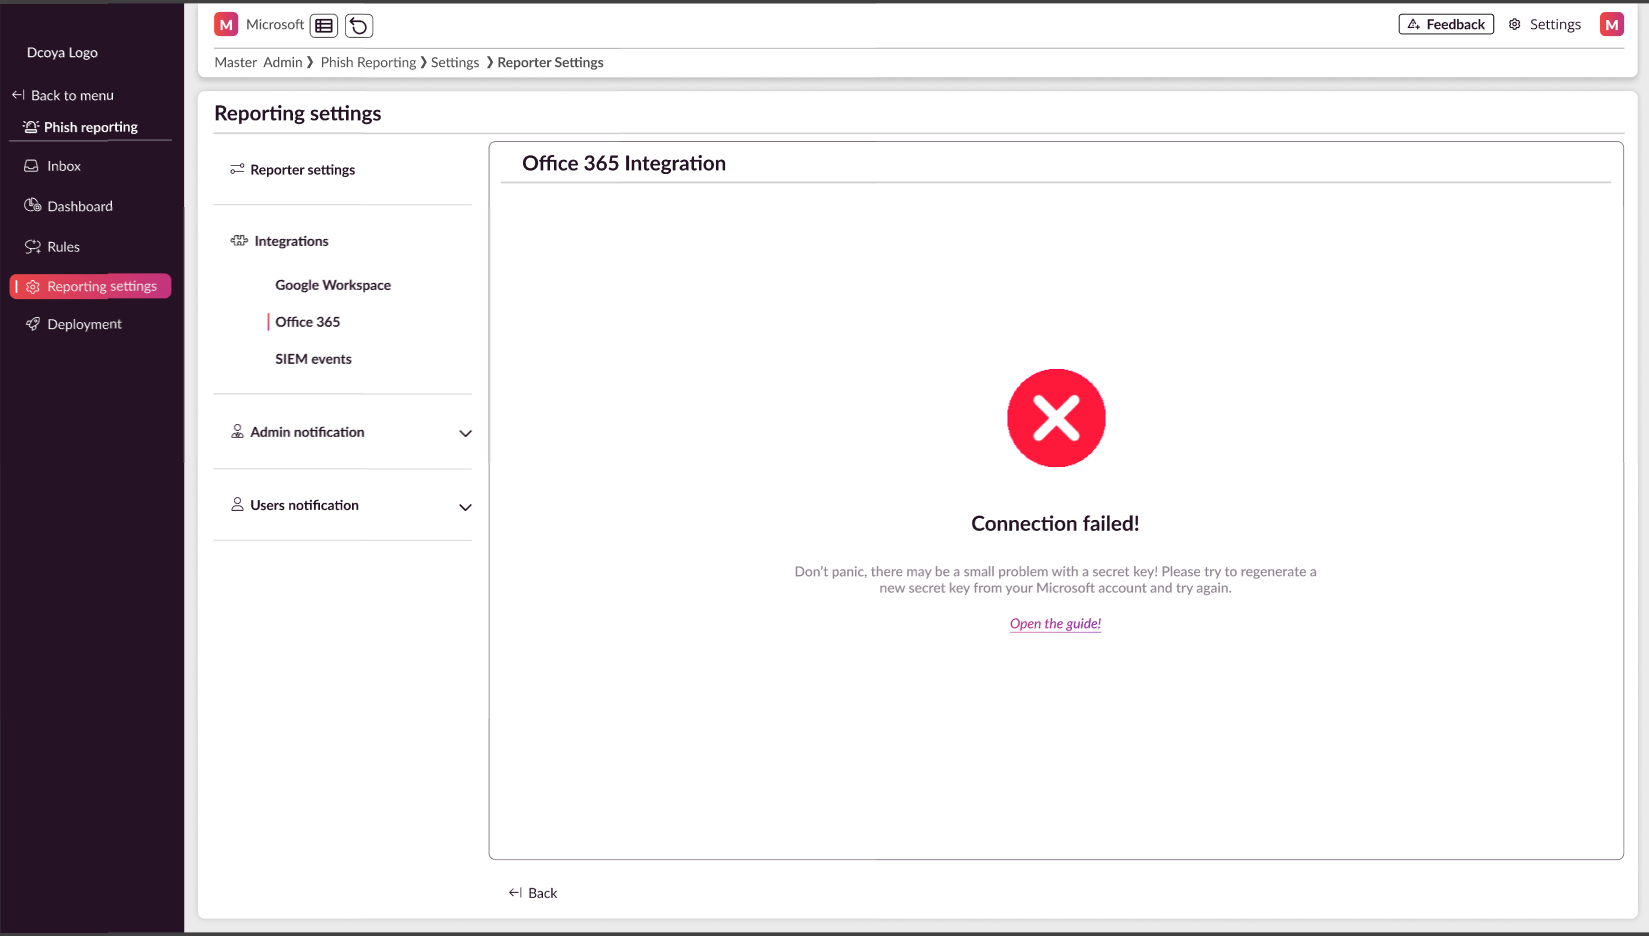
Troubleshooting:
If the connection fails:
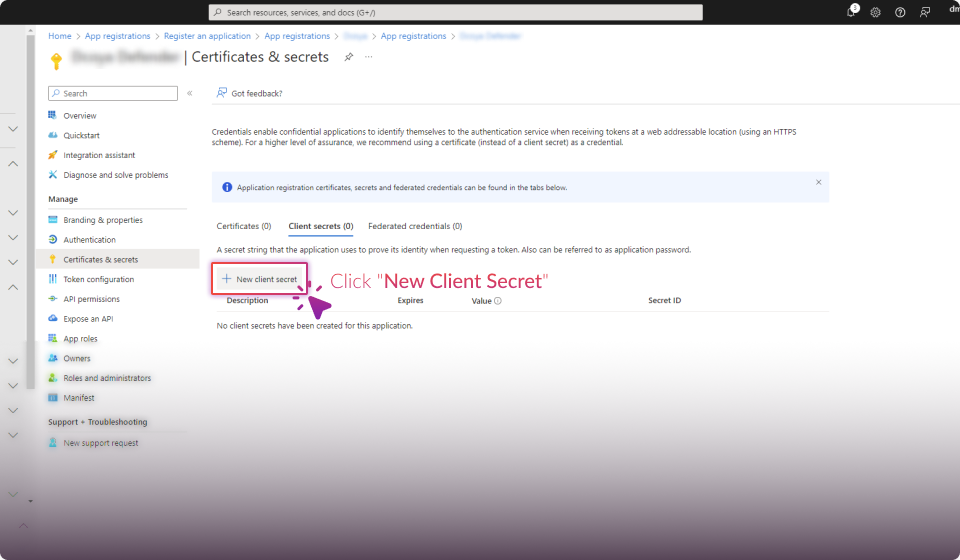
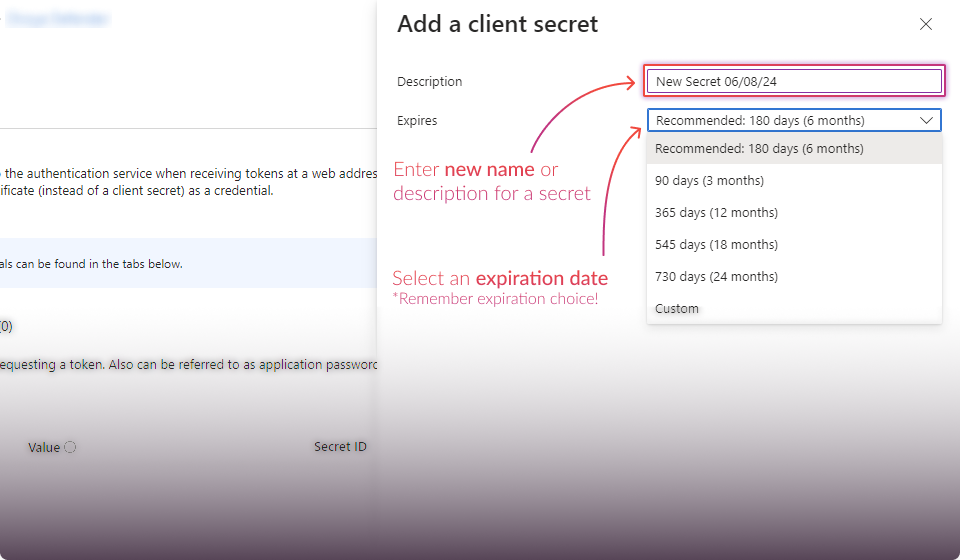
a) Try regenerating a new secret key (you don't need to create new Client ID and Tenant ID).
b) Attempt to reconnect using the new secret key.
If connection still fails:
a) Create and register a new application in Microsoft Entra.
b) Set up the connection again using the new application details.
Remember, maintaining an active connection is crucial for the continuous functionality of the phishing report button in your Microsoft 365 environment.
PHISH Reporter Rules
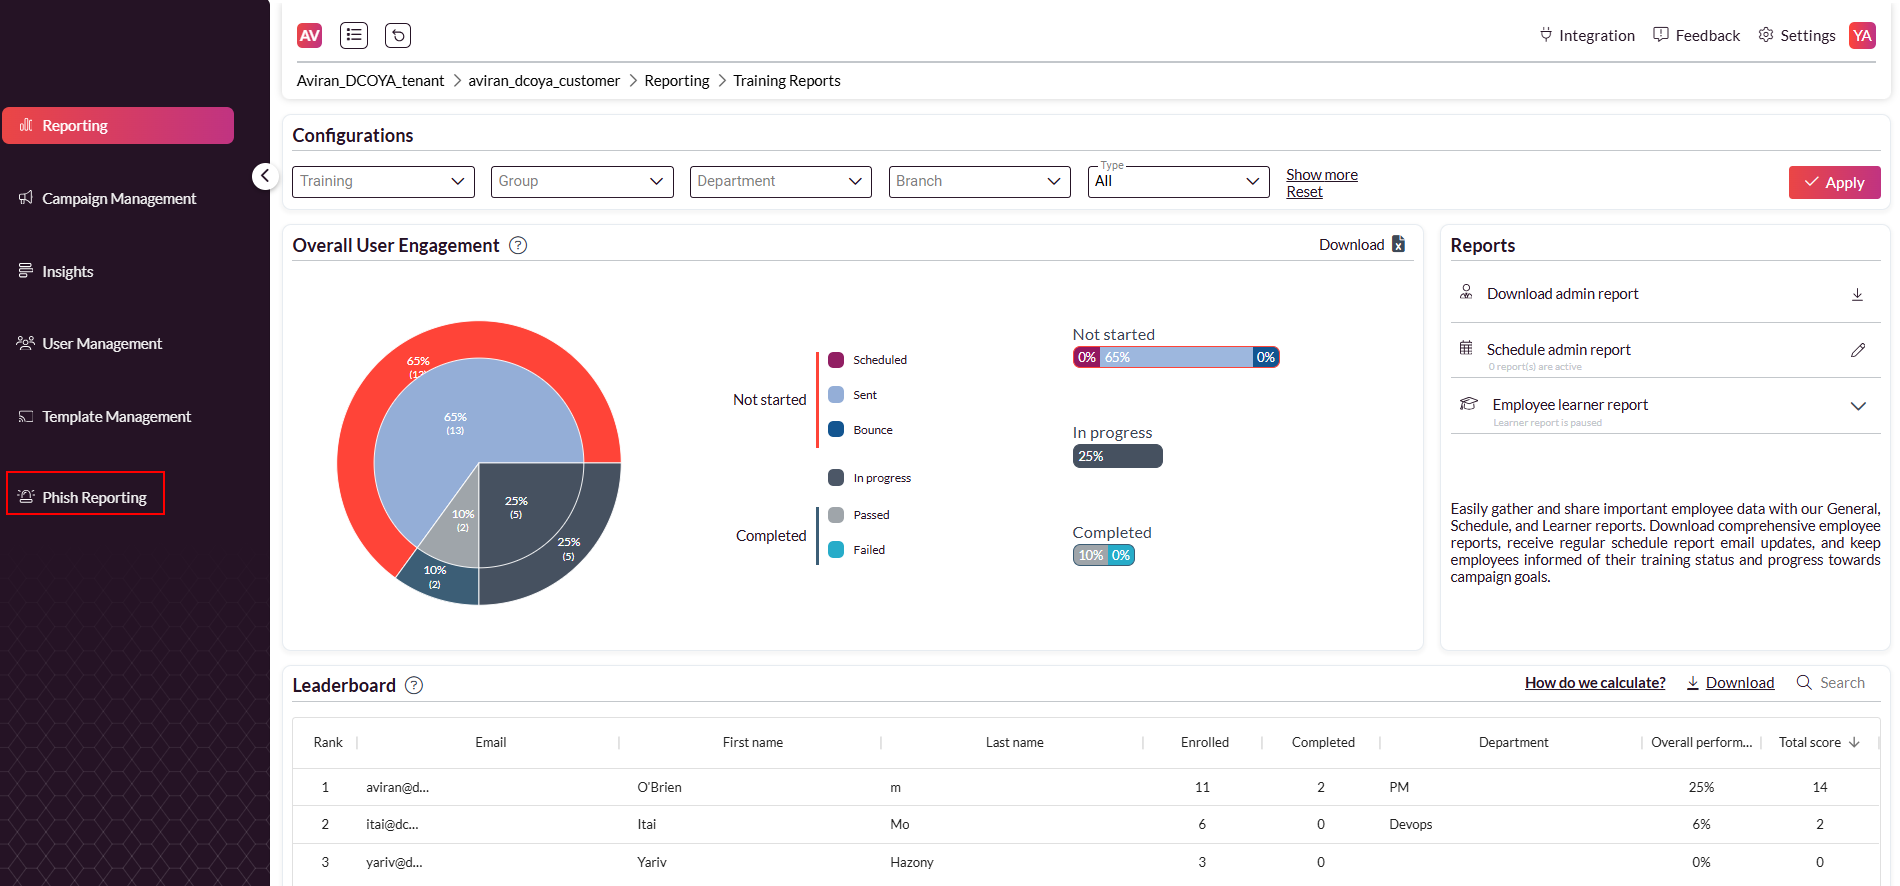
Navigate to Phish Reporting > Rules in the main sidebar menu to access the feature.
Feature Functionalities
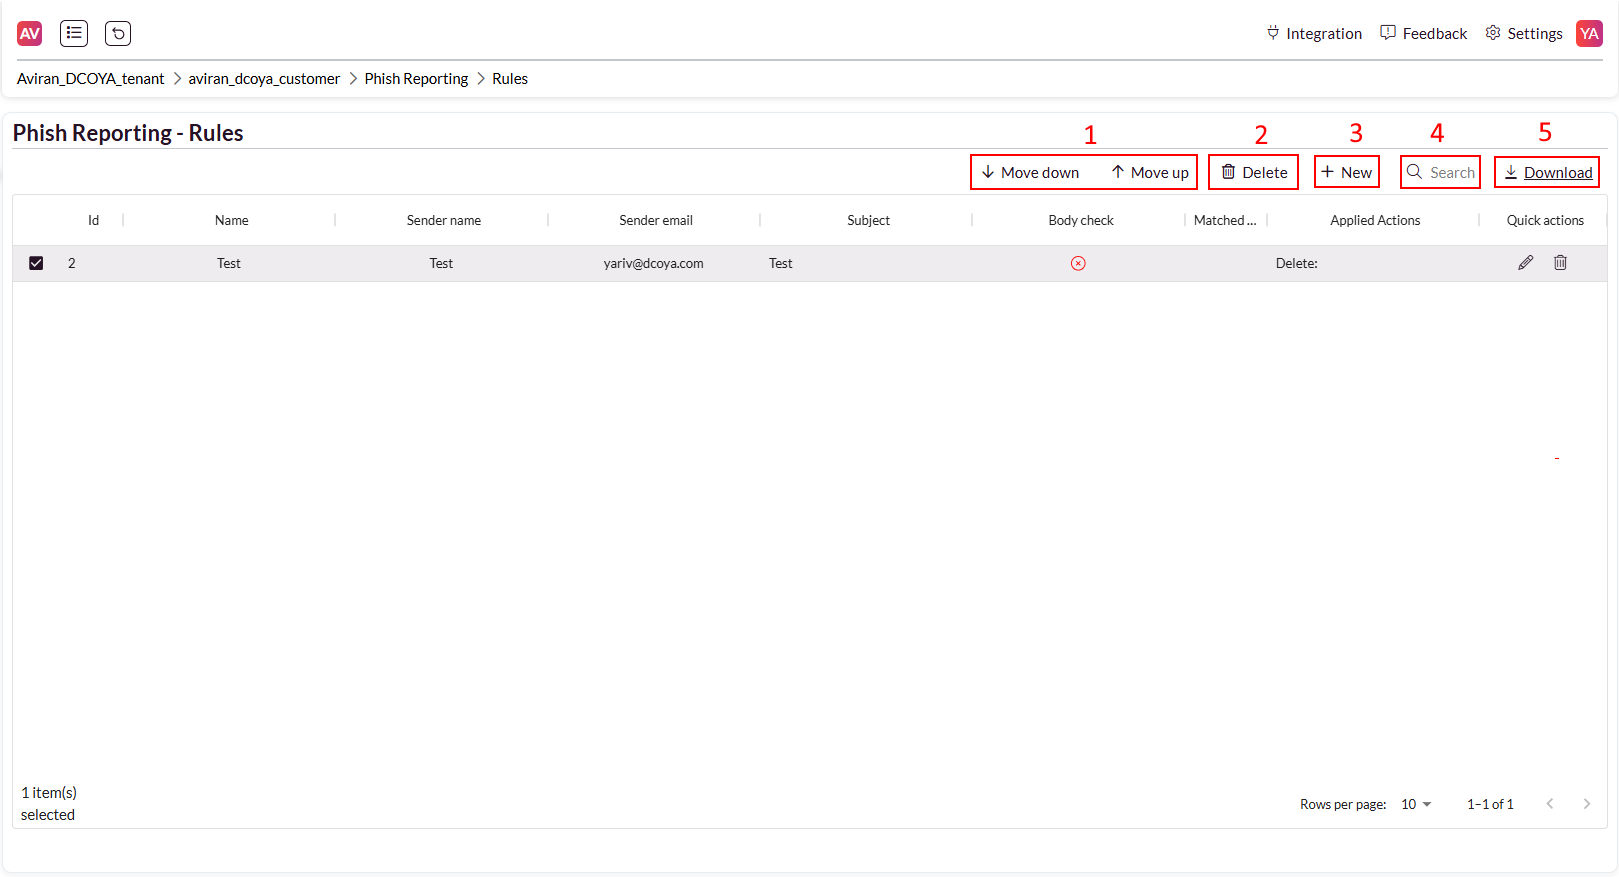
Toolbar Actions
Move Rules: Change the location of the selected rule within the rules table.
Delete: Use this button to delete a bulk of rules
Create Rule: Click the ‘New’ button to define a new remediation rule.
Search Rules: Use the search bar to find existing rules.
Export Rules: Download a CSV file of all existing rules.
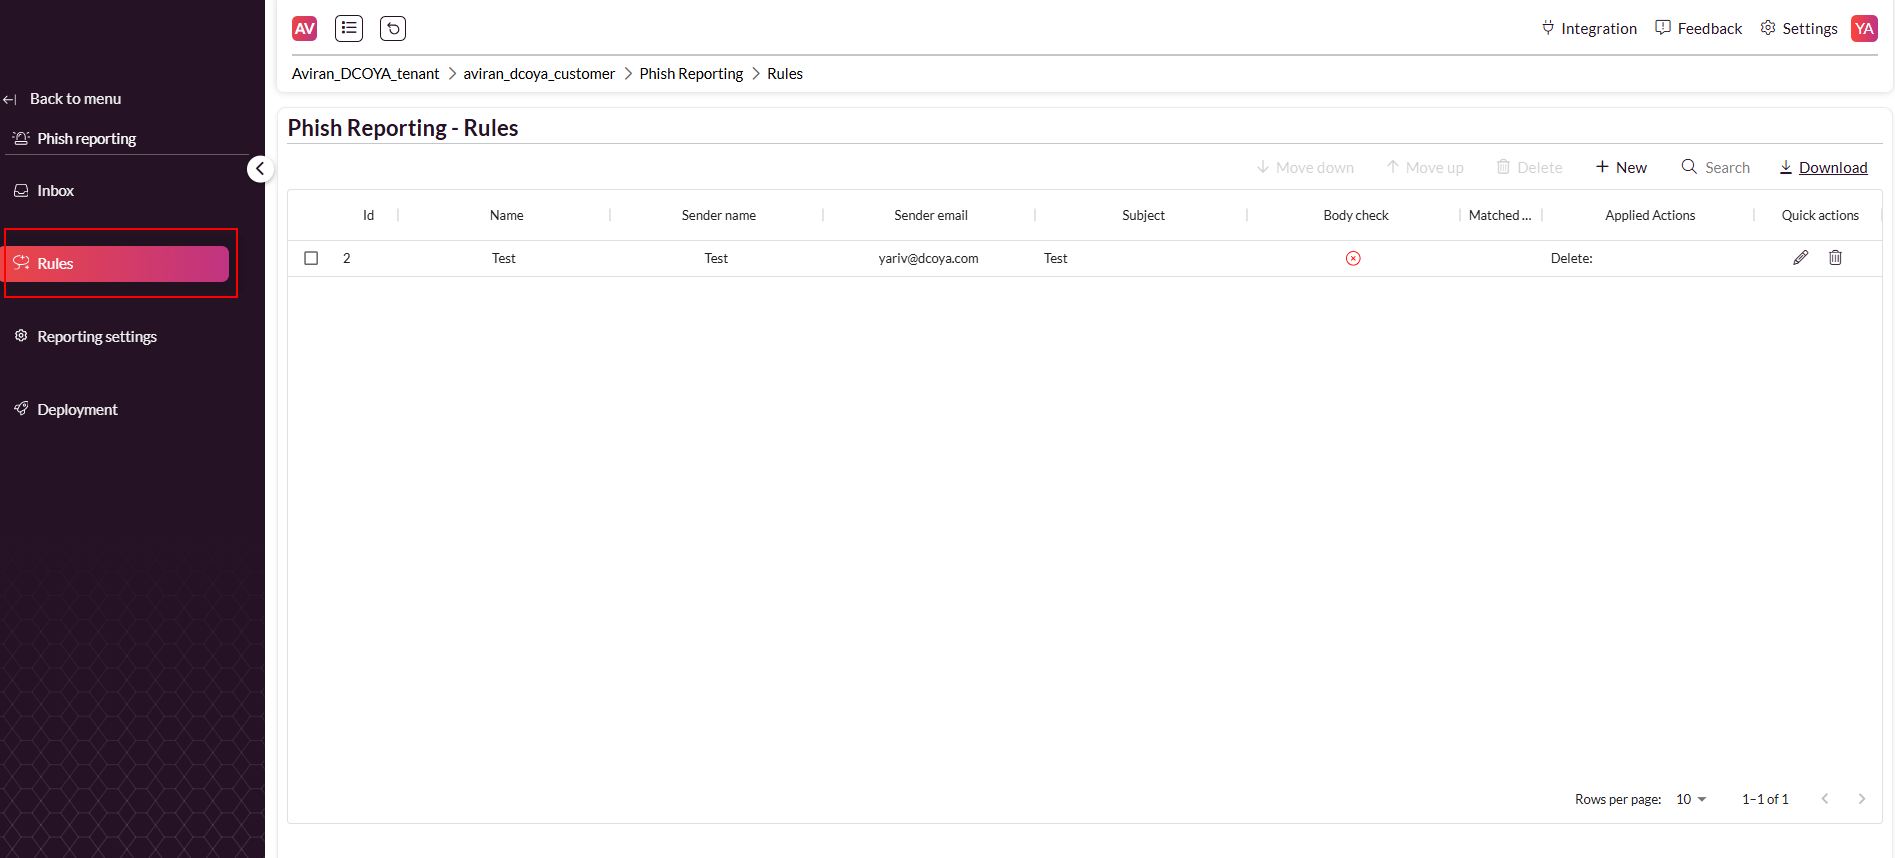
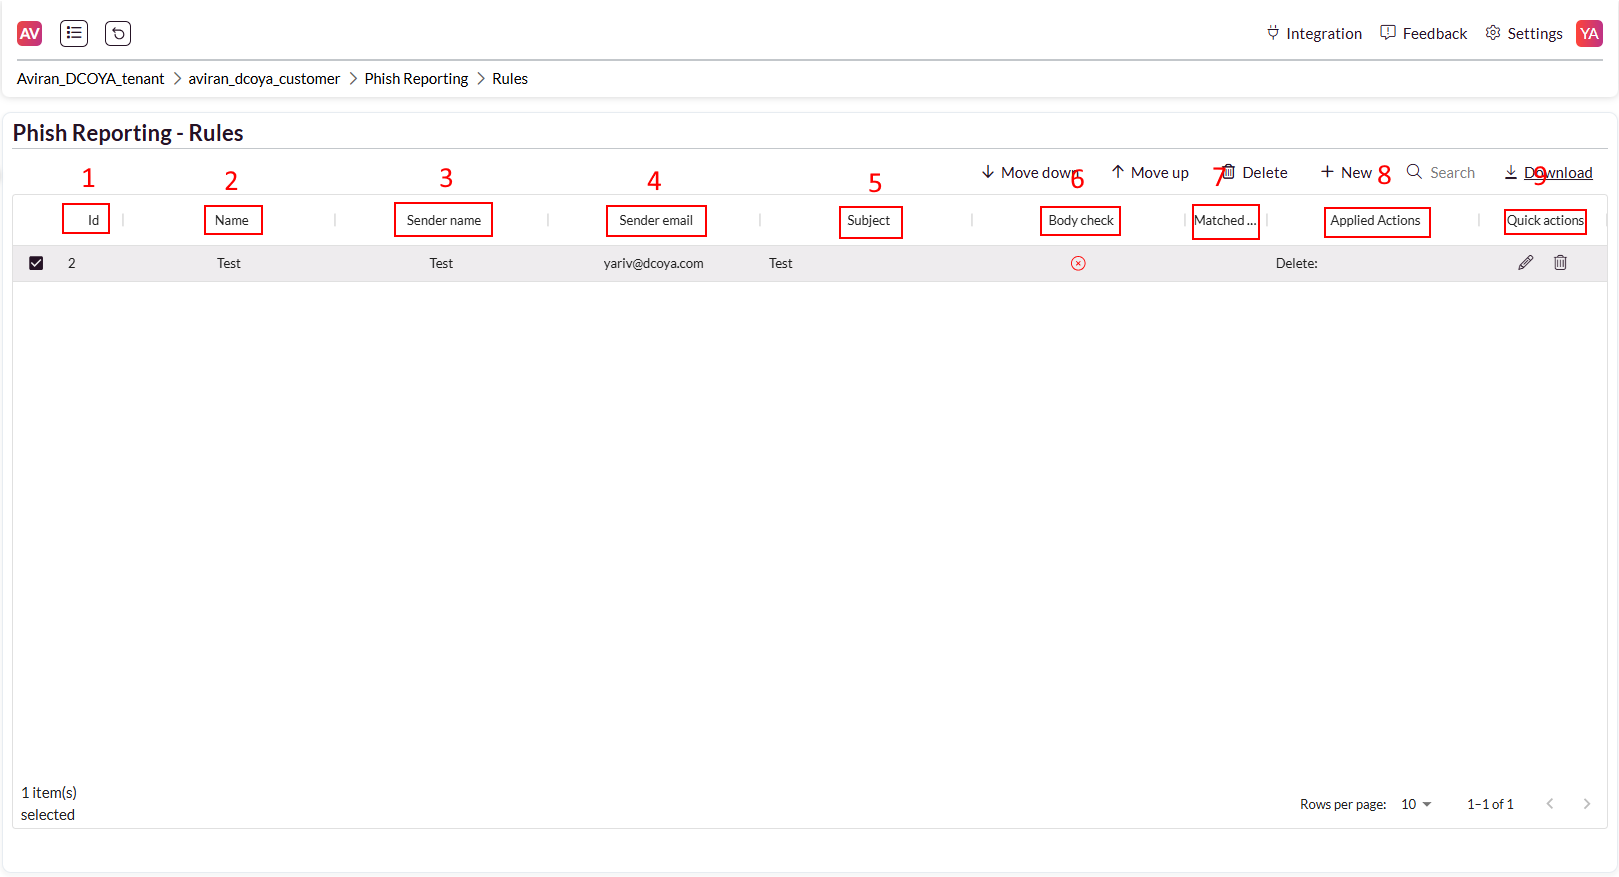
Rules Table
The rules table provides a detailed overview of all created rules, their attributes, and available actions:
ID: A unique identifier automatically assigned by the platform after creating the rule for better reference.
Name: The name of the rule, as defined by the admin during creation.
Sender Name: The name of the sender of the reported email.
Sender Email: The email address of the sender of the reported email.
Subject: The subject line of the reported email.
Body Check: Indicates if the rule includes conditions based on the email body content.
Match Event: A link that refers the admin to the reported email in the Event page.
Applied Action: Describes the action chosen by the admin when creating the rule:
Option 1: Move identified emails to a designated folder (folder is created if absent).
Option 2: Move identified emails to the ‘Deleted’ folder.
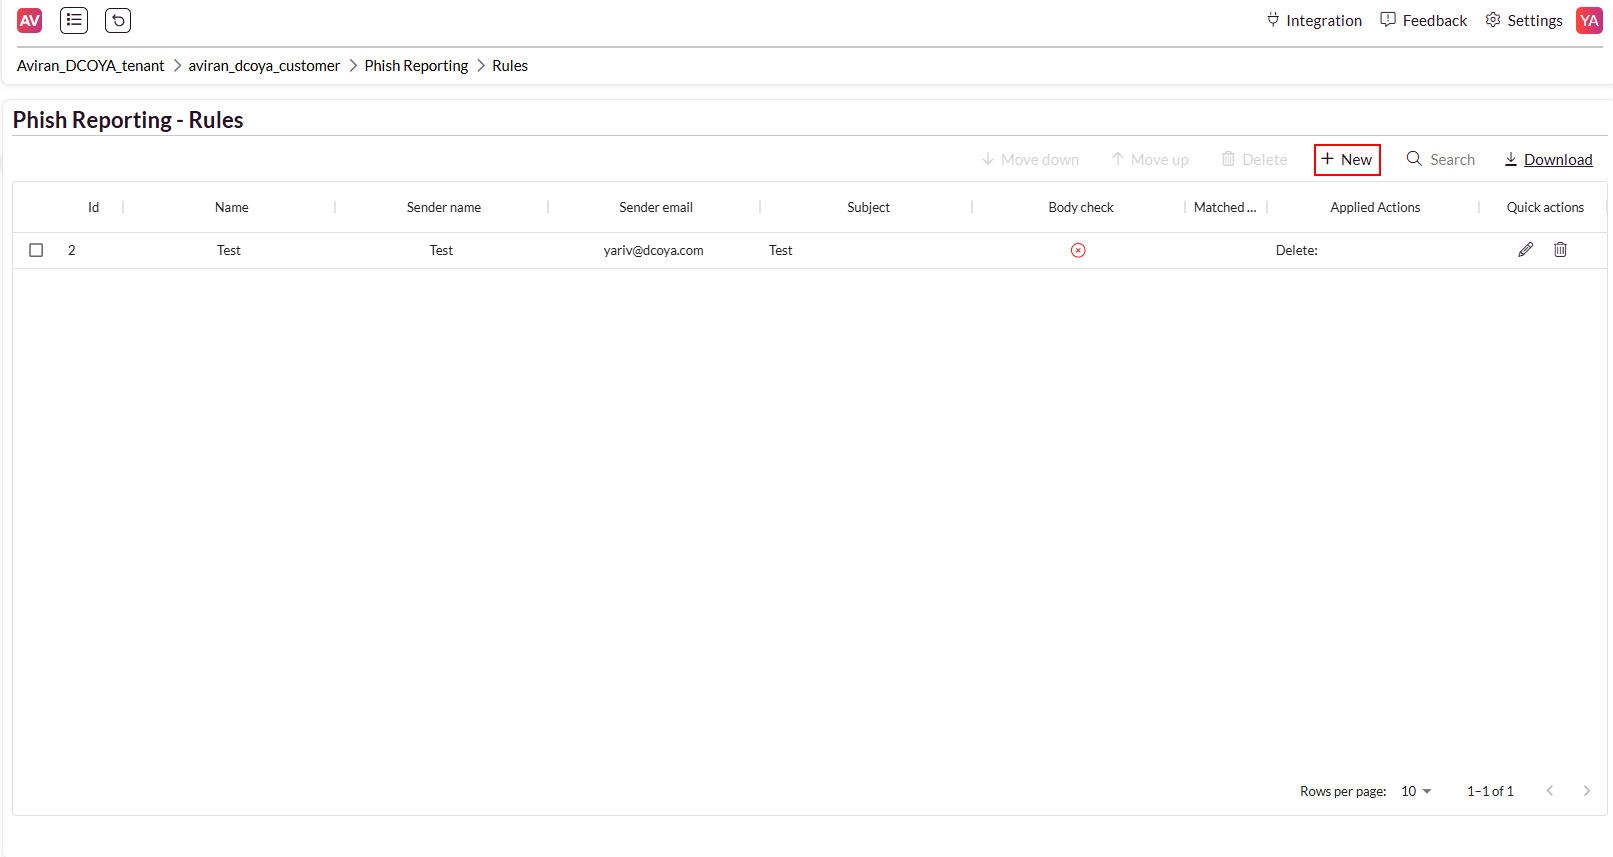
Creating a New Rule
1. Navigate to Phish Reporting > Rules.
2. Click the ‘New’ button.
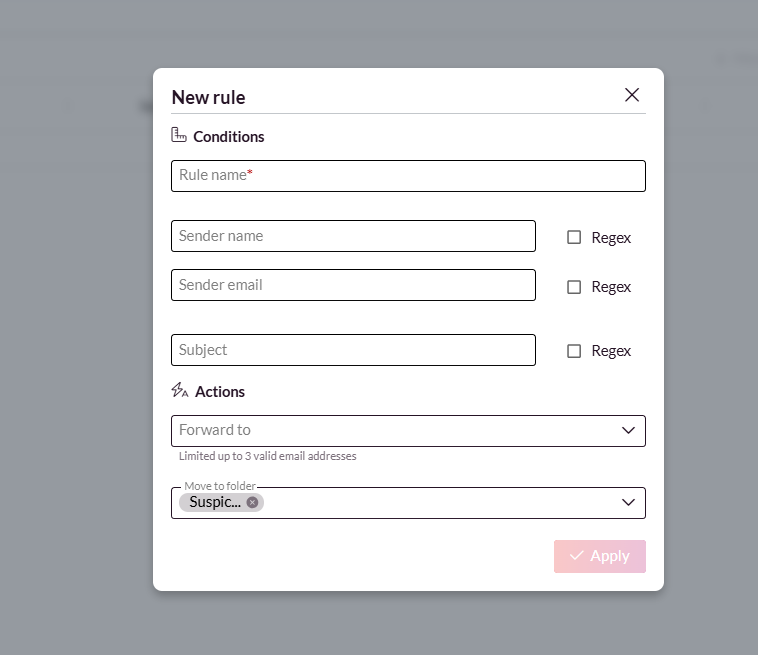
3. Fill out the ‘New Rule’ form:
Rule Name: Give the rule a descriptive name.
Sender Details: Define the sender’s name and email address.
Subject Line: Specify keywords or phrases to identify similar emails.
Regex Conditions: (Optional) Enable advanced email pattern matching.
Note: The Regex feature is not supported when using Microsoft Office 365 PHISH Reporter.
4. Forwarding Addresses: Add up to three addresses for email forwarding.
Action Selection:
Option 1: Move identified emails to a designated folder. The folder is created if absent.
Option 2: Move identified emails to the ‘Deleted’ folder.
5. Click ‘Apply’ to save the rule.
Editing a Rule
Locate the rule in the Rules Table.
Click the Pencil Icon in the Quick Actions column.
Modify the rule values and save changes.

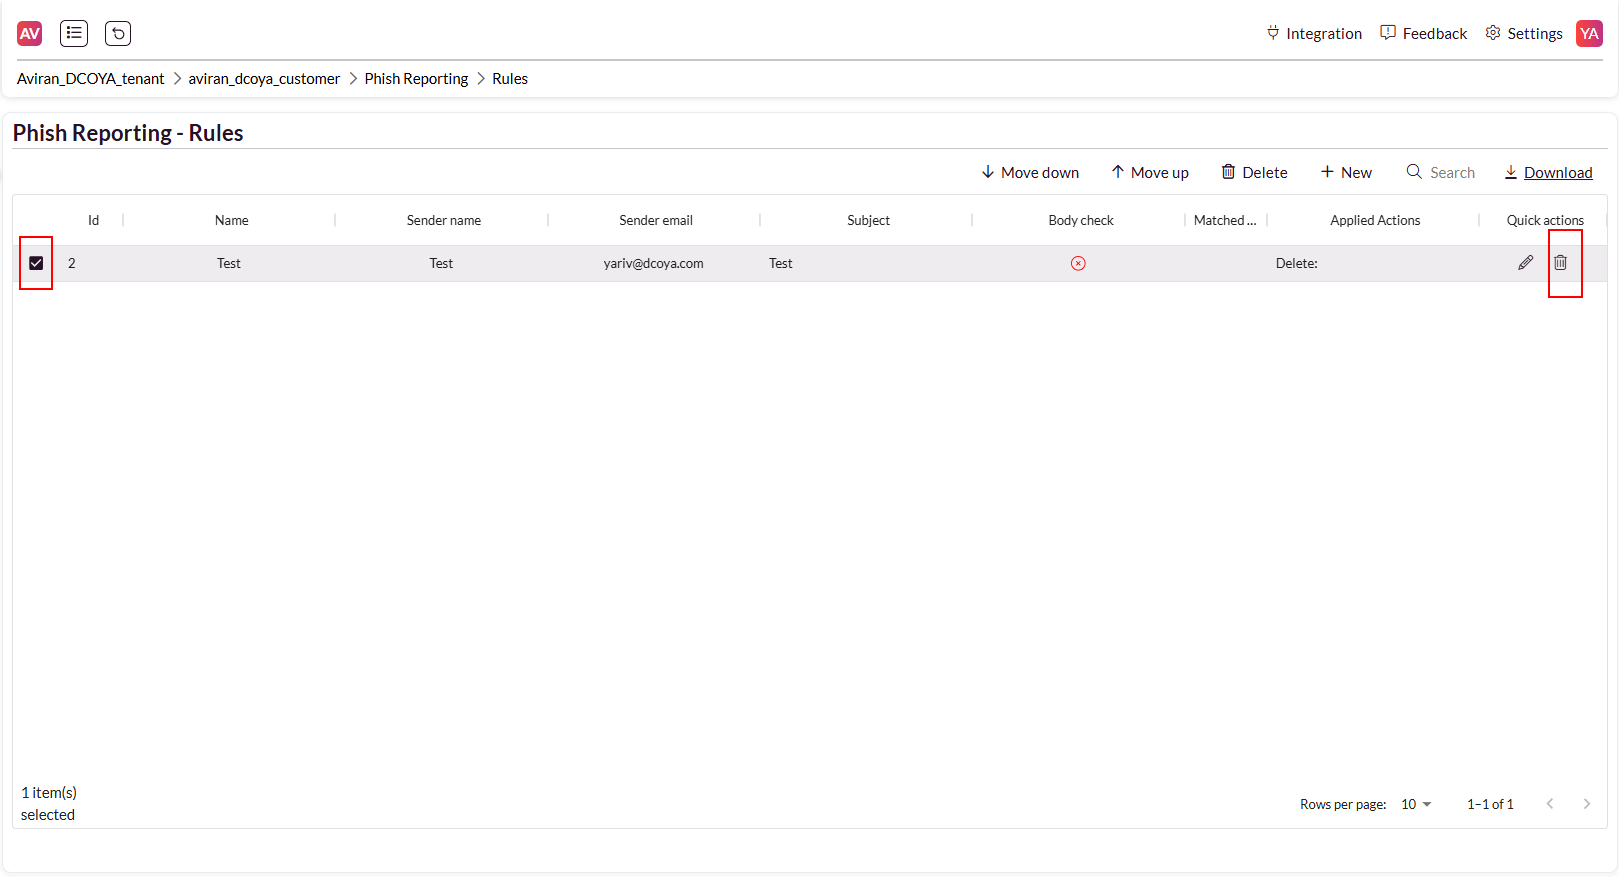
Deleting a Rule
1. Locate the rule in the Rules Table.
2. Click the Trashcan Icon in the Quick Actions column.
3. Confirm deletion.
Comments
0 comments
Please sign in to leave a comment.