NINJIO's Content Training Generator helps you create custom training based on real scenarios, incidents, or your own materials. Follow these steps to quickly build and customize effective training content for your organization.
How-To Video:
Step-By-Step Instructions:
Step 1: Log in to the NINJIO platform and navigate to Template Management.
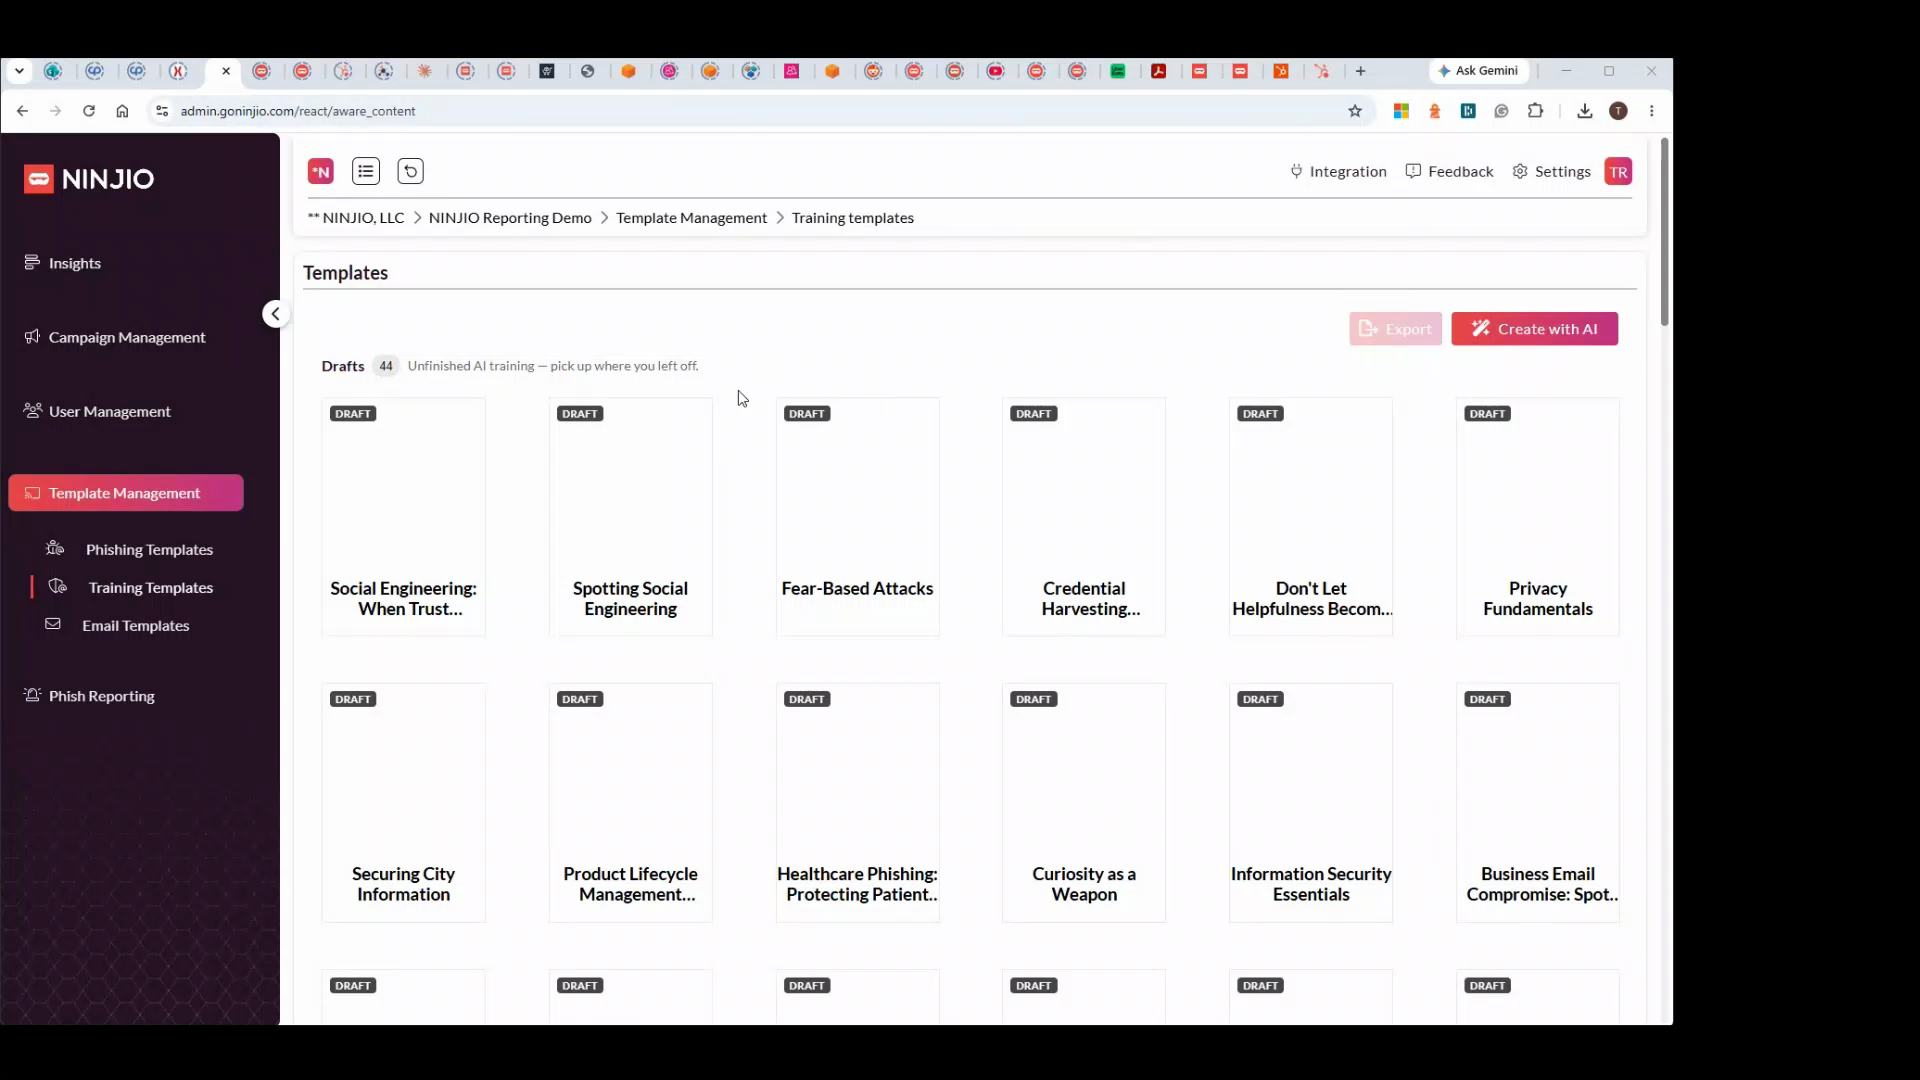
Step 2: Under Training Templates, click Create with AI to launch the Content Training Generator.
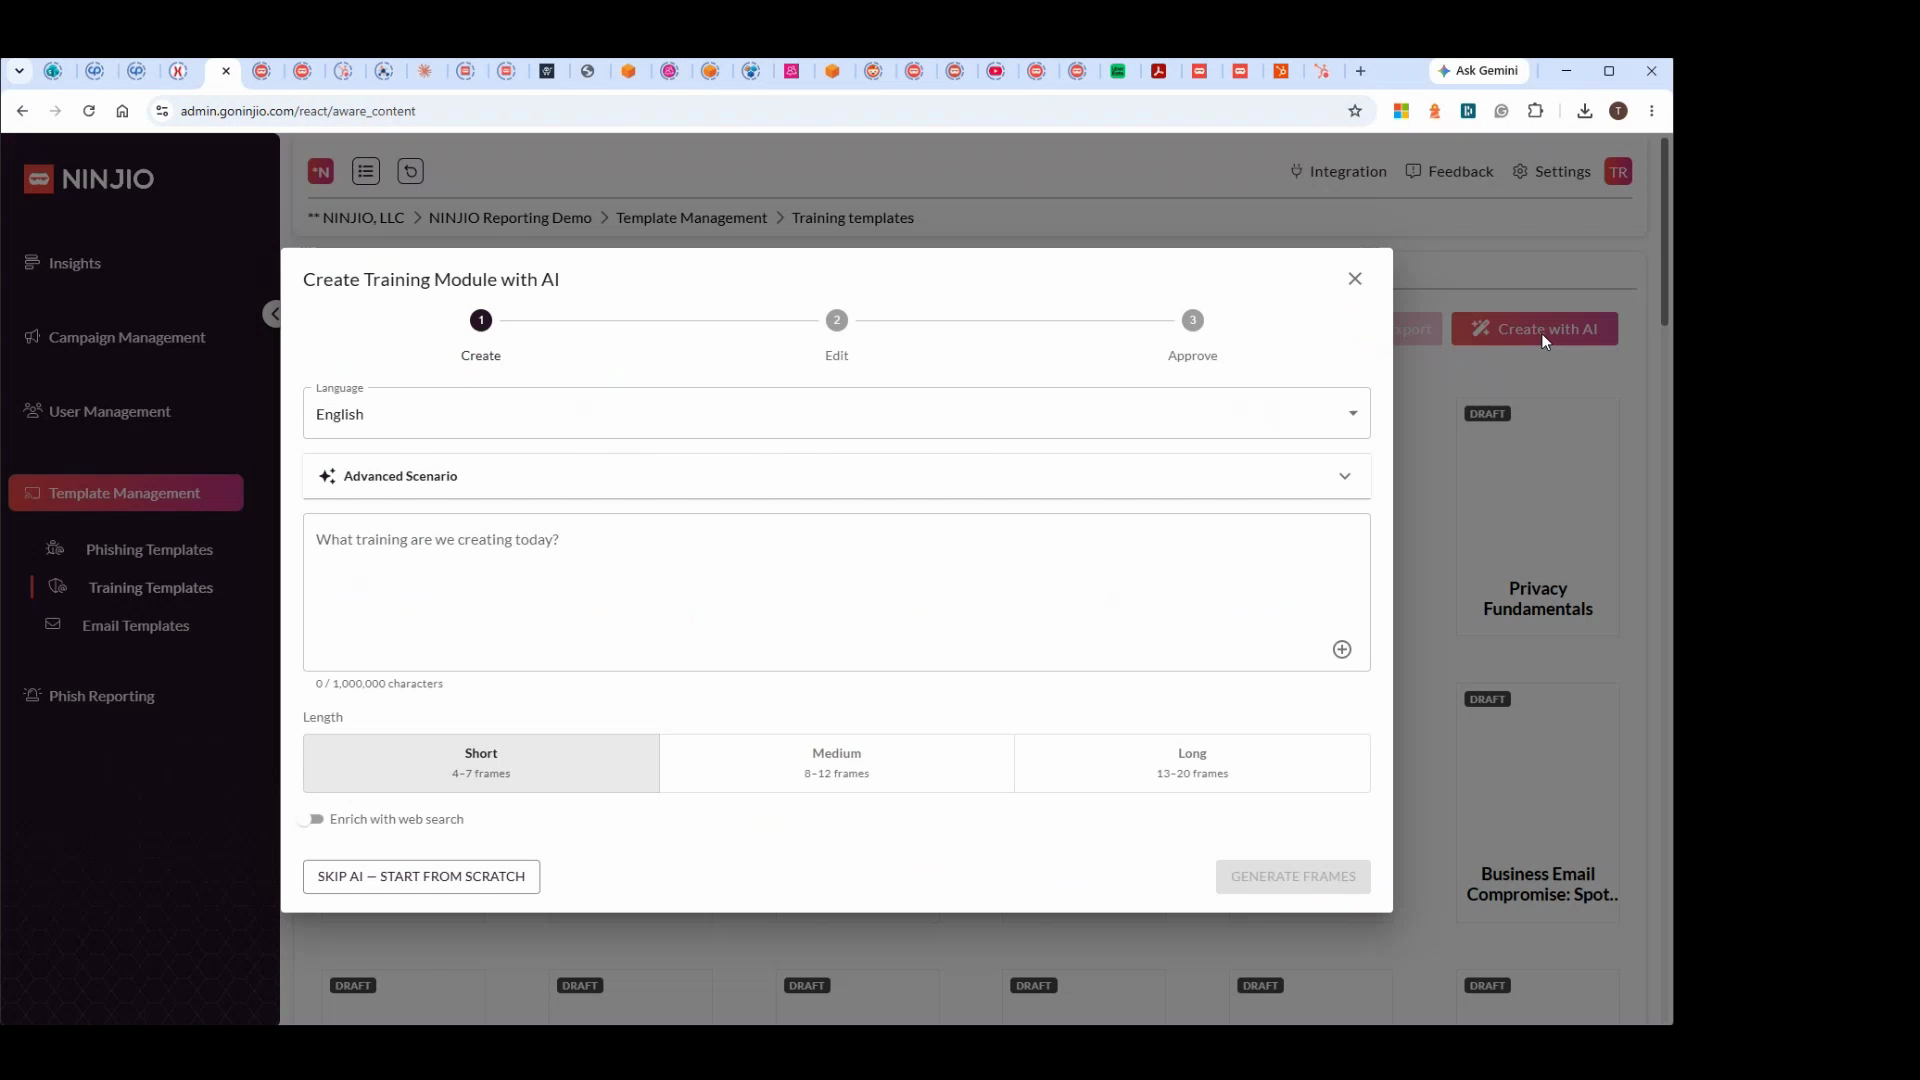
Step 3: Start by choosing your preferred language. For this walkthrough, select English.
Step 4: Use the Advanced Scenario Builder to build your prompt. Choose context like emotion, industry, threat type, or a notable incident to guide your content.
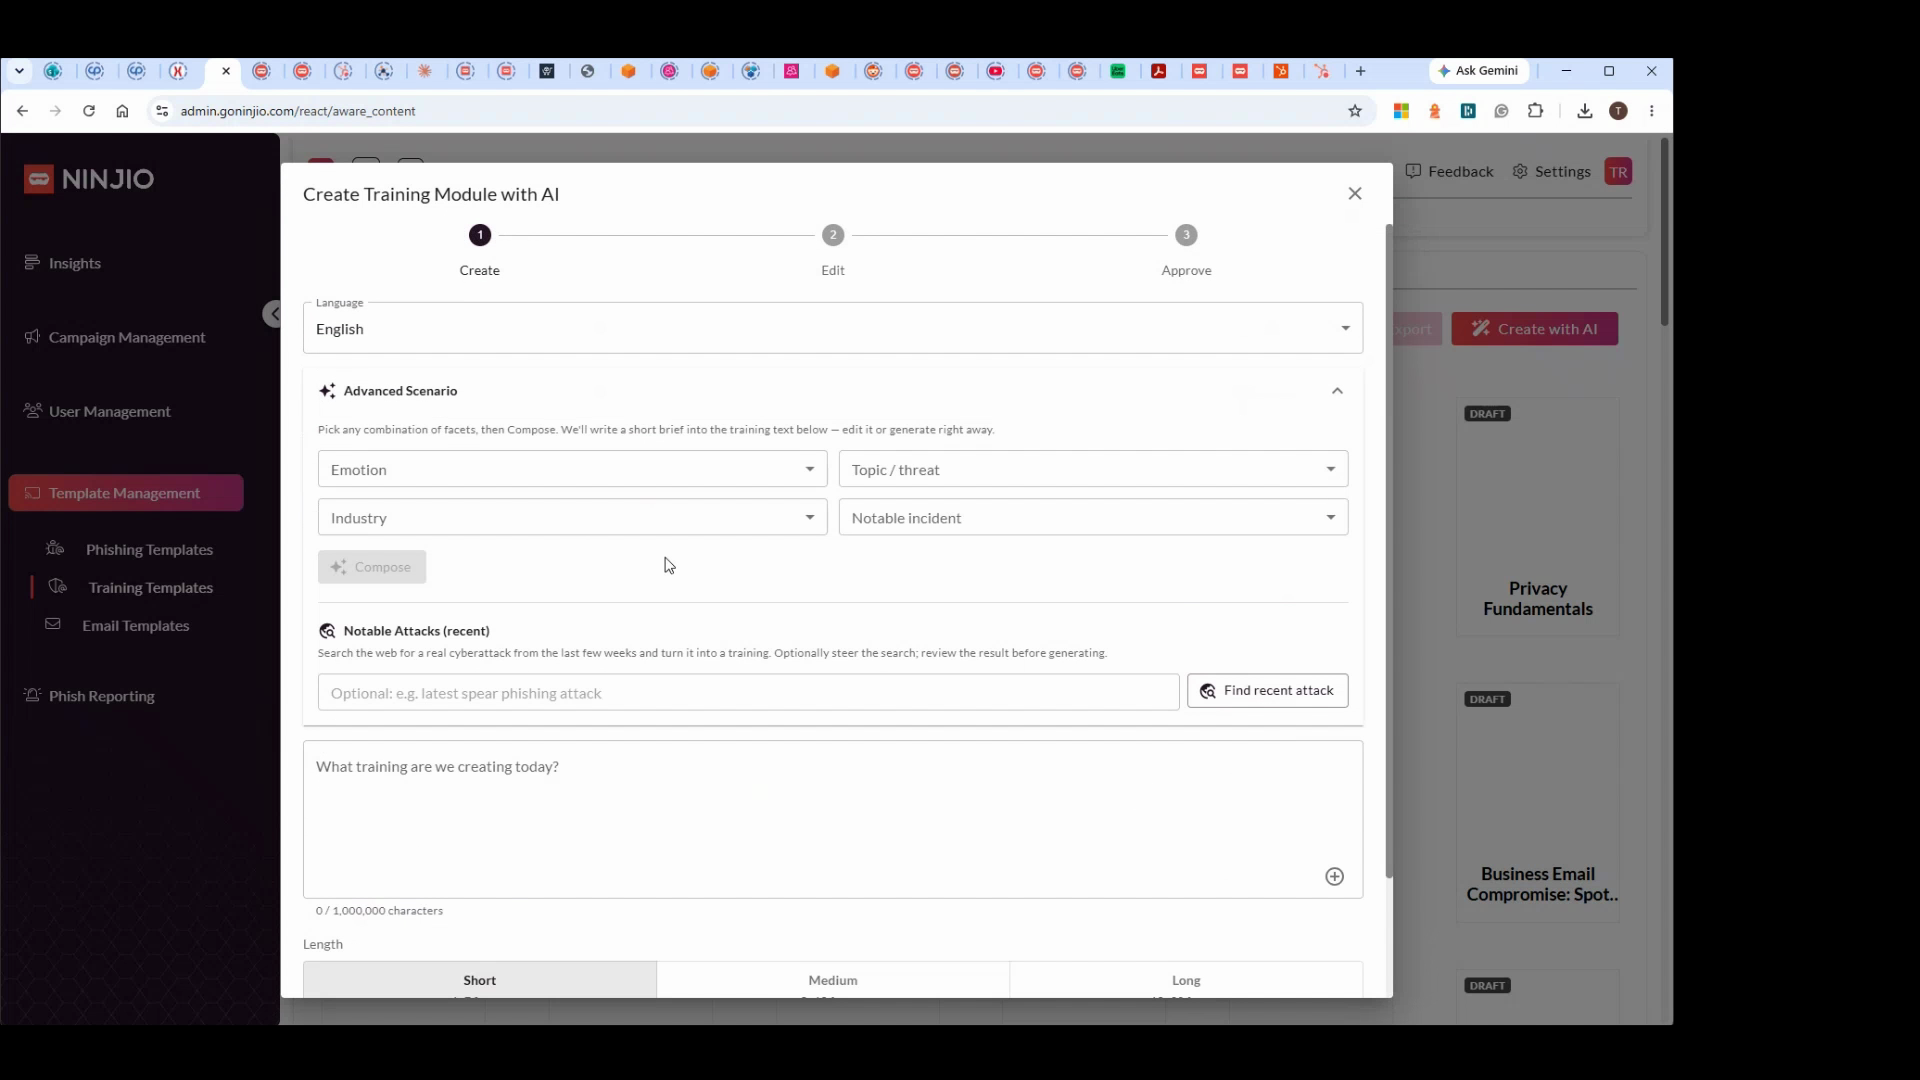
Step 5: For example, select “fear” as the emotion and “finance” as the industry.
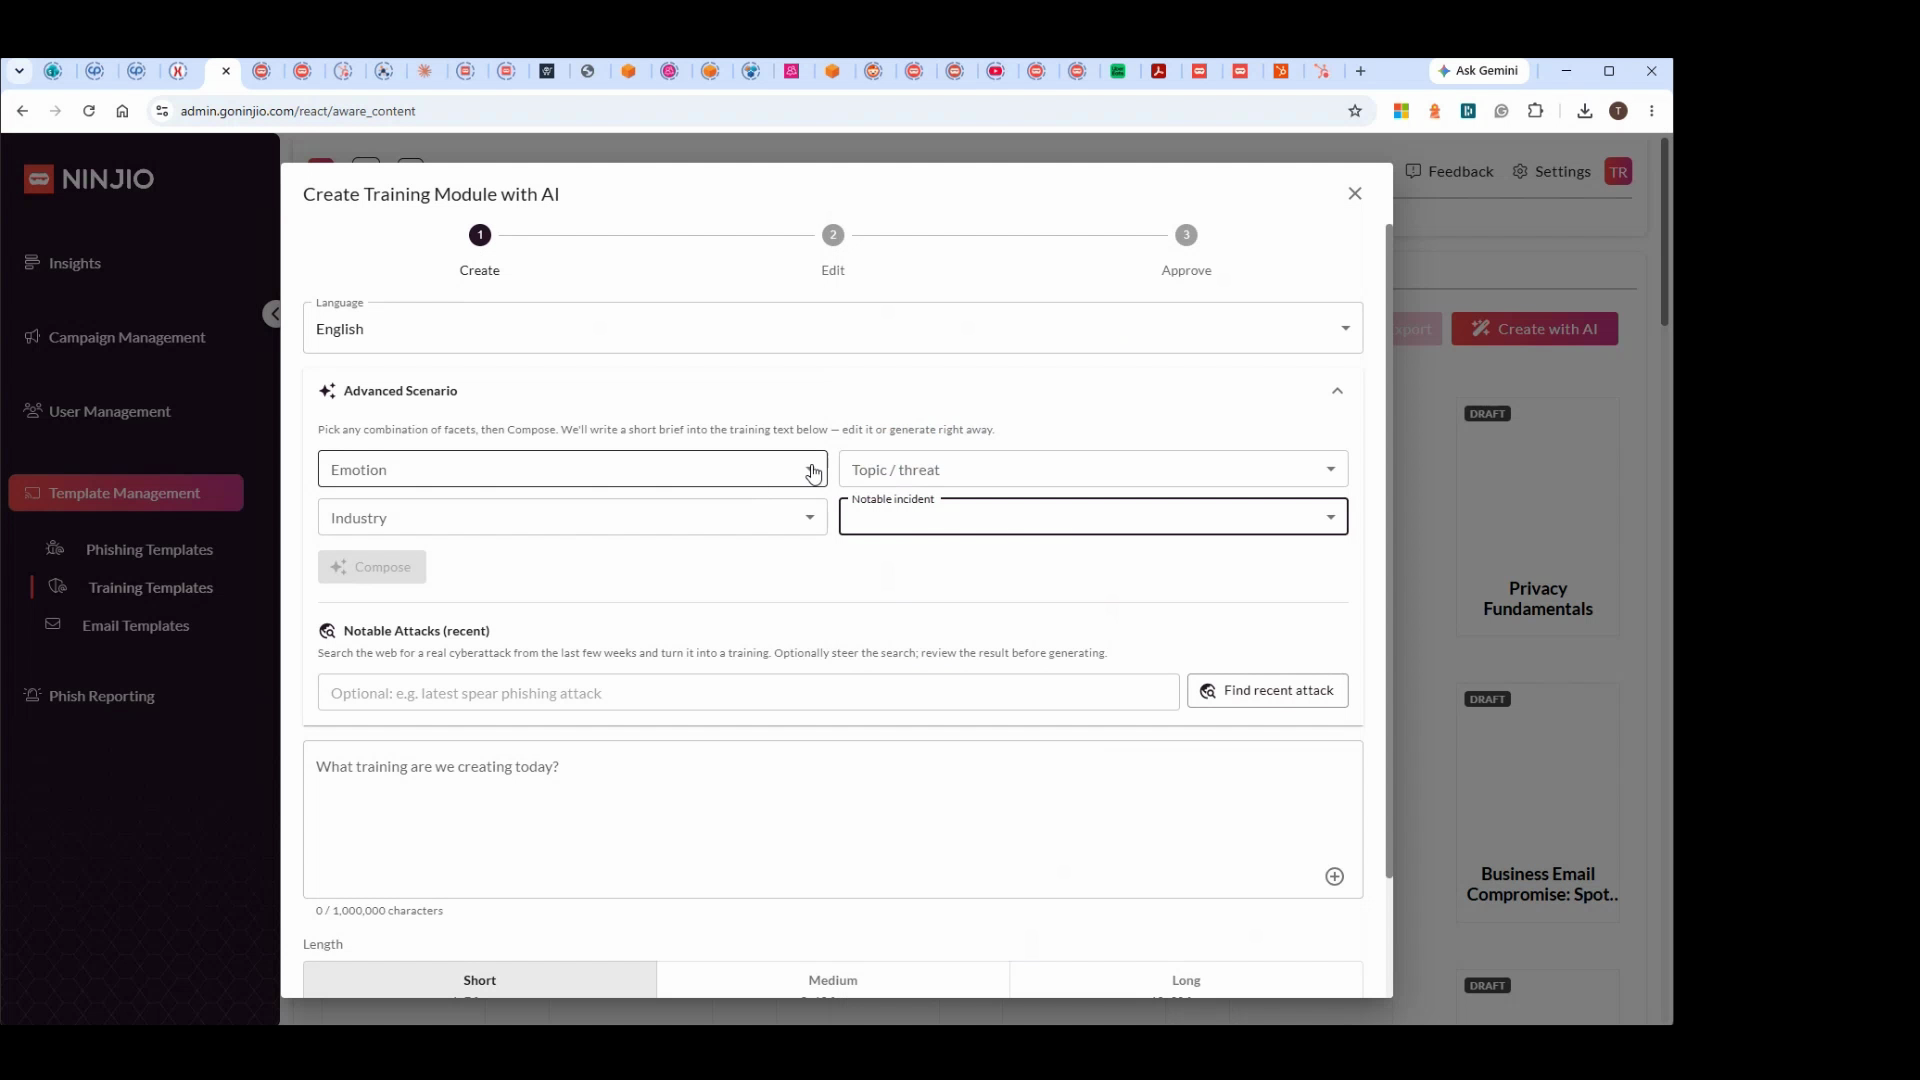
Step 6: Click Compose to generate a prompt based on your selections.
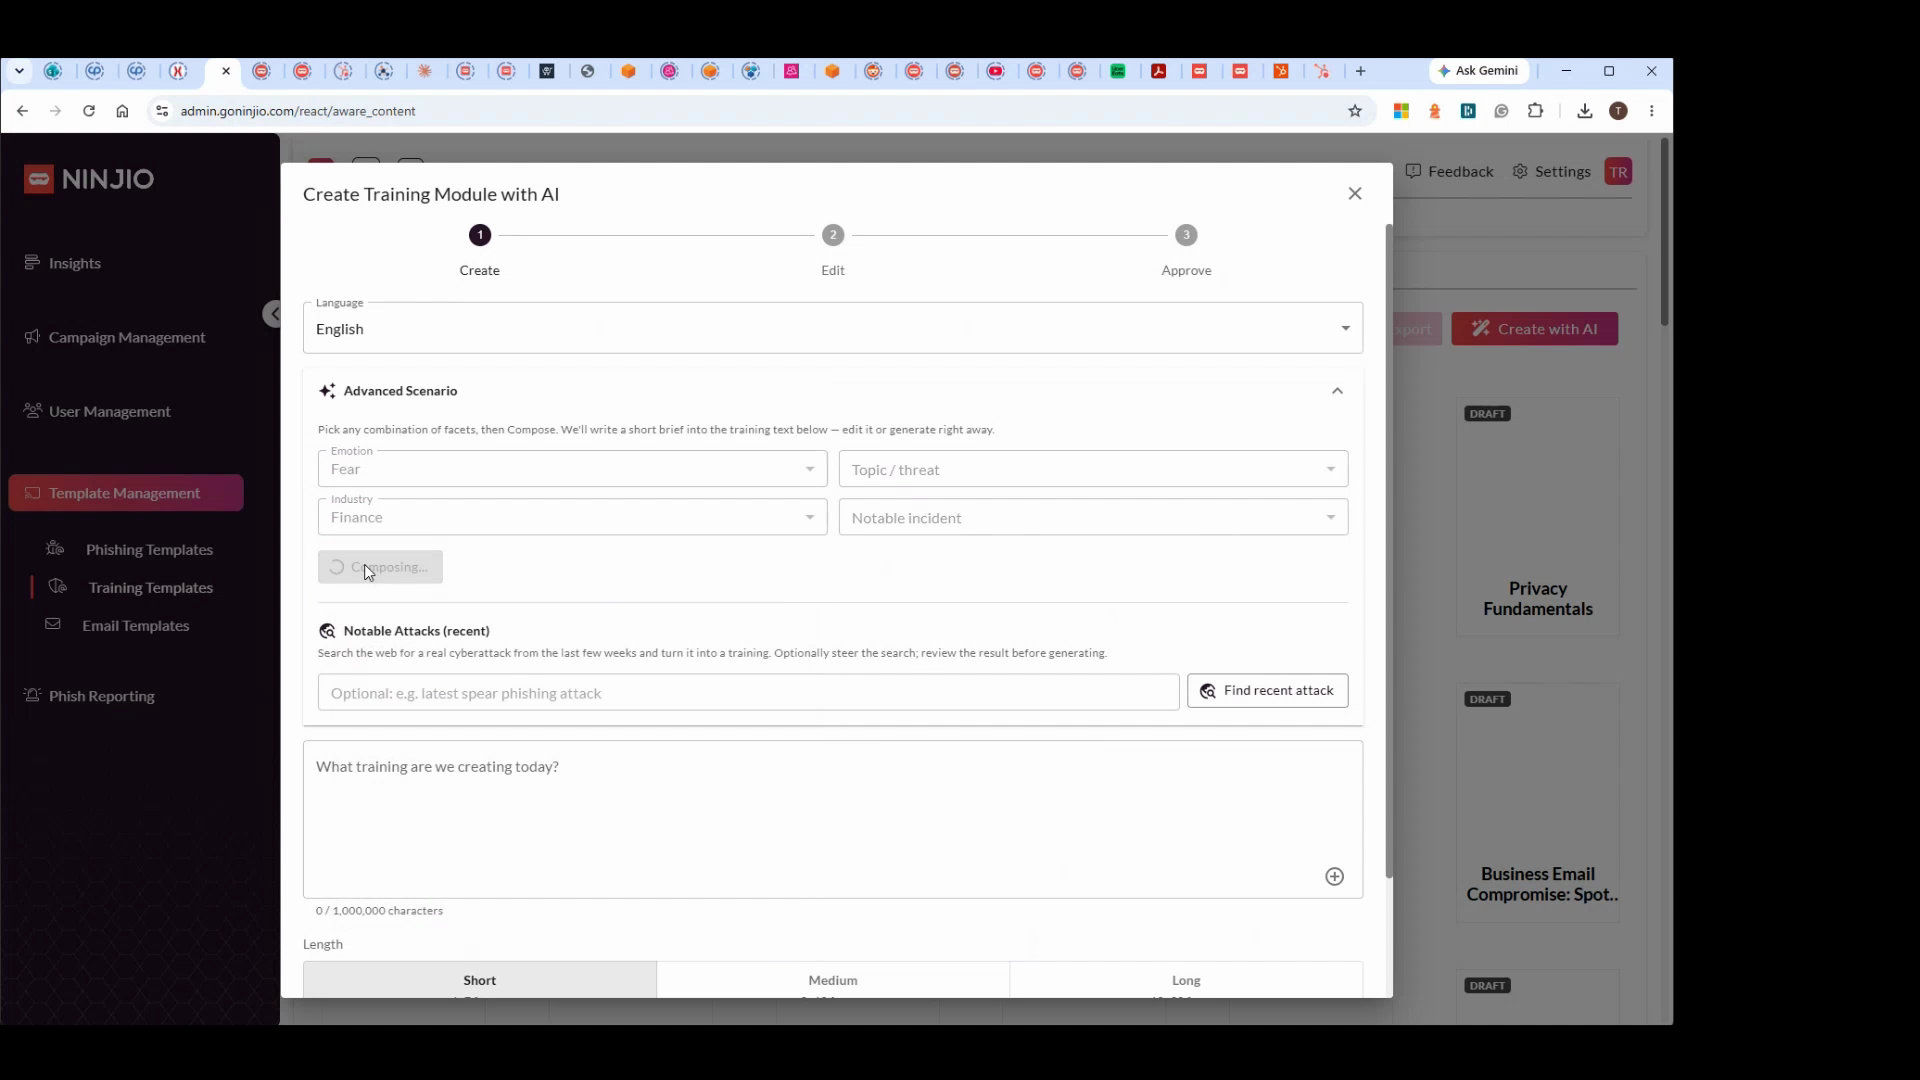
Step 7: Review your generated prompt. It will summarize what your training will cover.
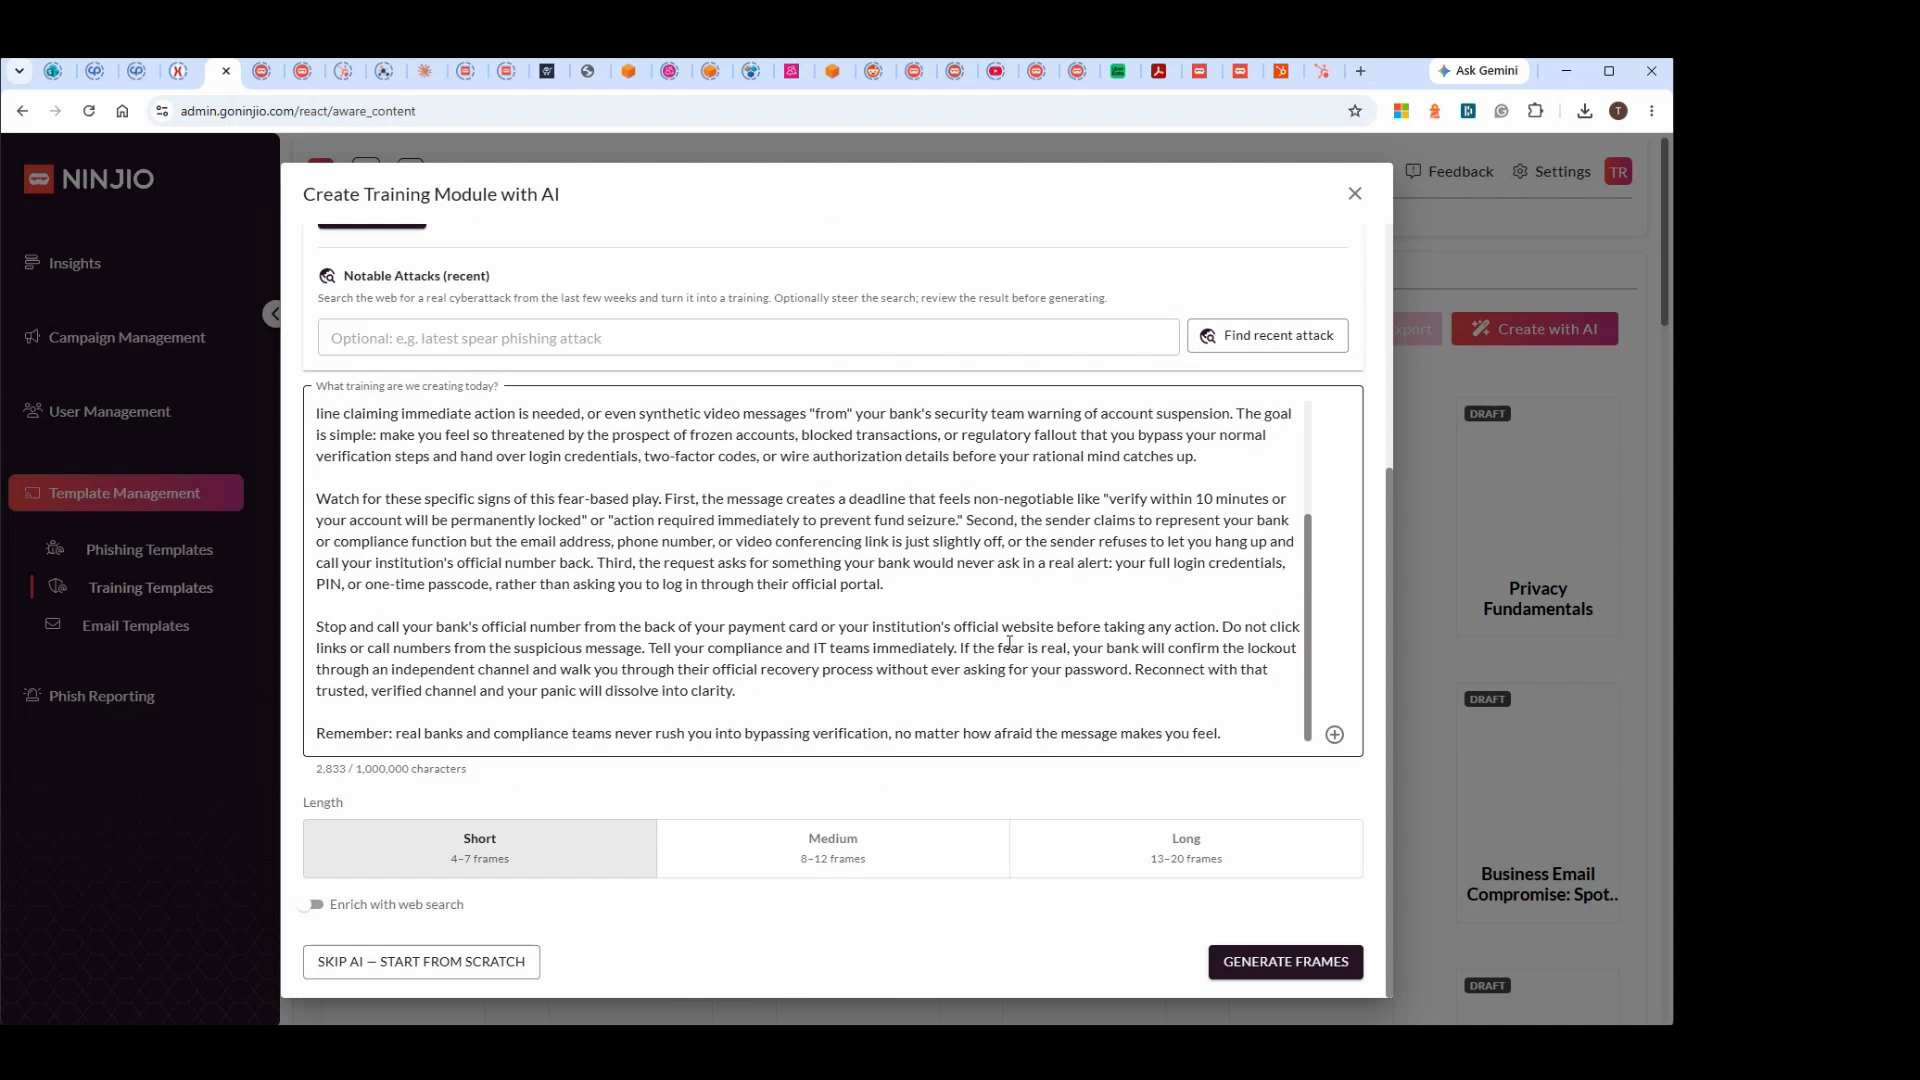
Step 8: To try a different method, delete the current prompt. Select Recent Notable Attack to generate training about a real-world incident, even if typos exist in your search.
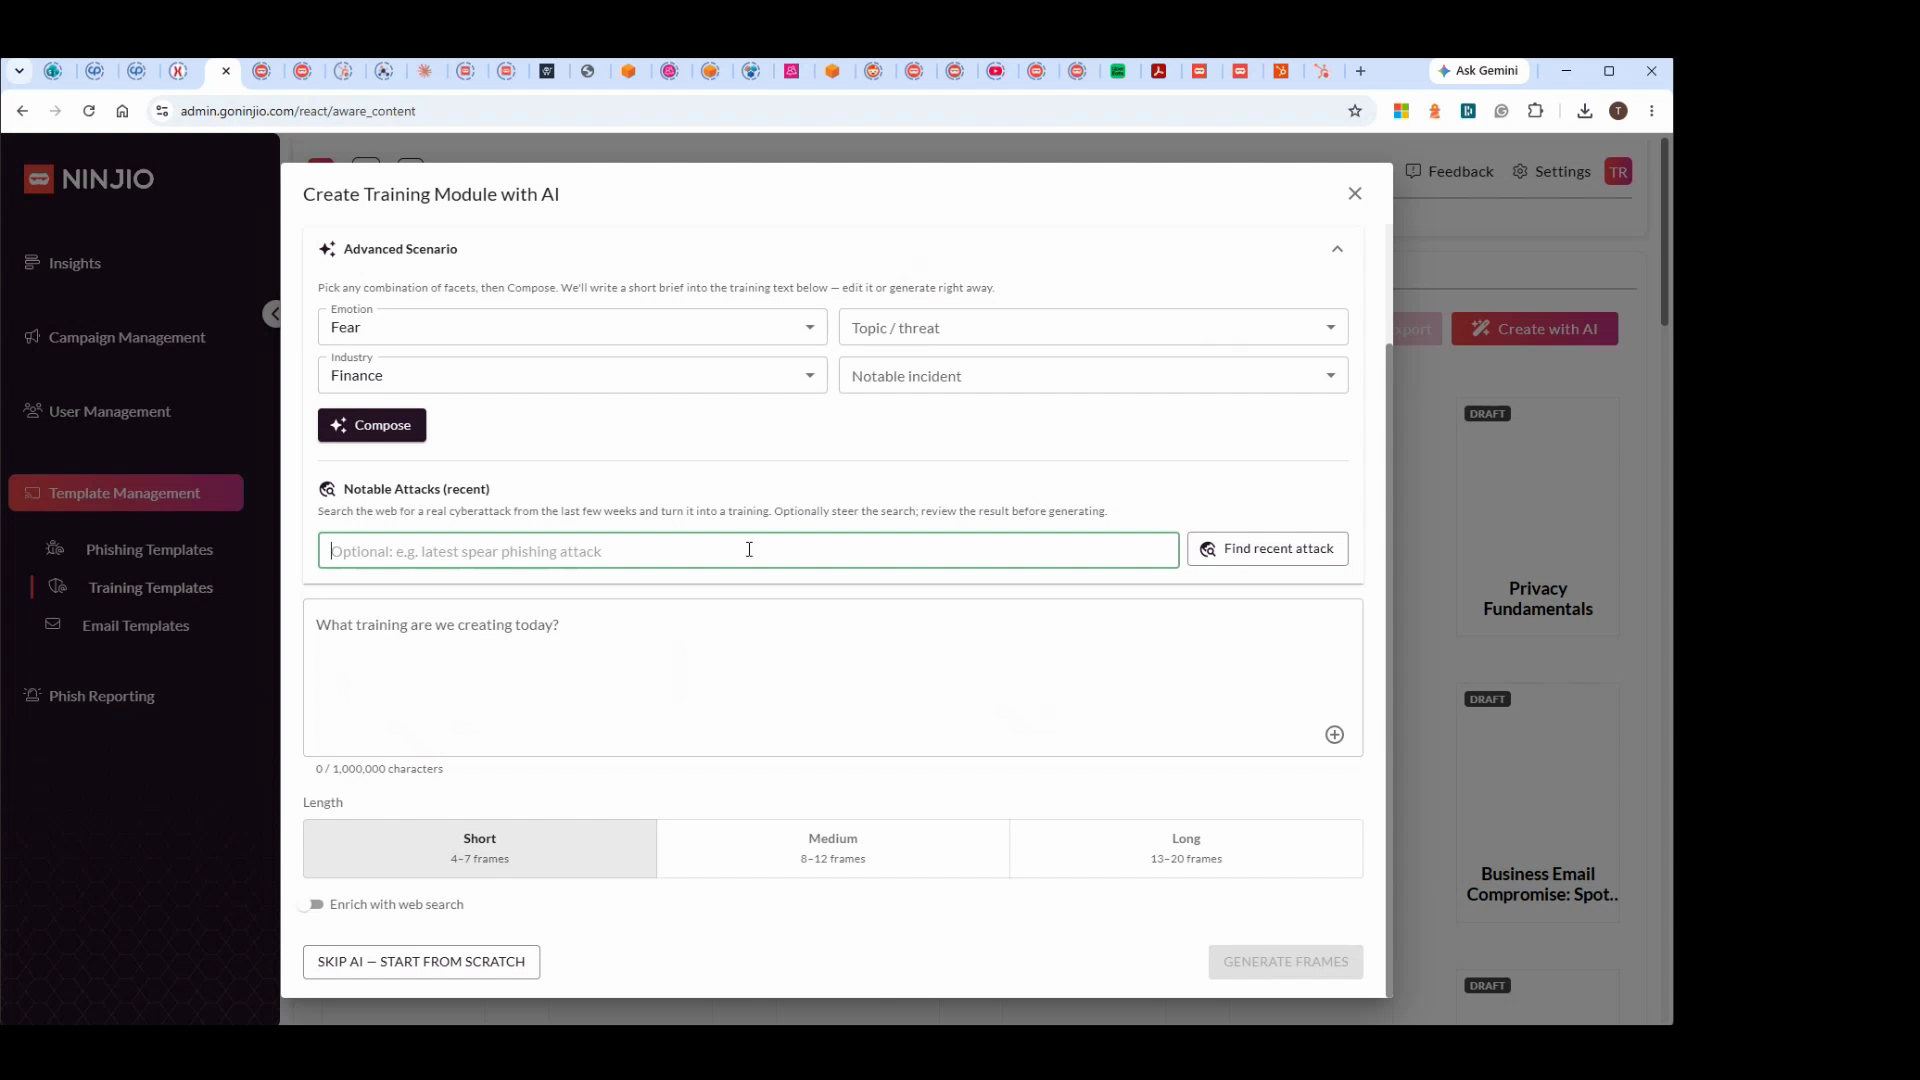
Step 9: Type the details and click Find the Attack.
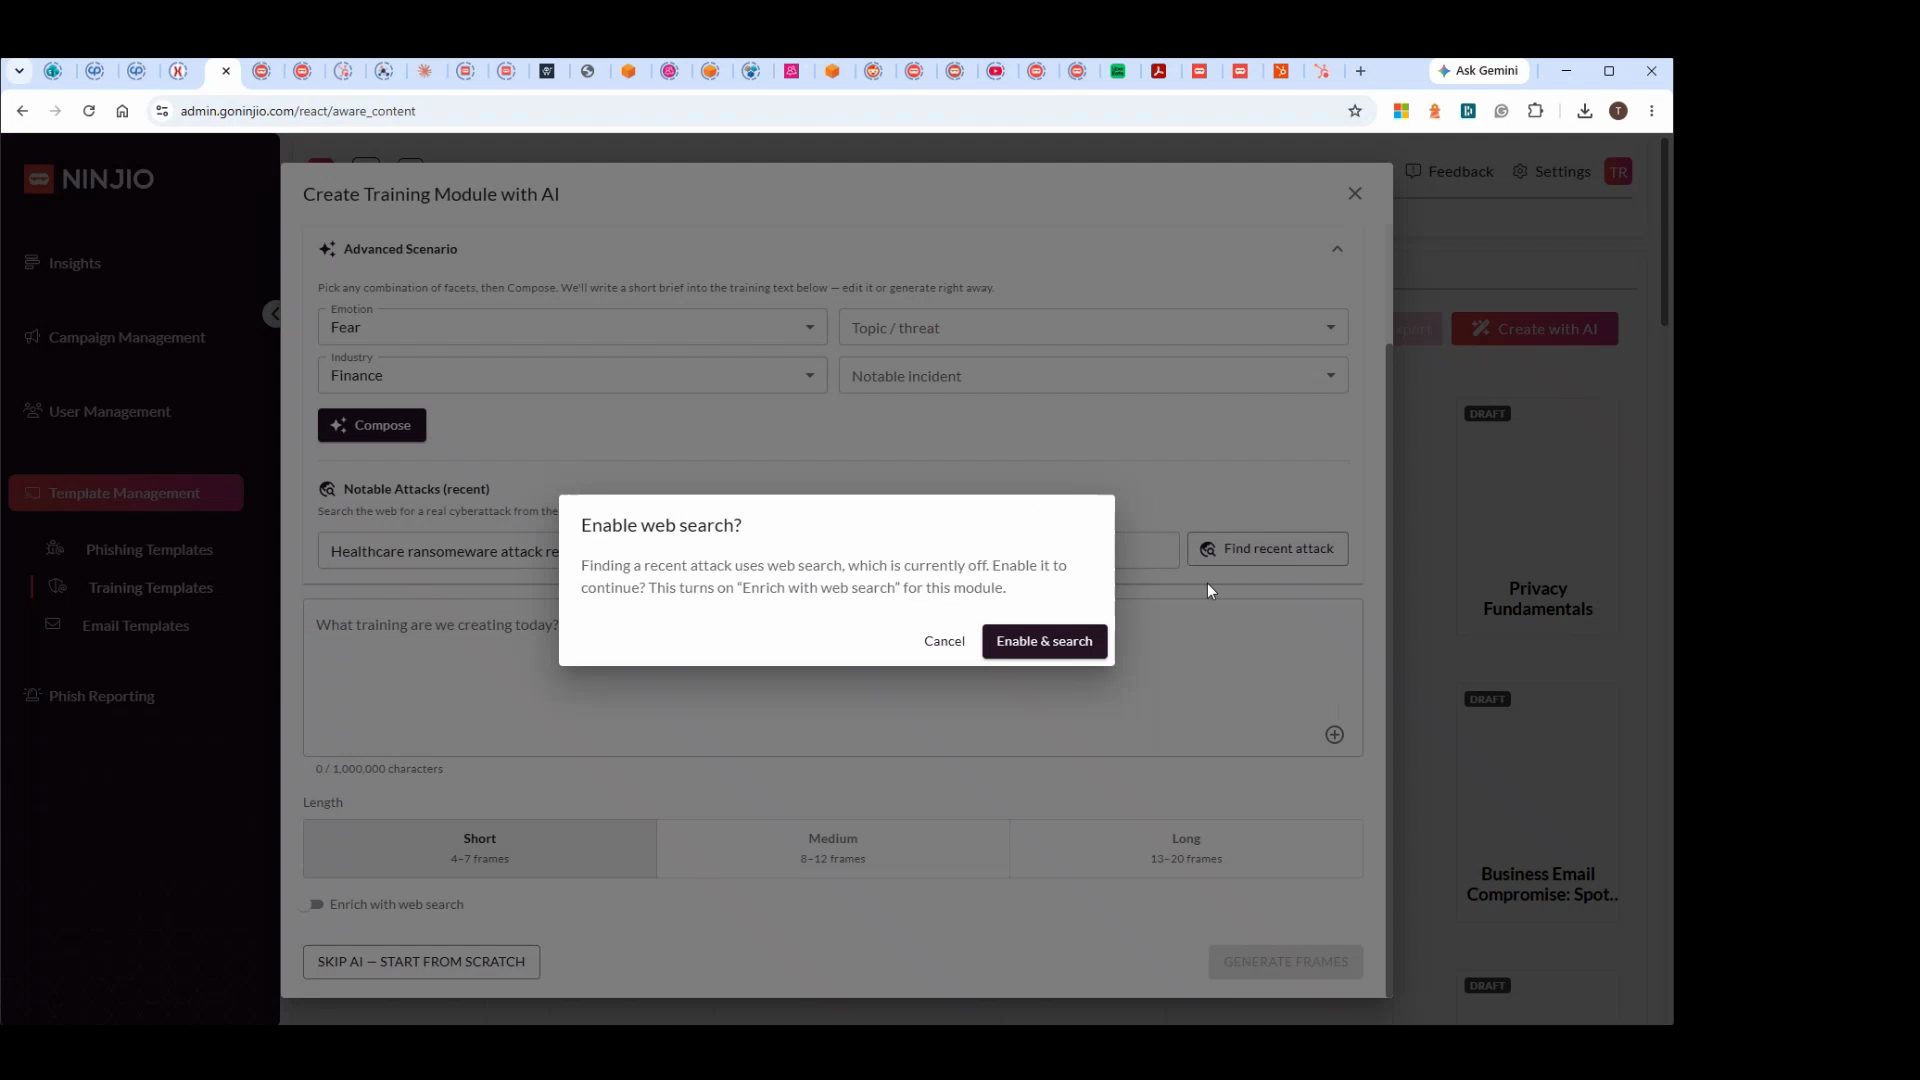
Step 10: The tool searches online for the most recent relevant attack and suggests one. Here, it finds the McKesson data breach from August 28, 2026.
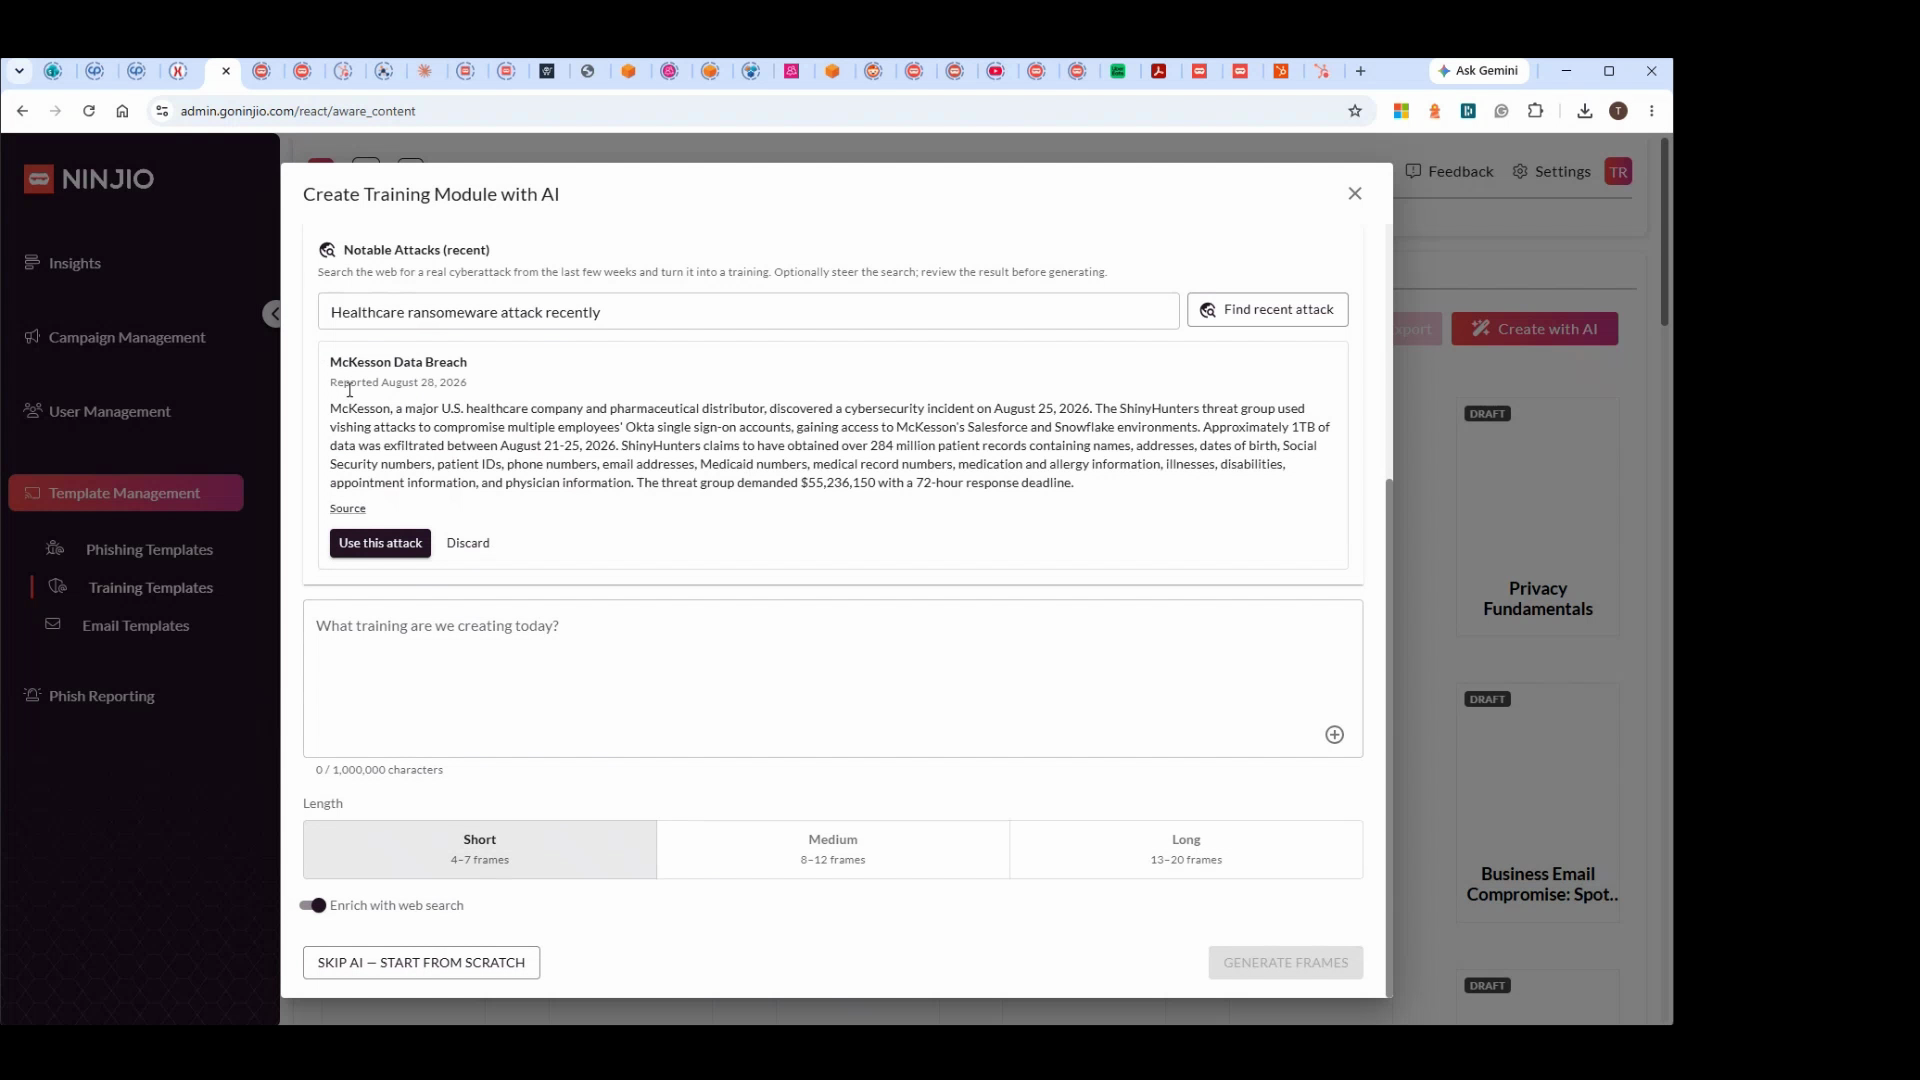
Step 11: Click Use this attack to pull breach details into your prompt.
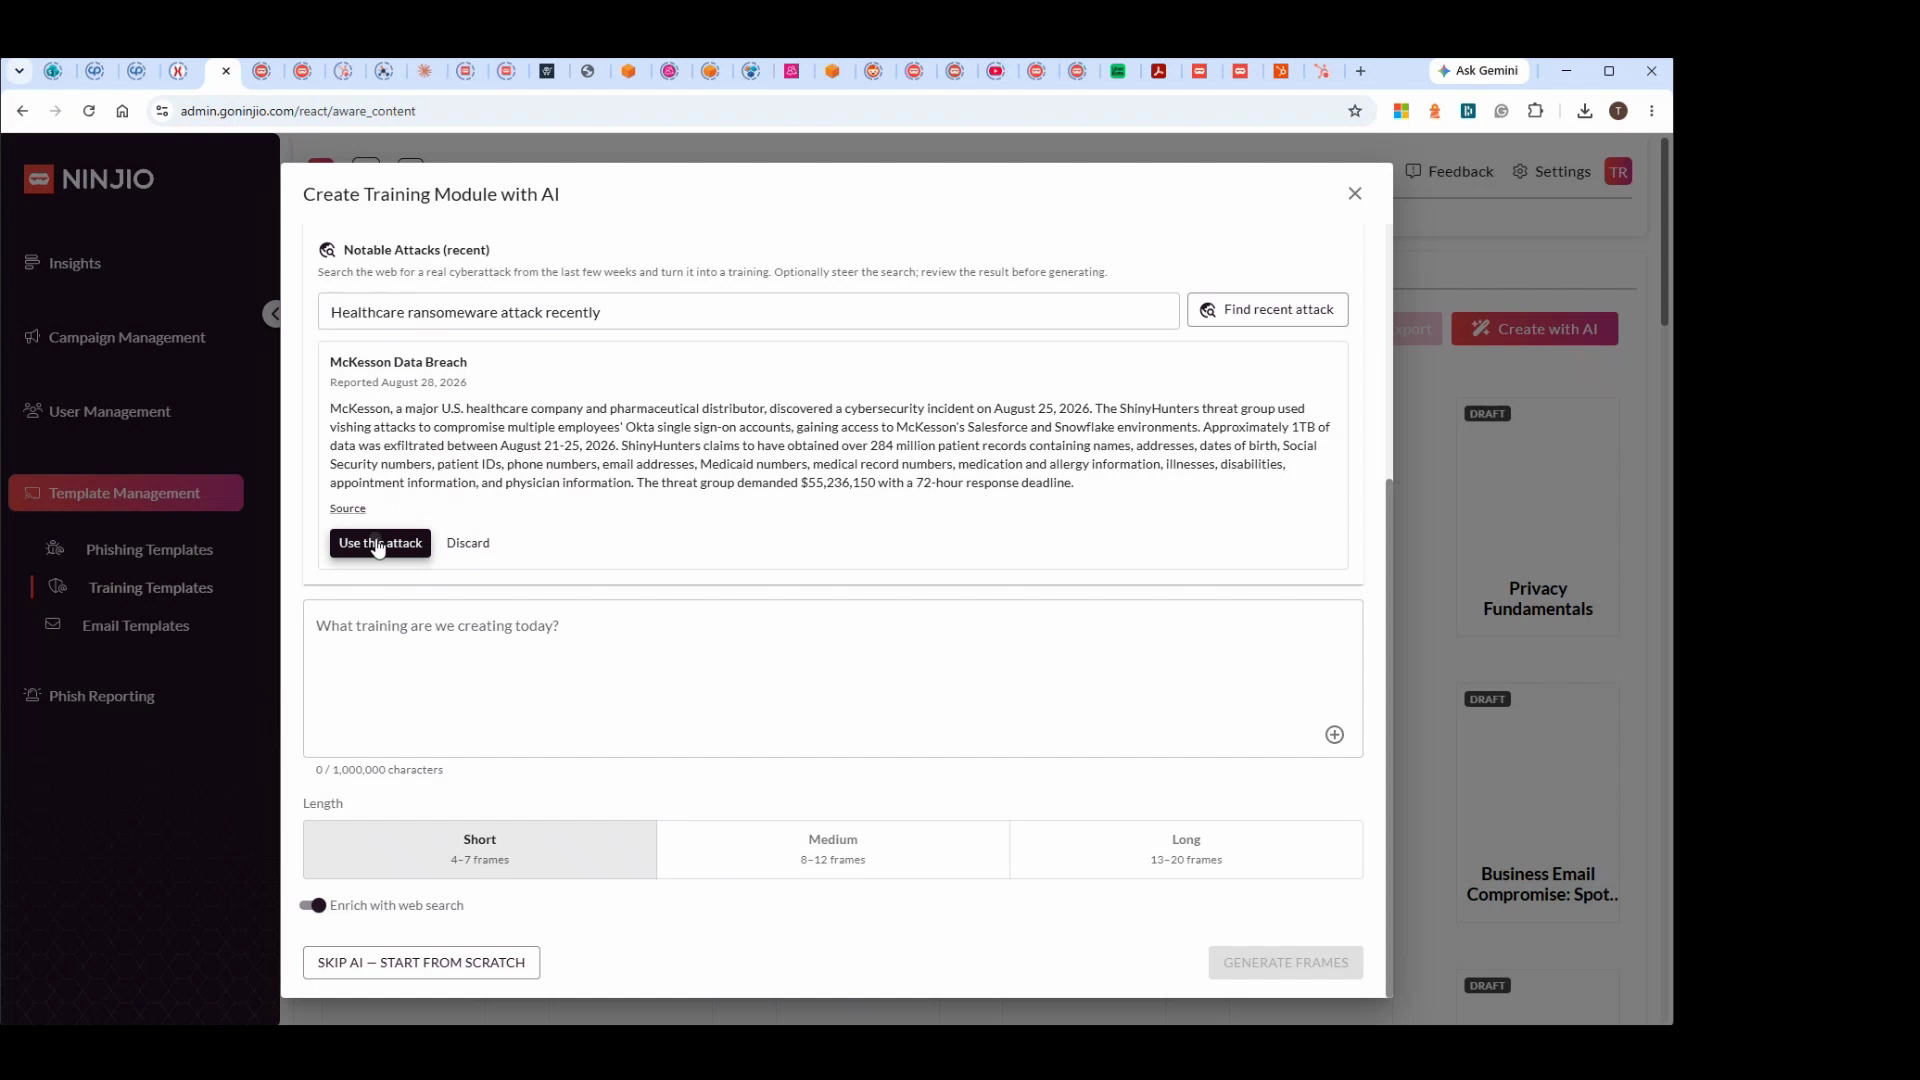
Step 12: You can also upload a document. Click to upload, and select your organization’s policy or any document you'd like to use for training.
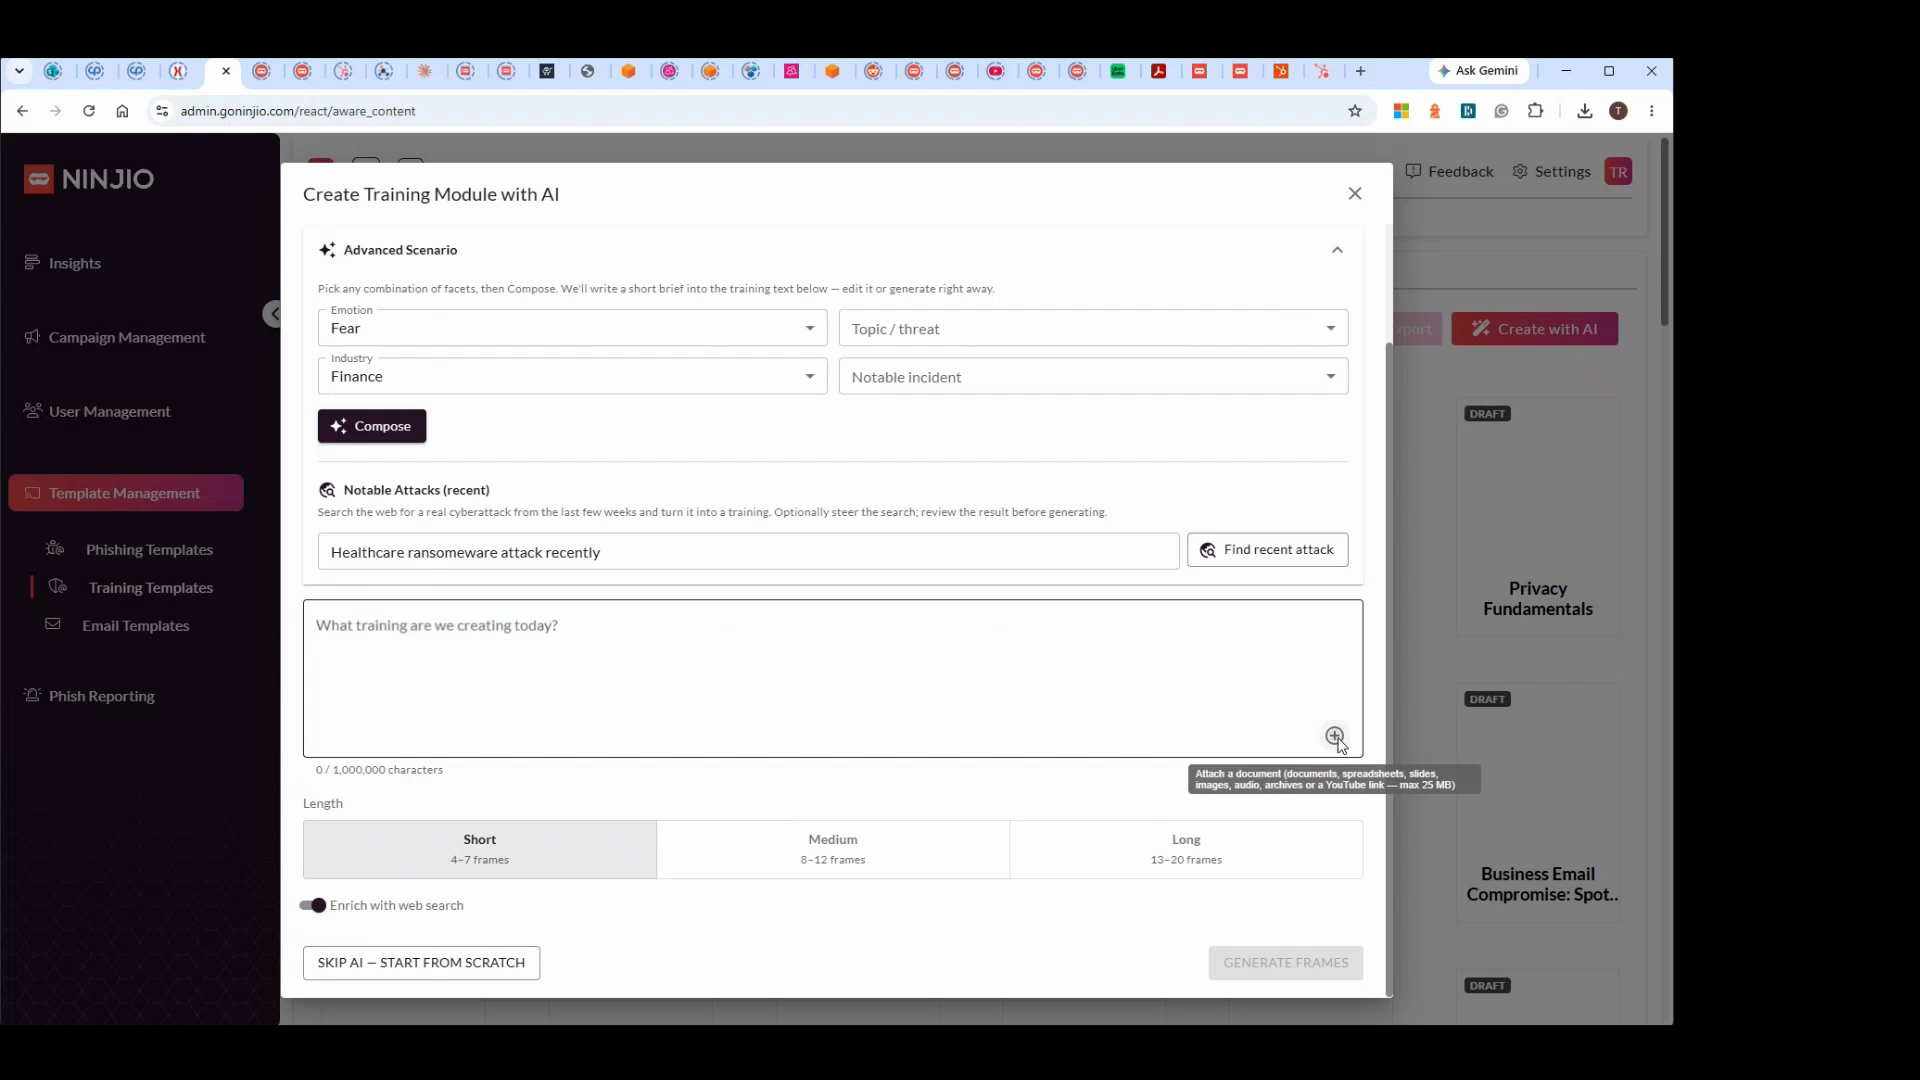
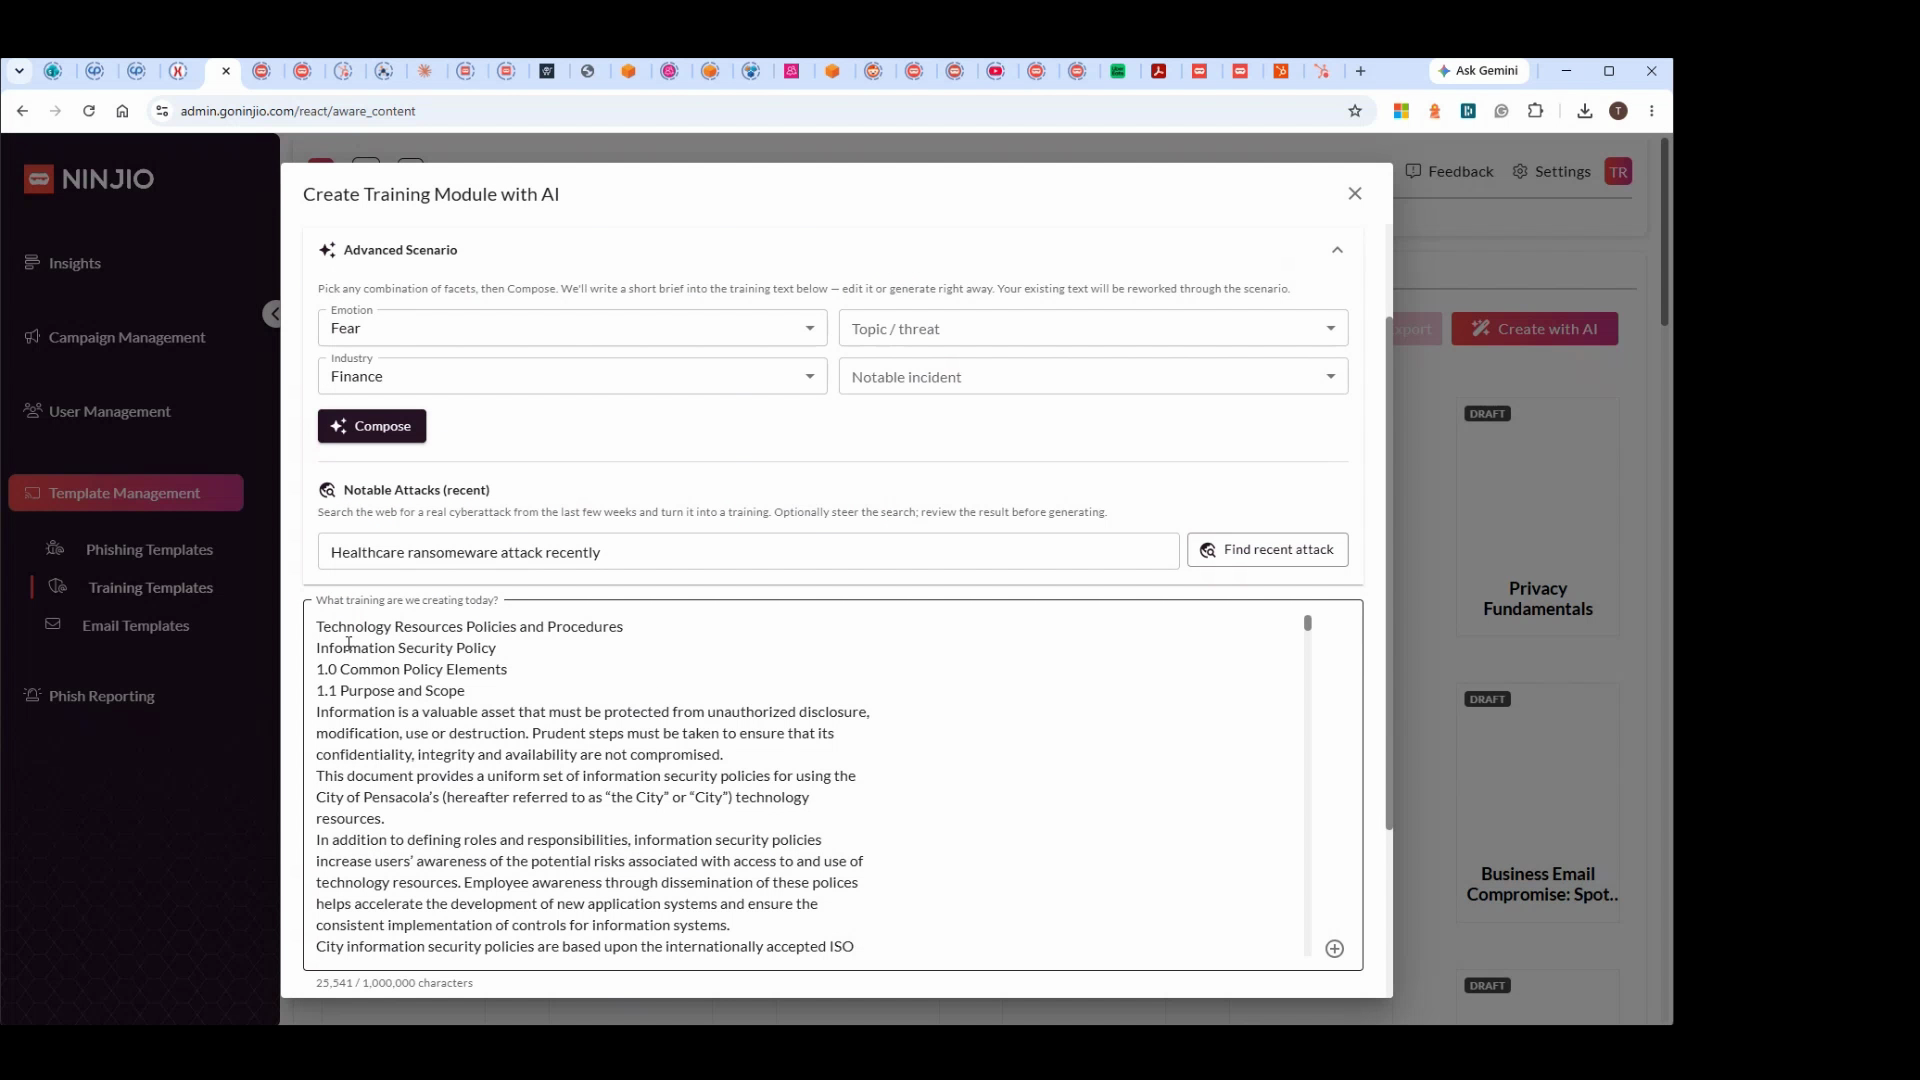
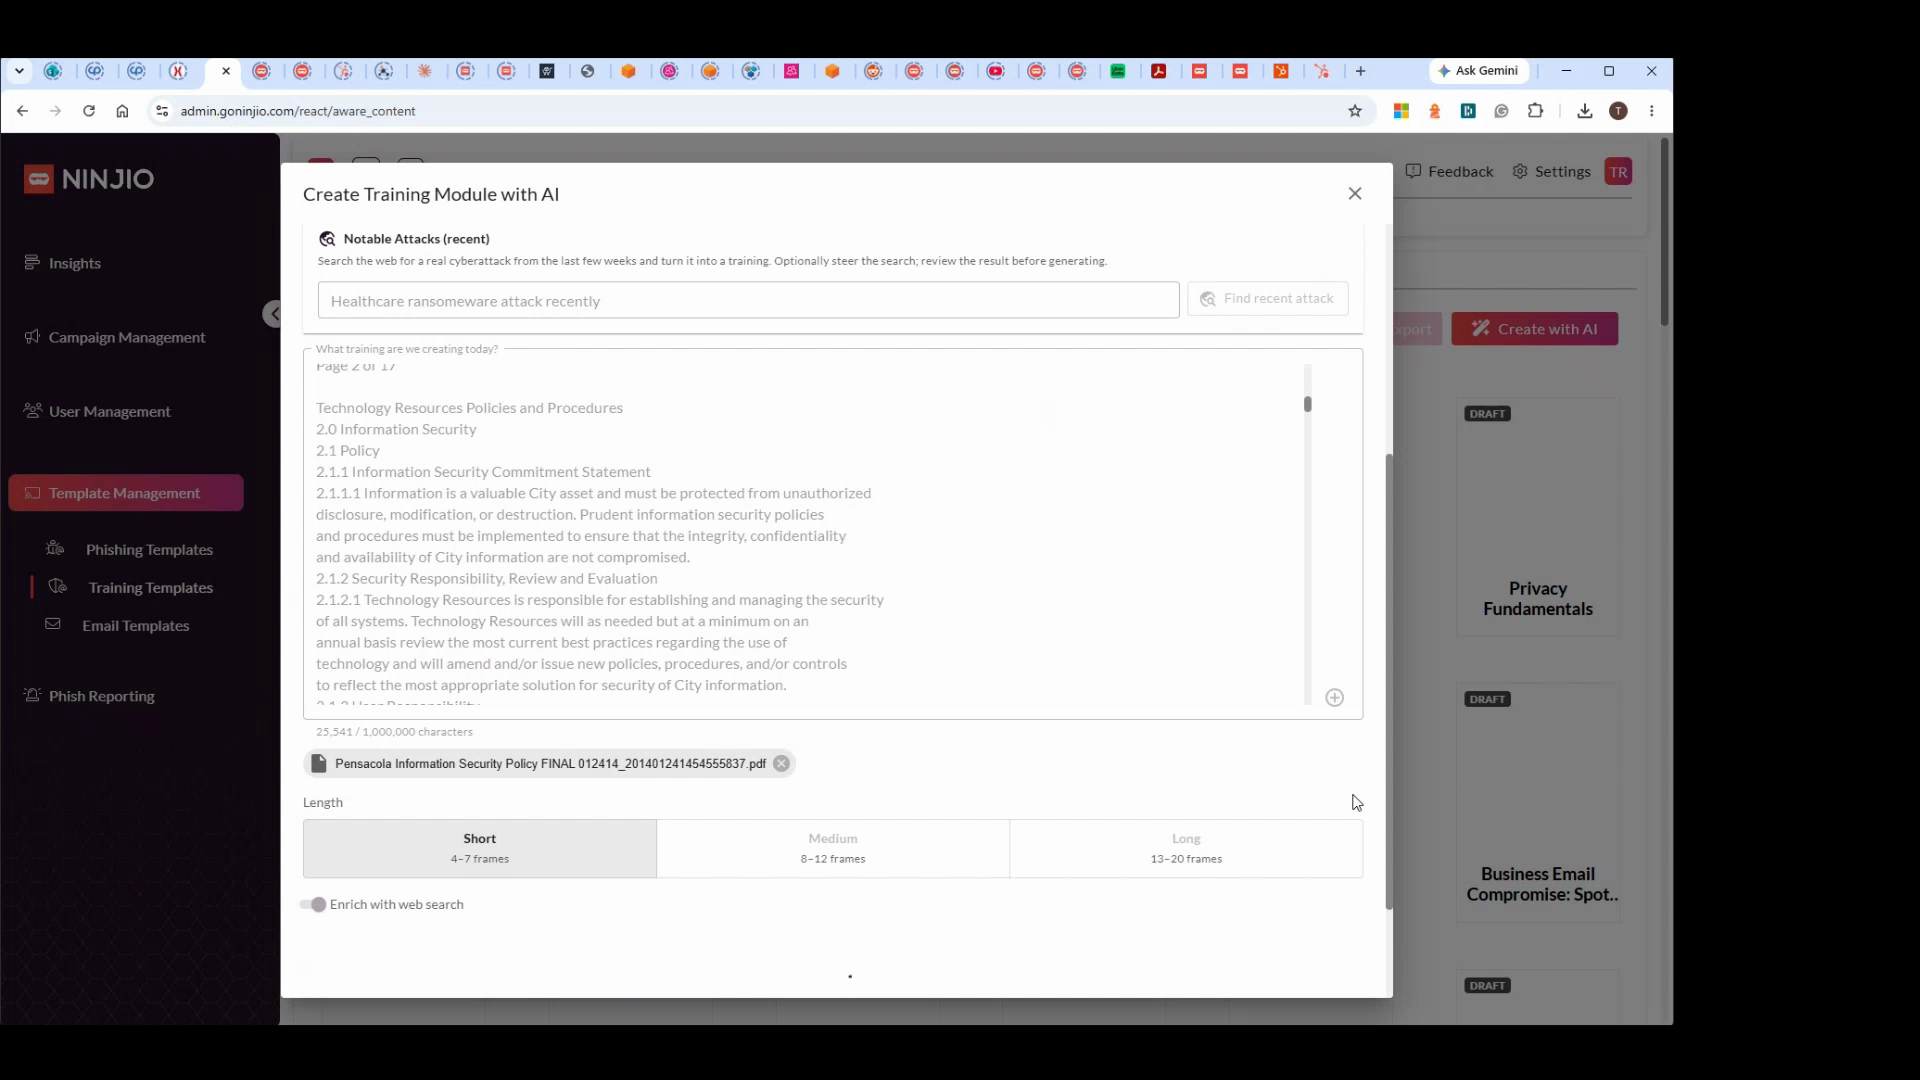
Step 13: After uploading, the policy or document text appears in the prompt area. Choose this option to build training from the document.
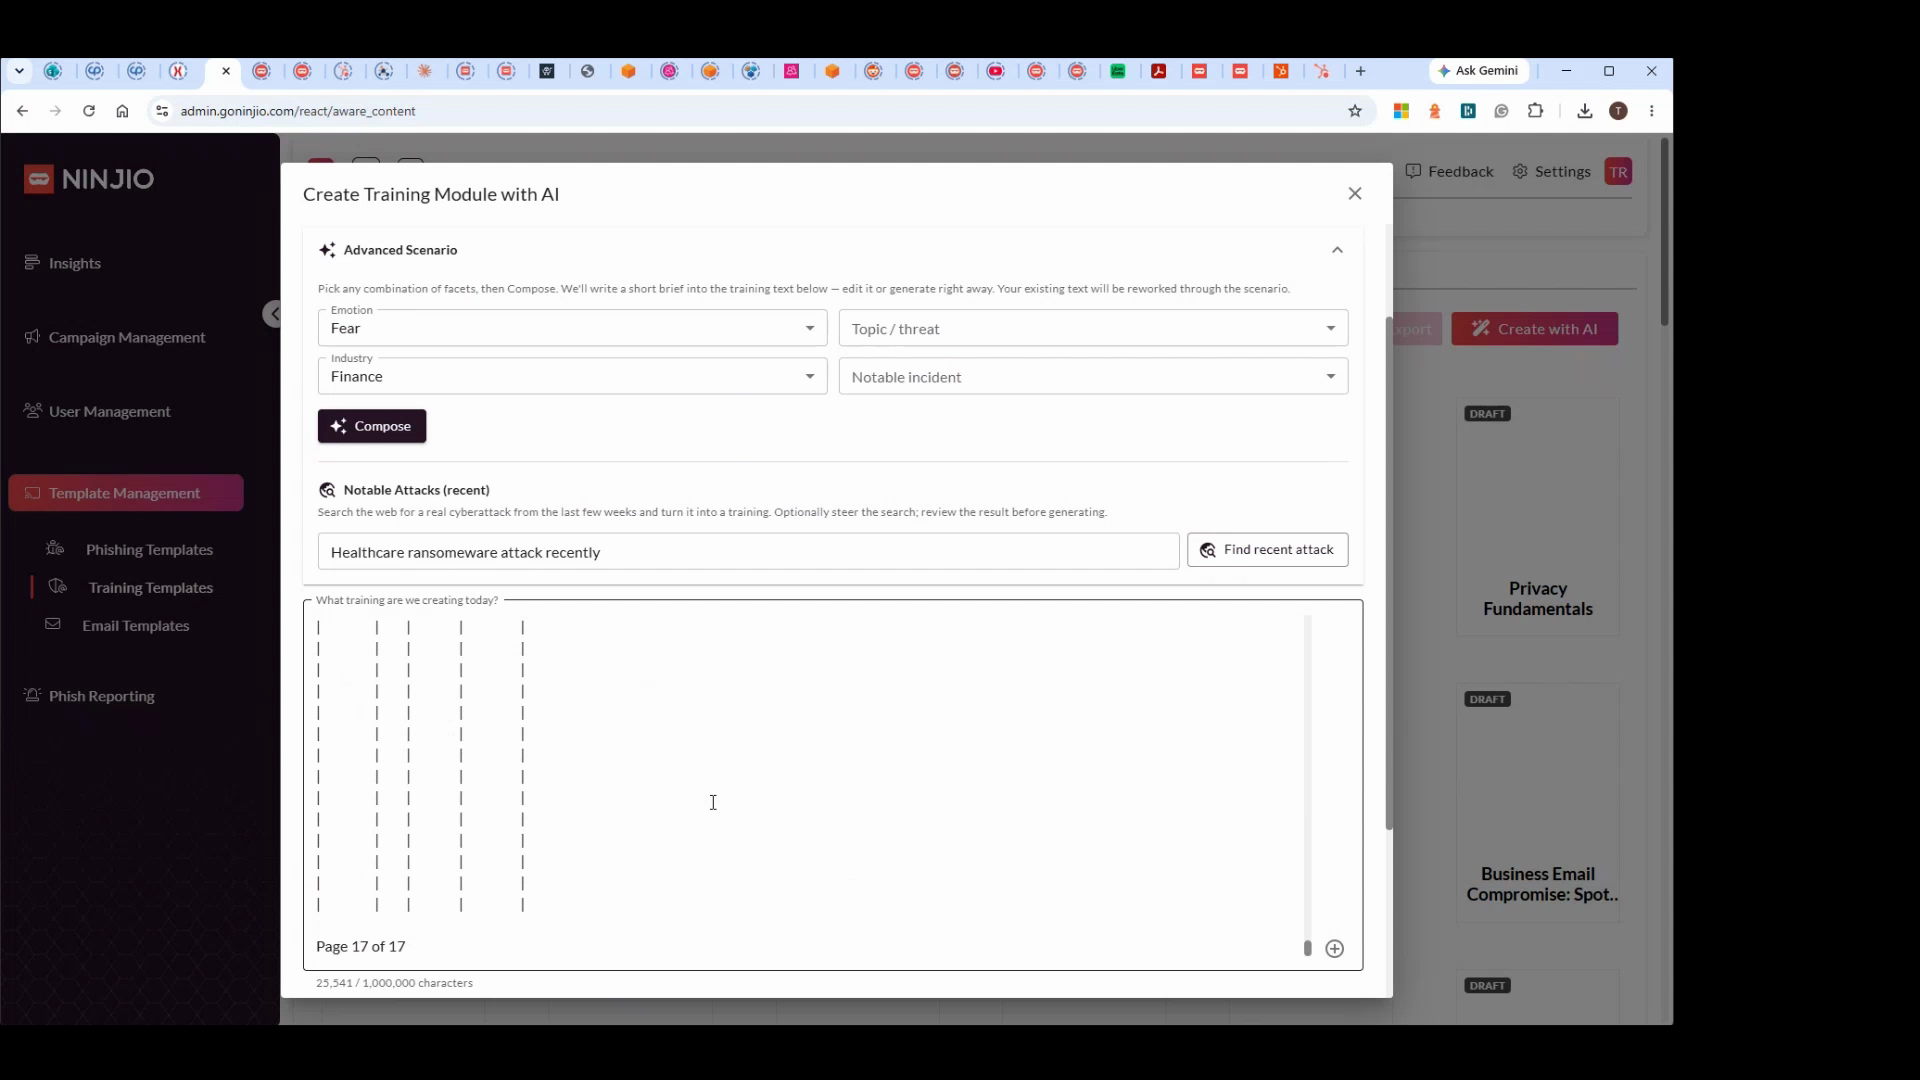
Step 14: You can create a prompt from scratch by typing into the prompt field.
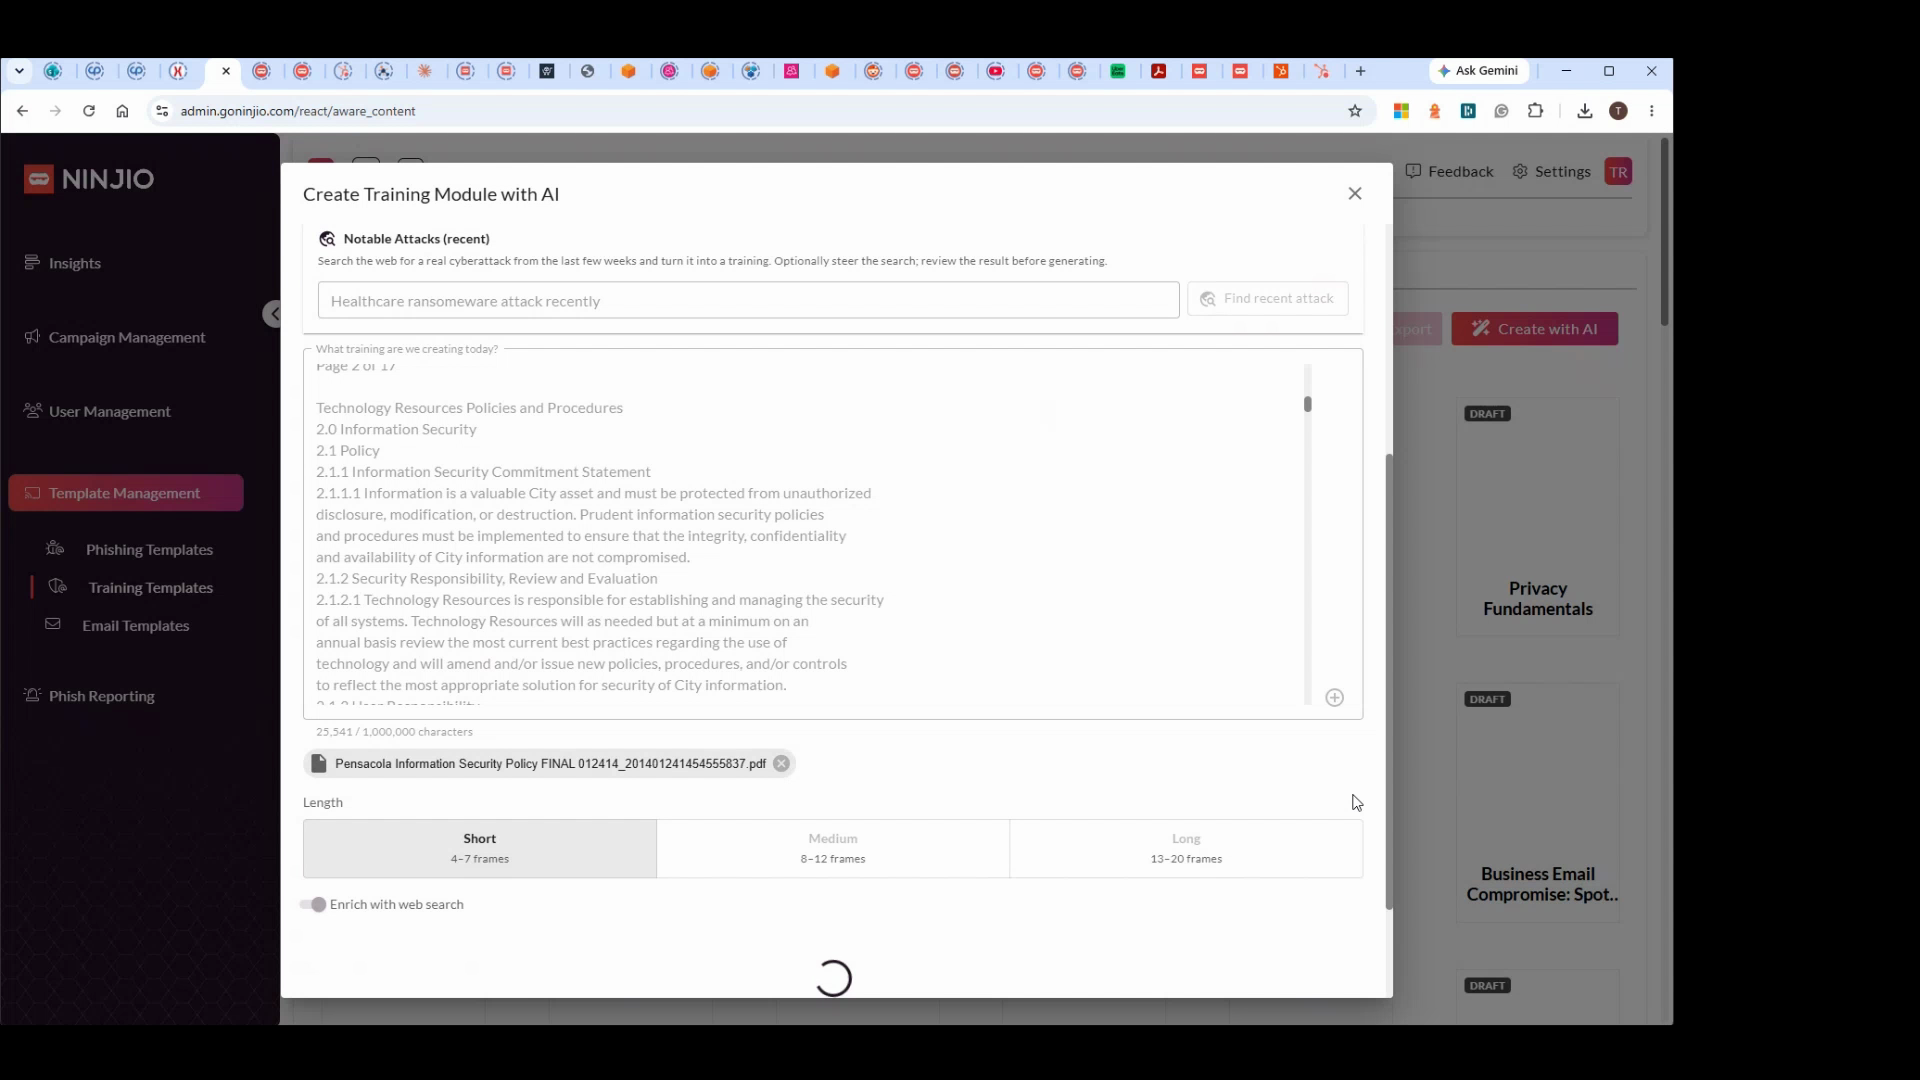
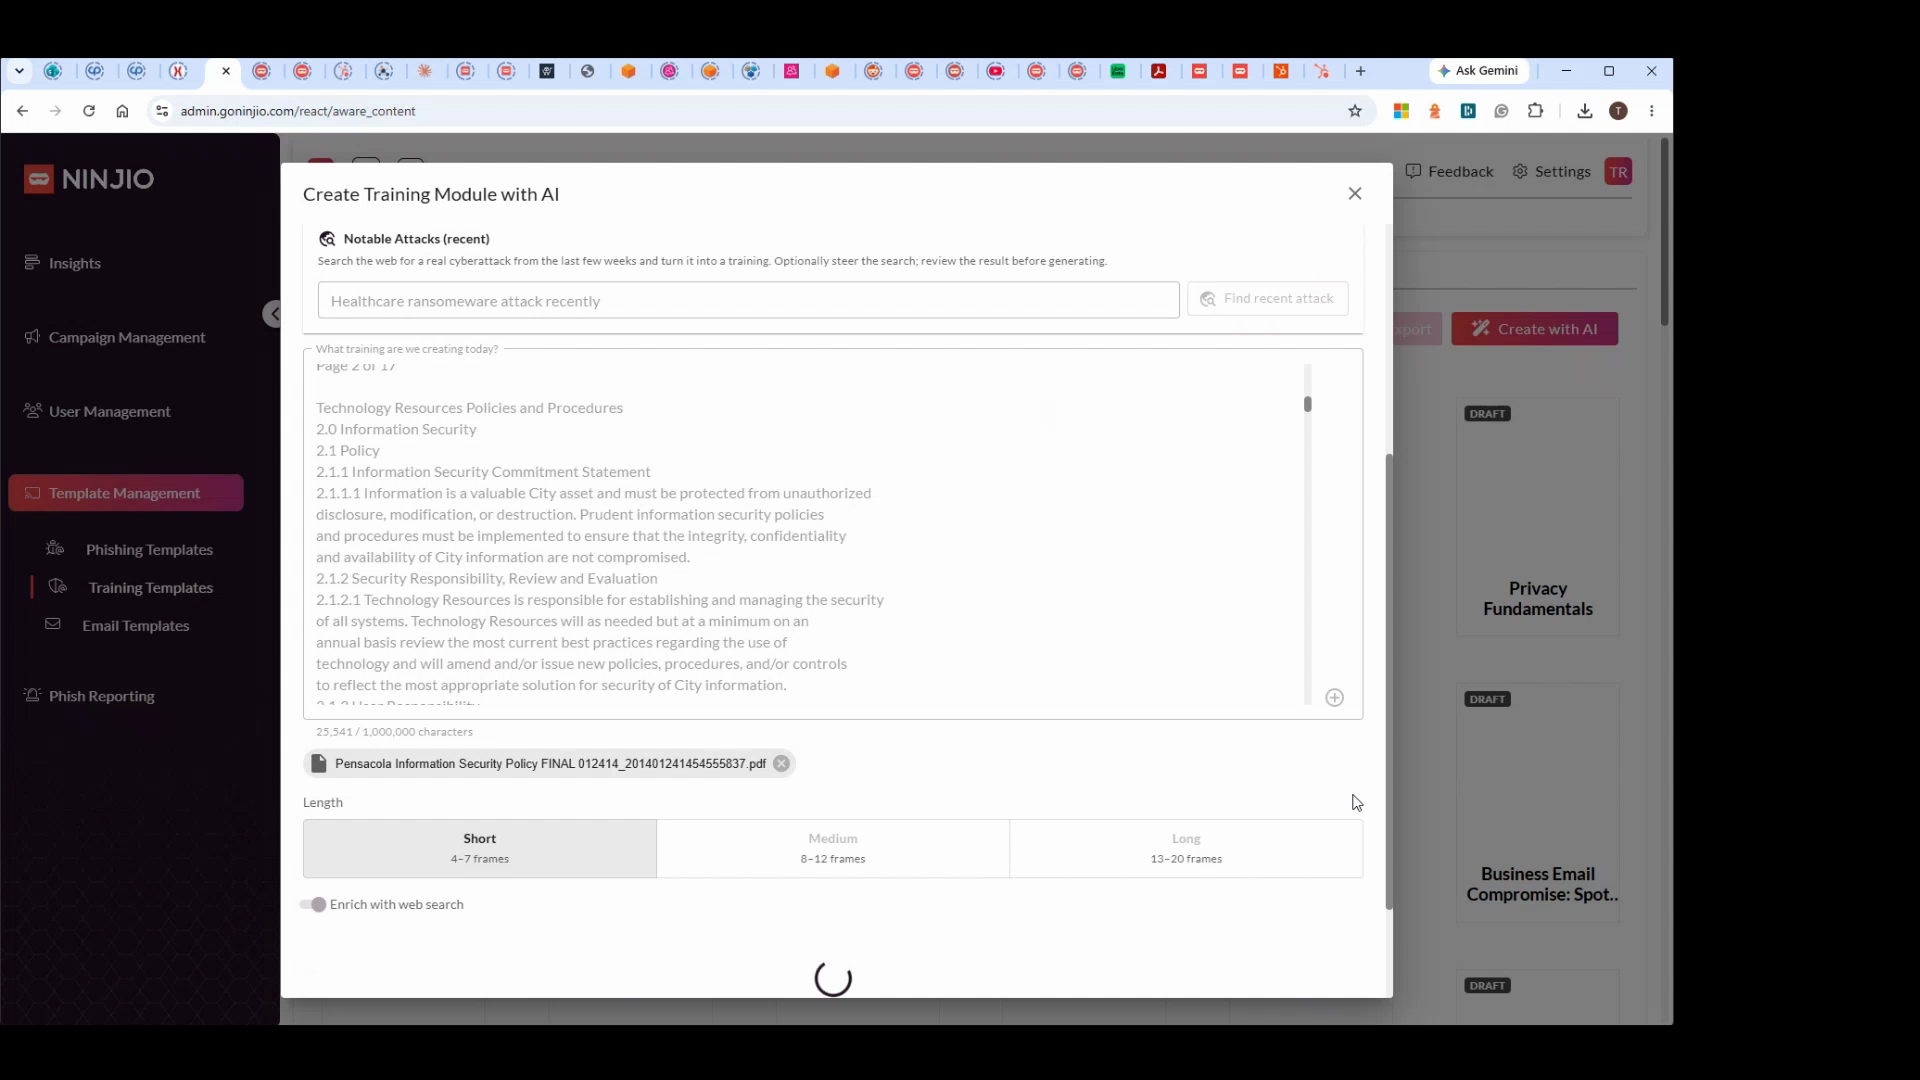
Step 15: For this example, choose the City of Pensacola’s policy and select Short format training.
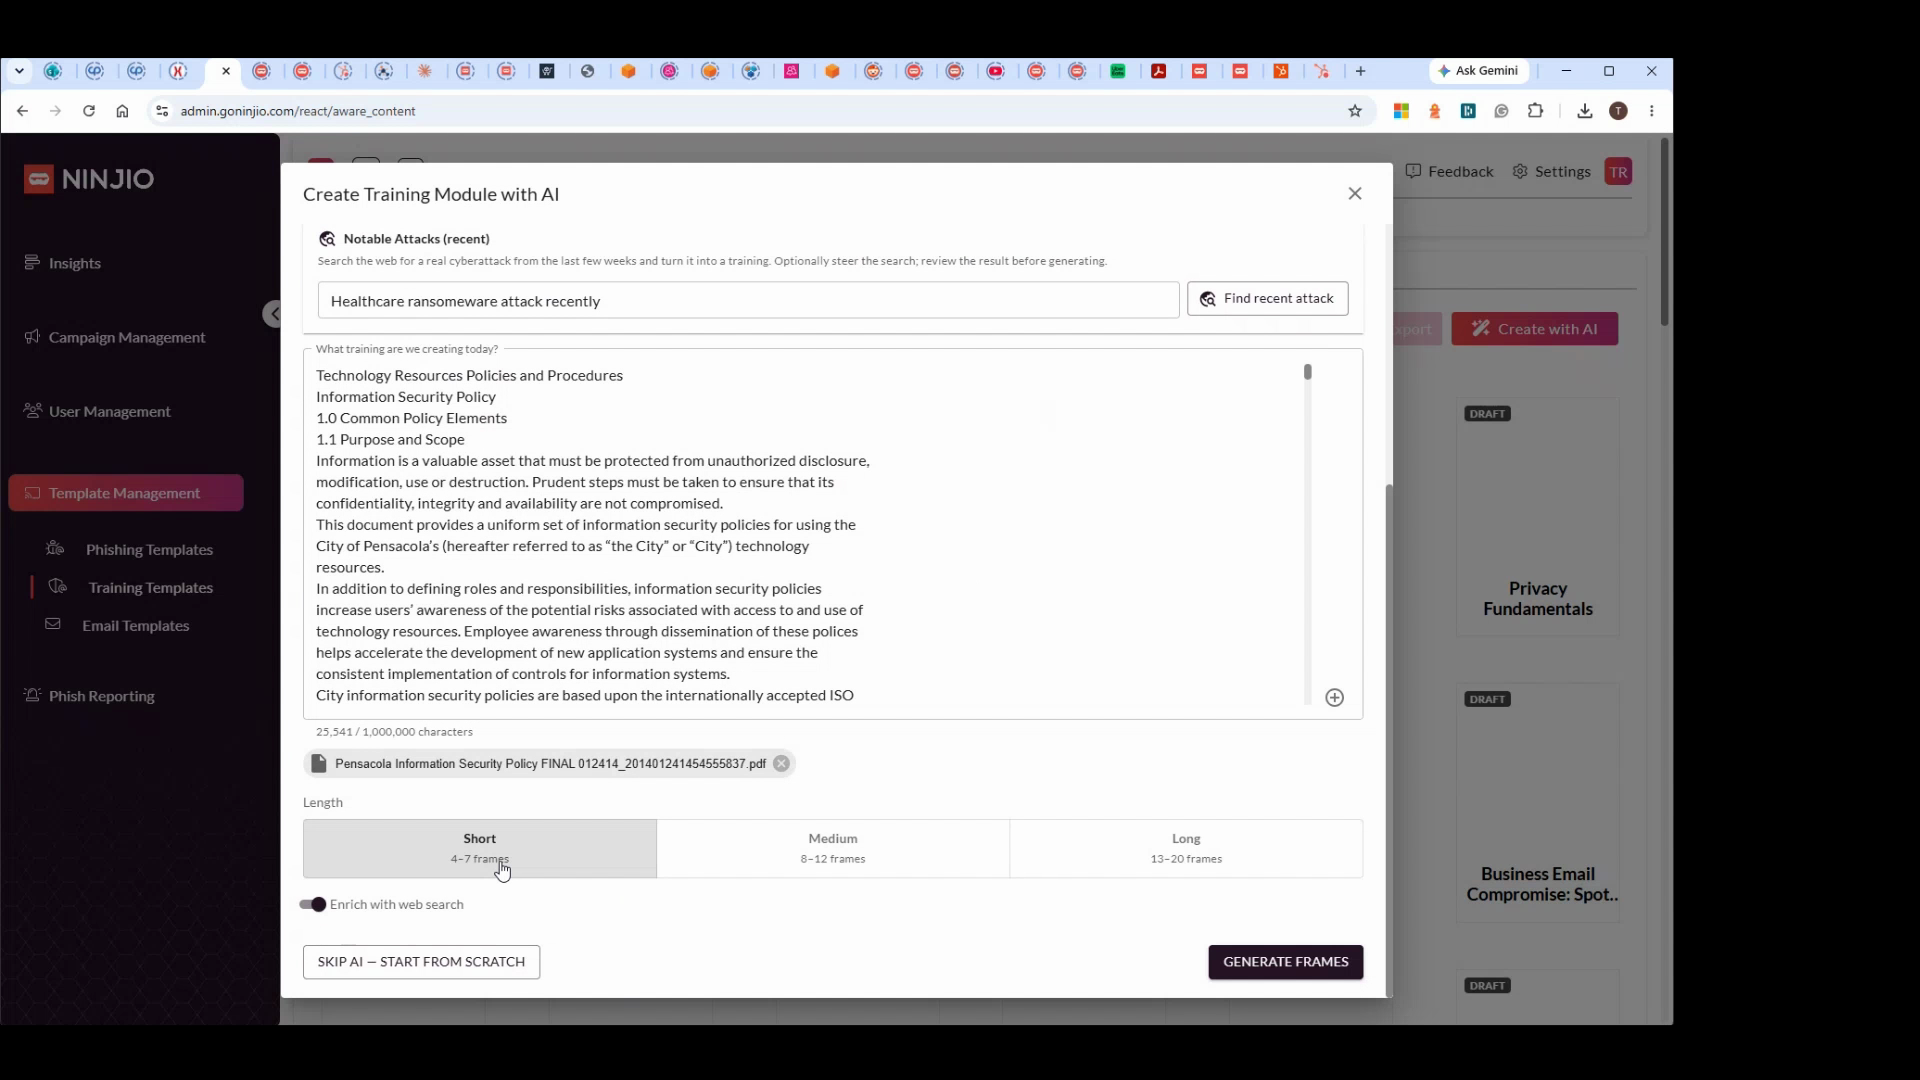
Step 16: Click Generate Frames to build a draft slide deck based on your prompt.
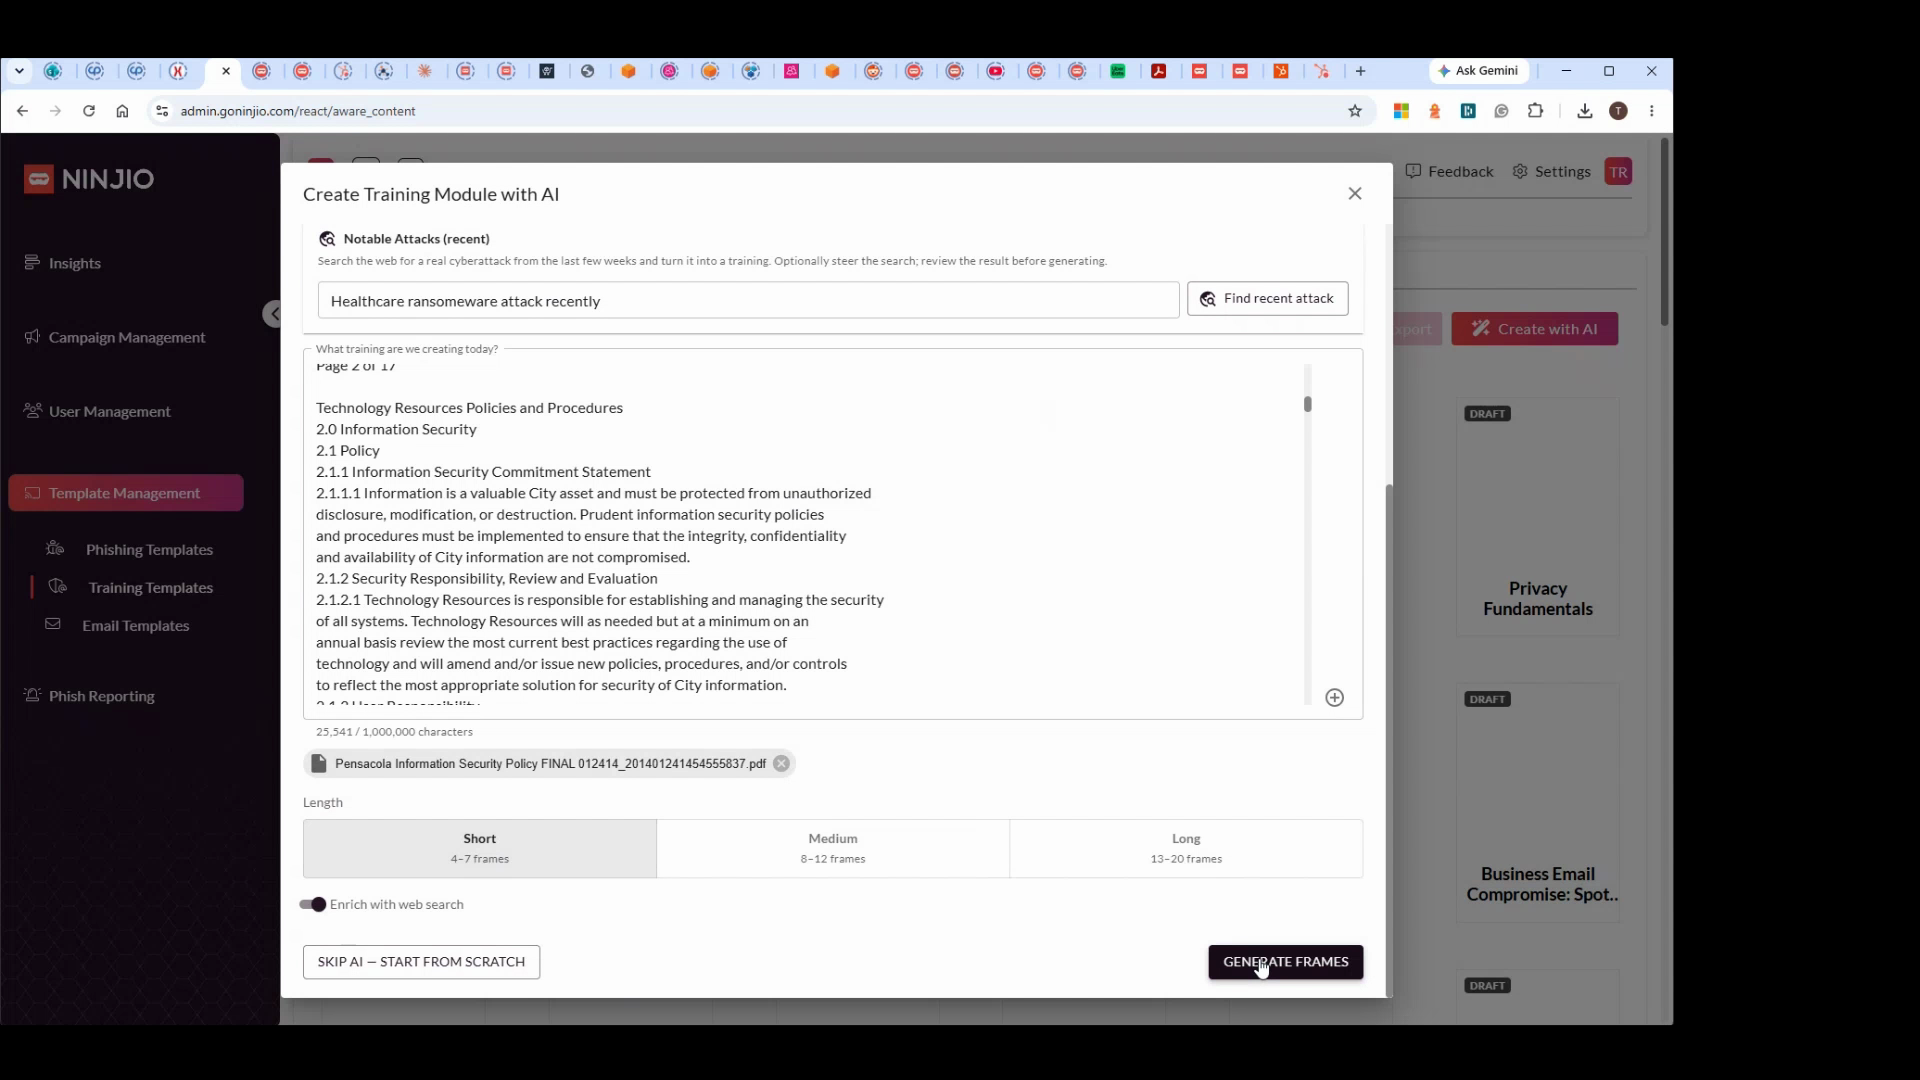
Step 17: Wait a moment as your deck is created.
Step 18: Review your slide deck. Edit visuals, audio, text, and quiz content as needed. You can adjust each frame for your needs.
Step 19: Make all desired edits before finalizing. When you’re ready, click Generate to use a credit and move forward.
Step 20: On the refinement page, see your training frames. Update frames as needed—background, characters, labels, and narration.
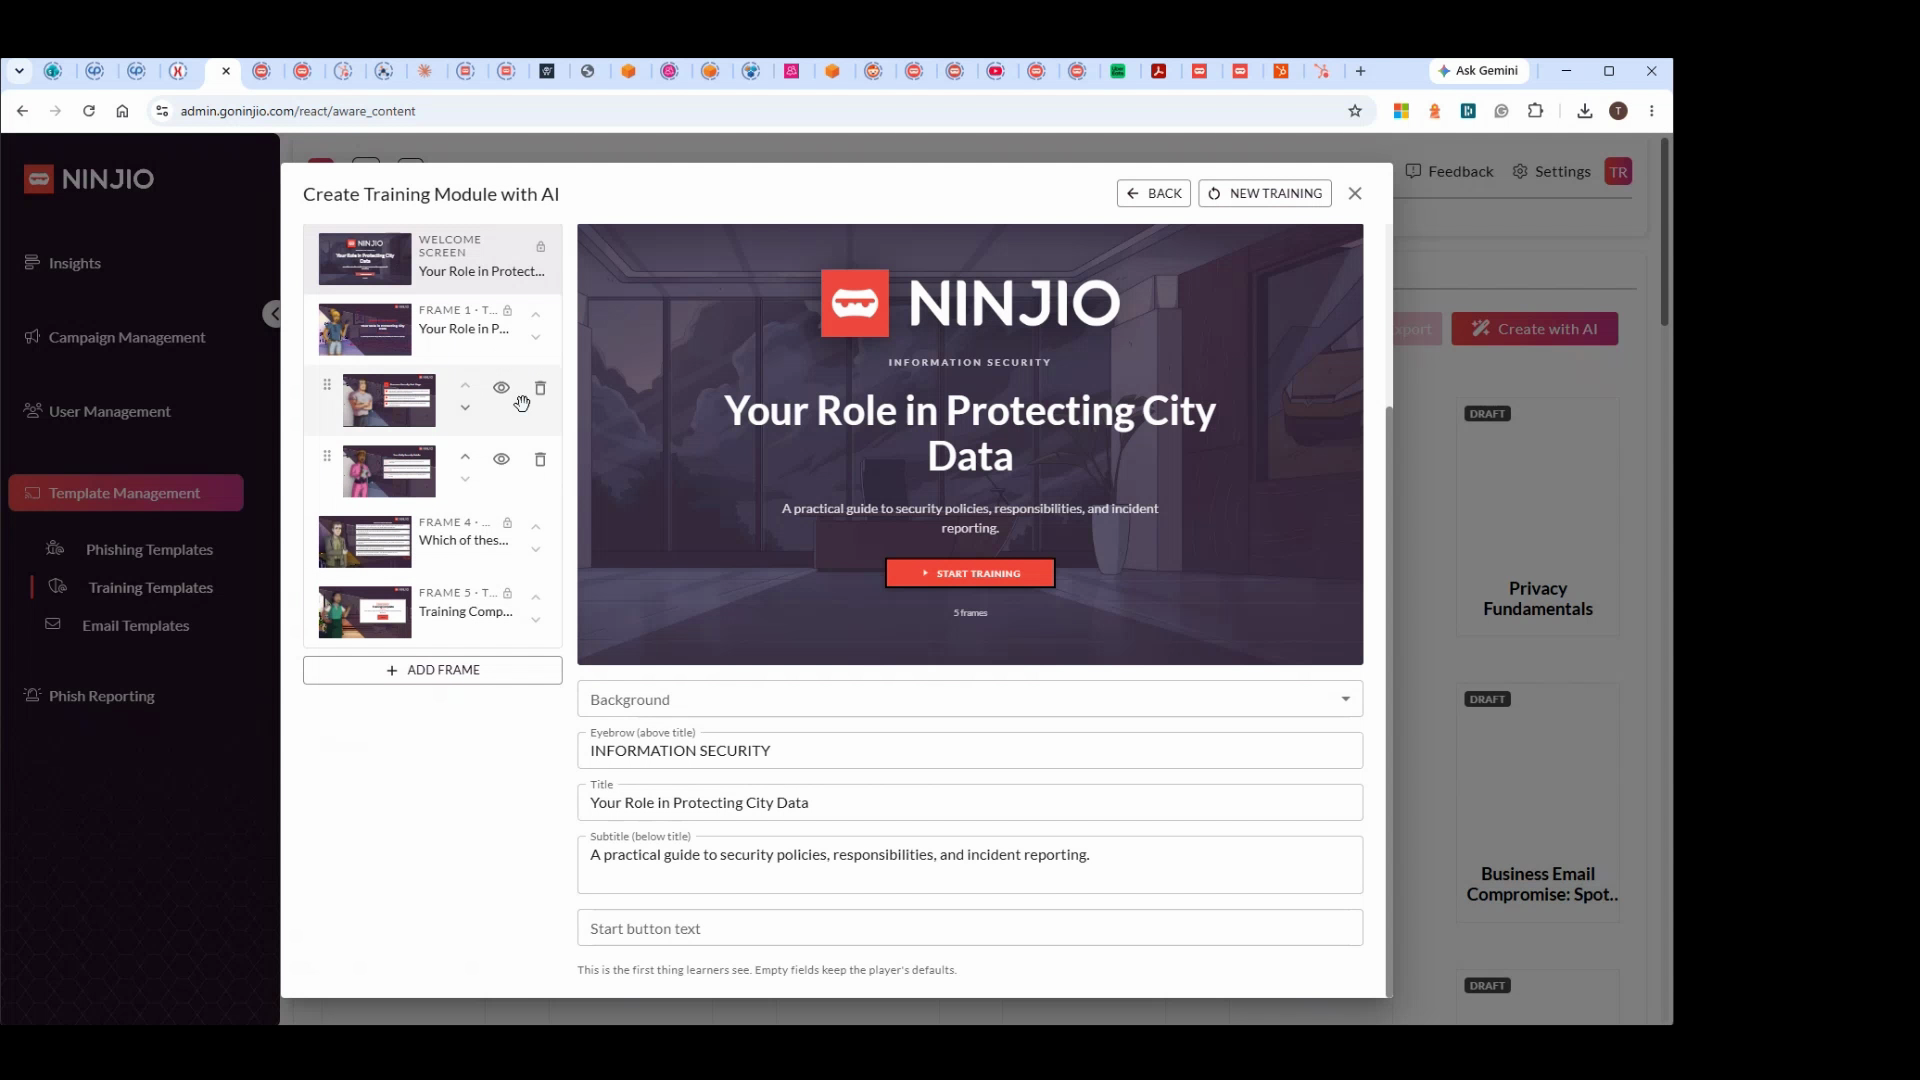
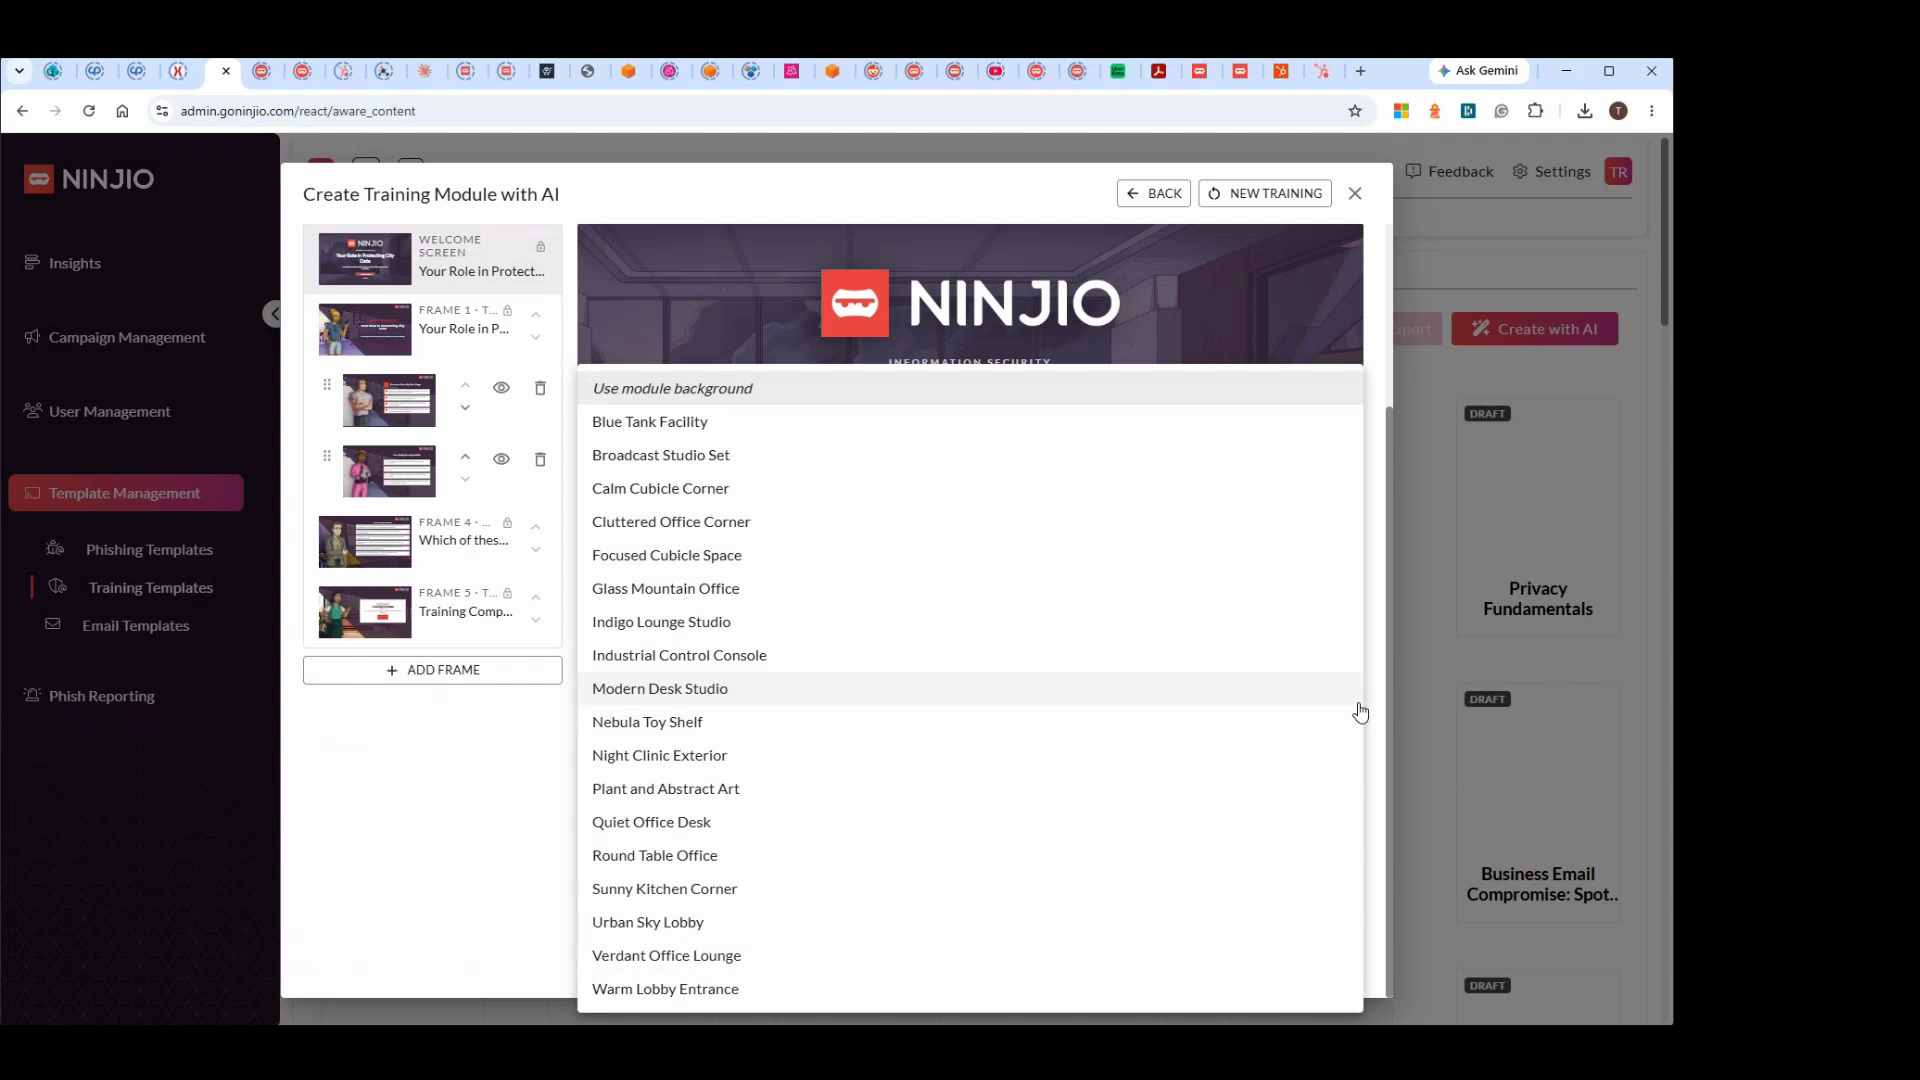
Step 21: Customize each slide’s content, visuals, and audio. For example, update the background to match your setting, like a round office table.
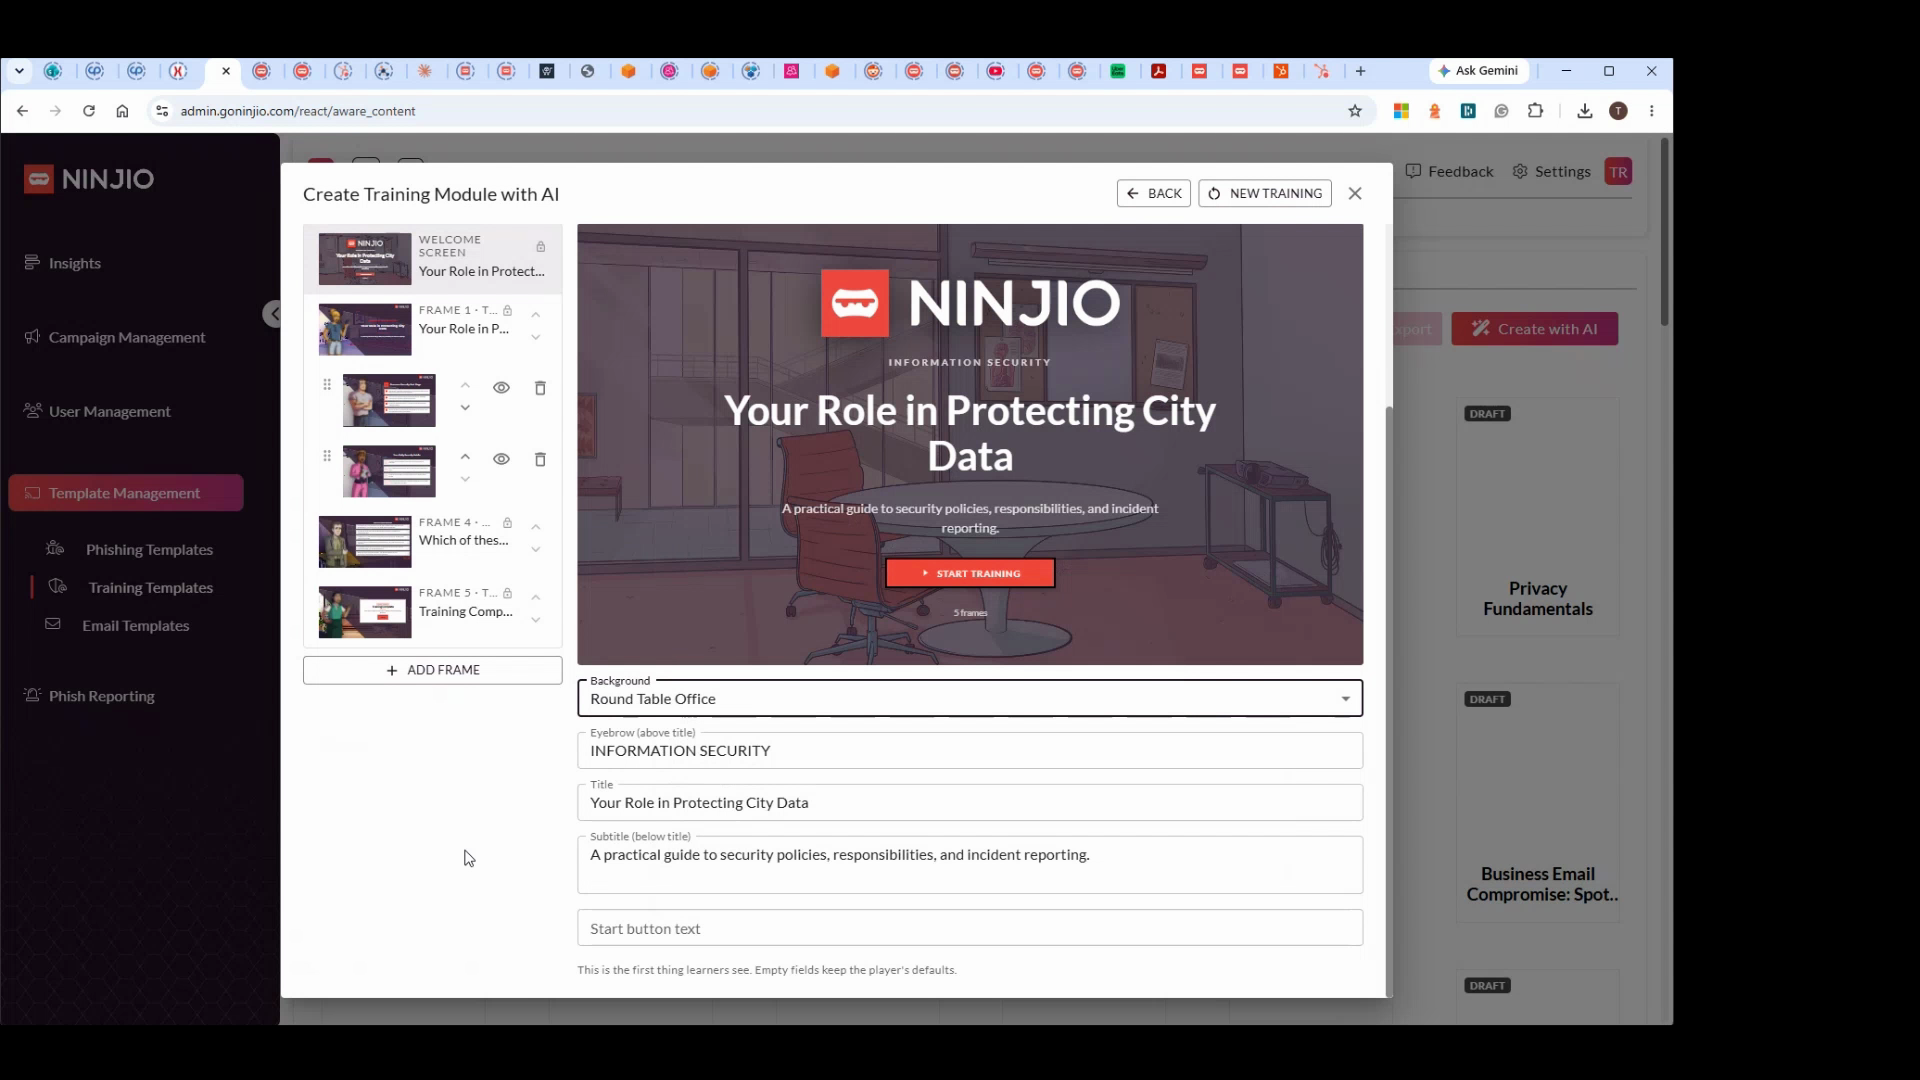
Step 22: Edit the main messages—for example, highlight how only you can protect the city, and add subtitles like “Practical Guide: Policies, Responsibility, Incident Reporting.” Change the Start Training button text if desired.
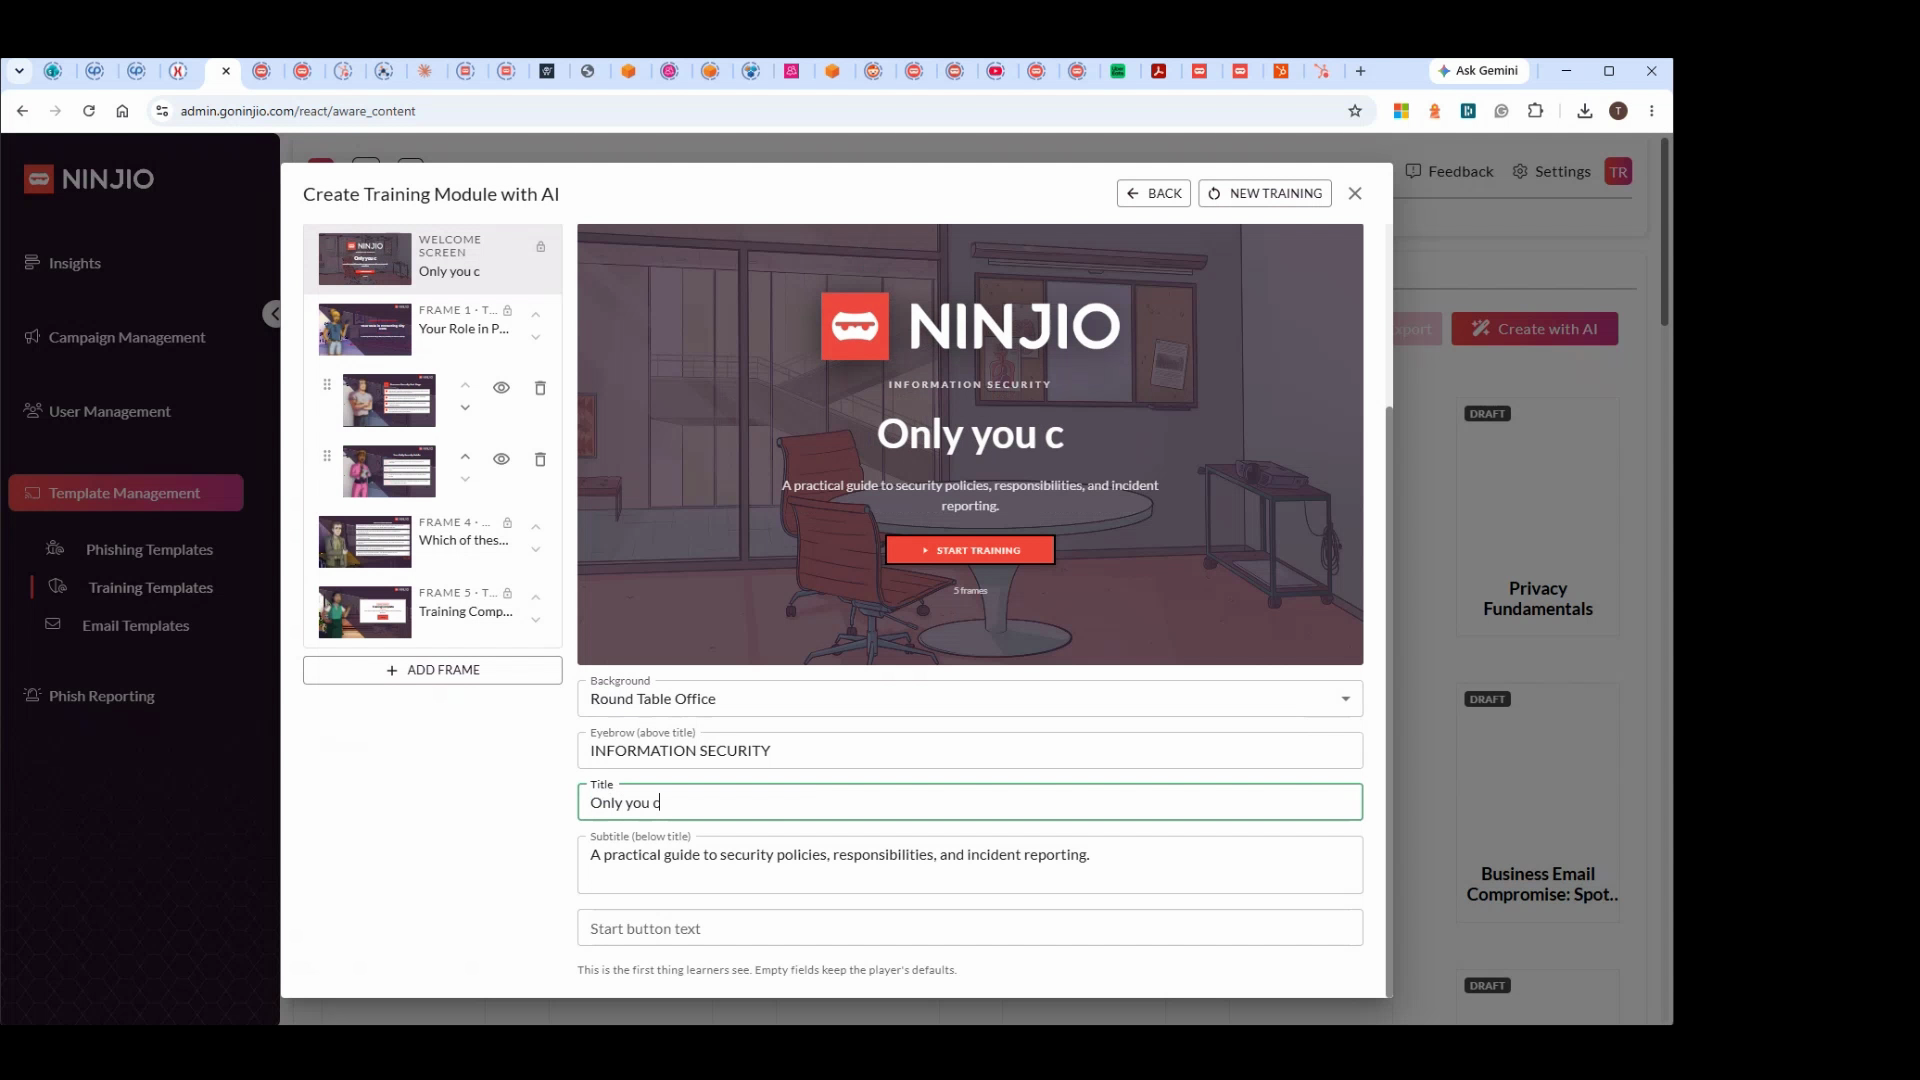
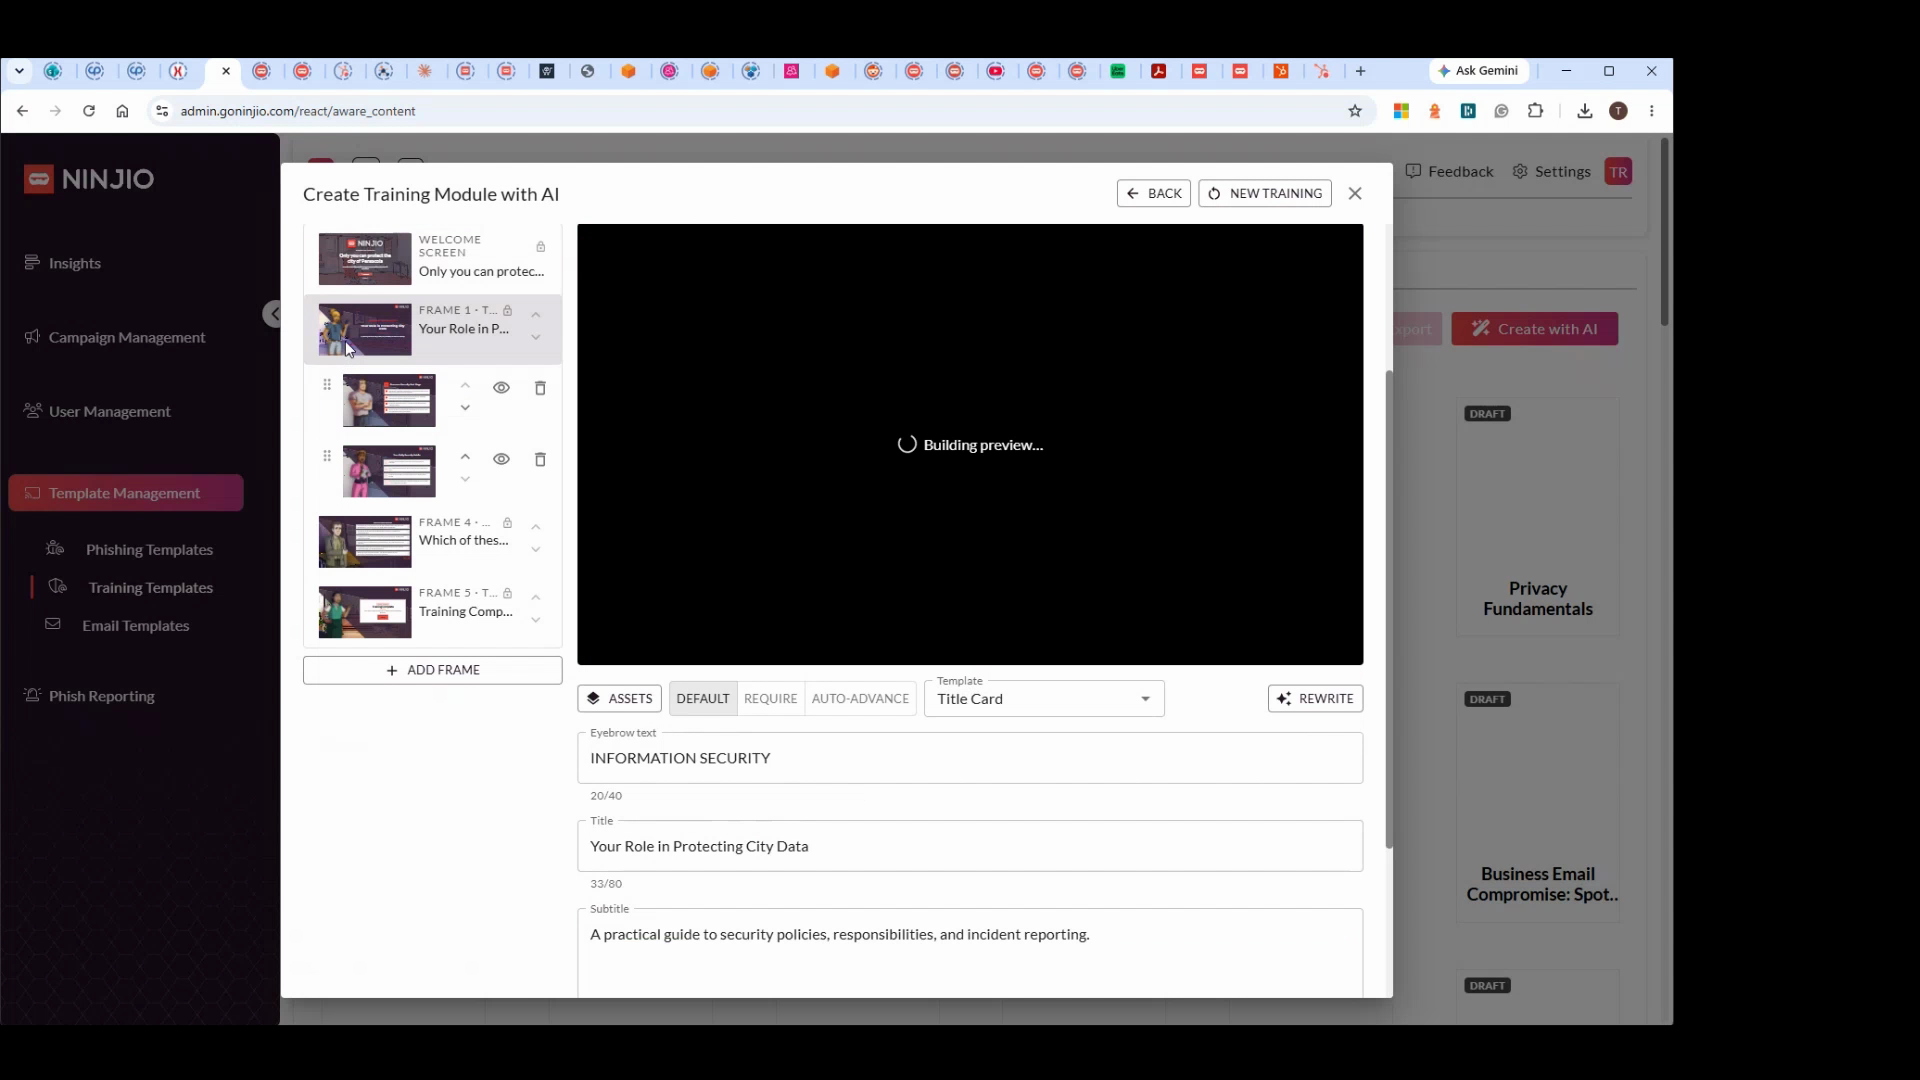
Step 23: Navigate through each frame. Make changes to eyebrow text, script, or slide visuals.
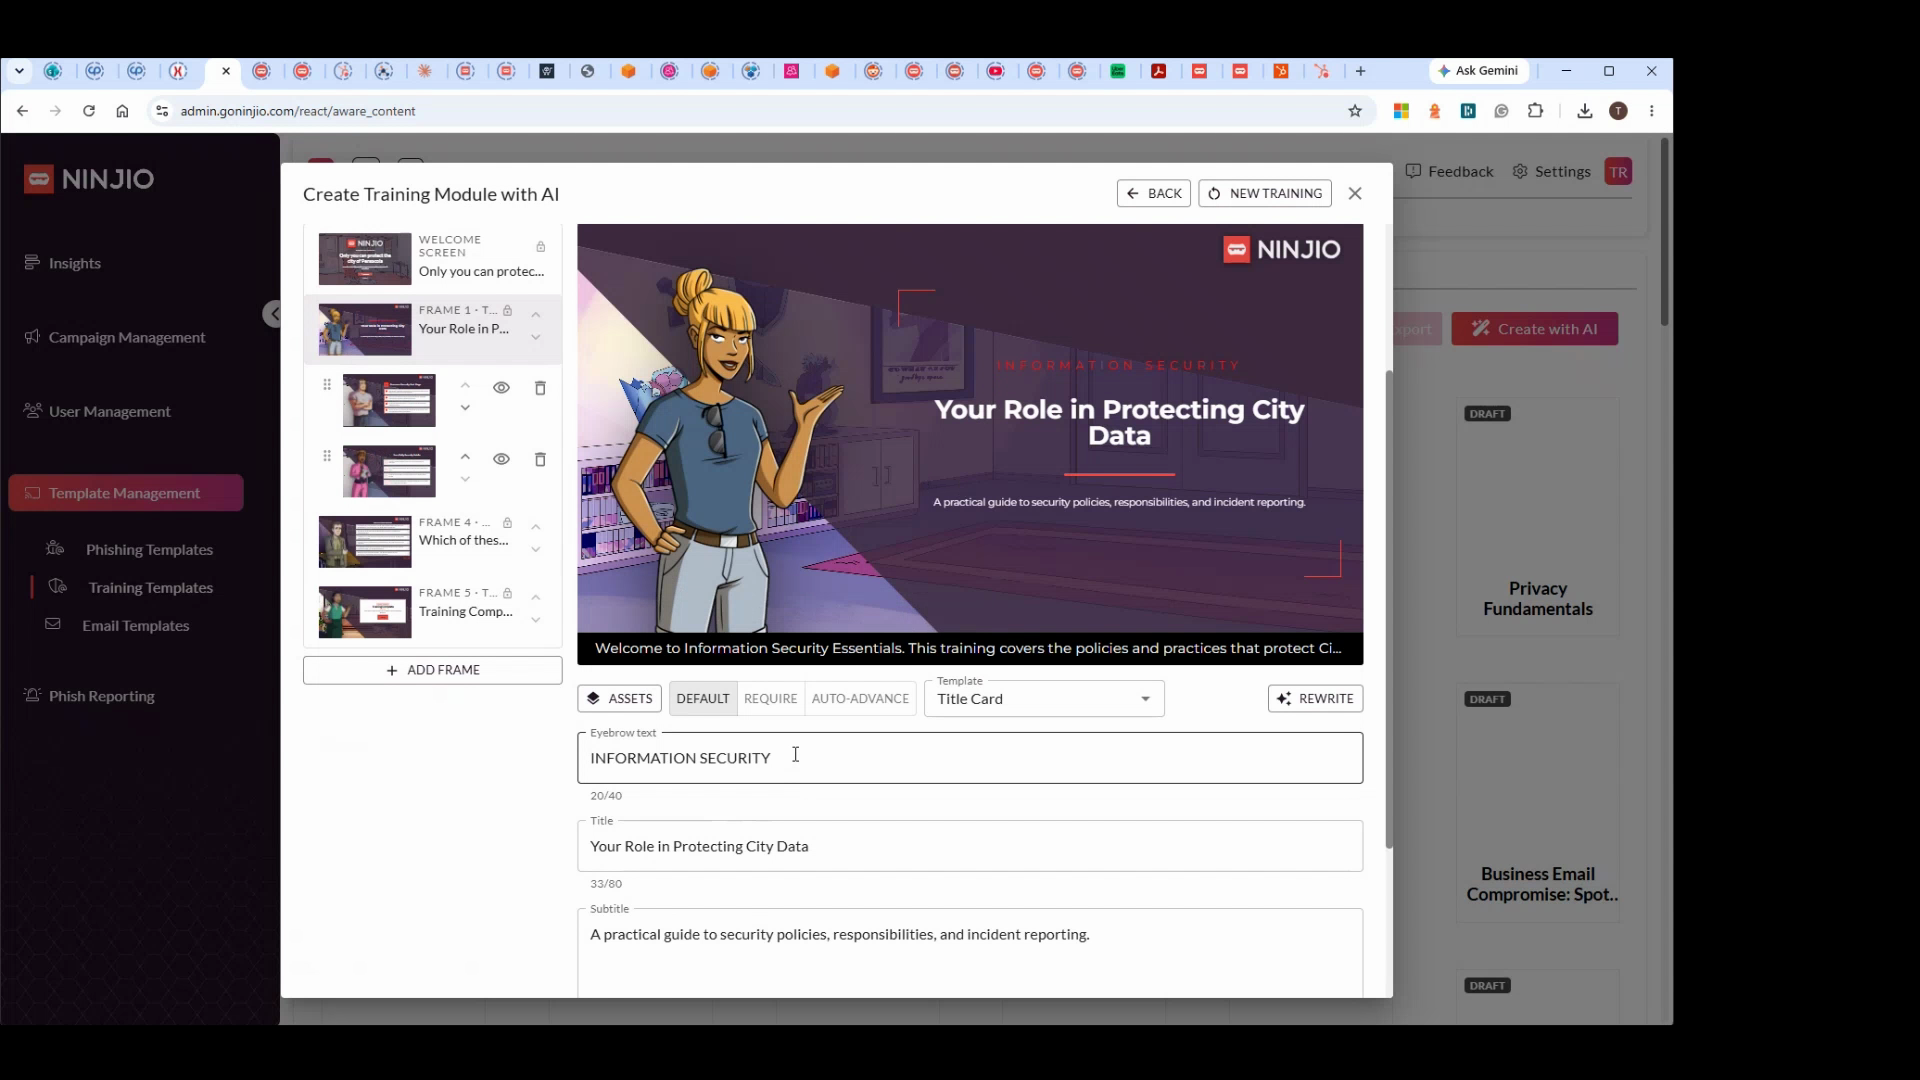
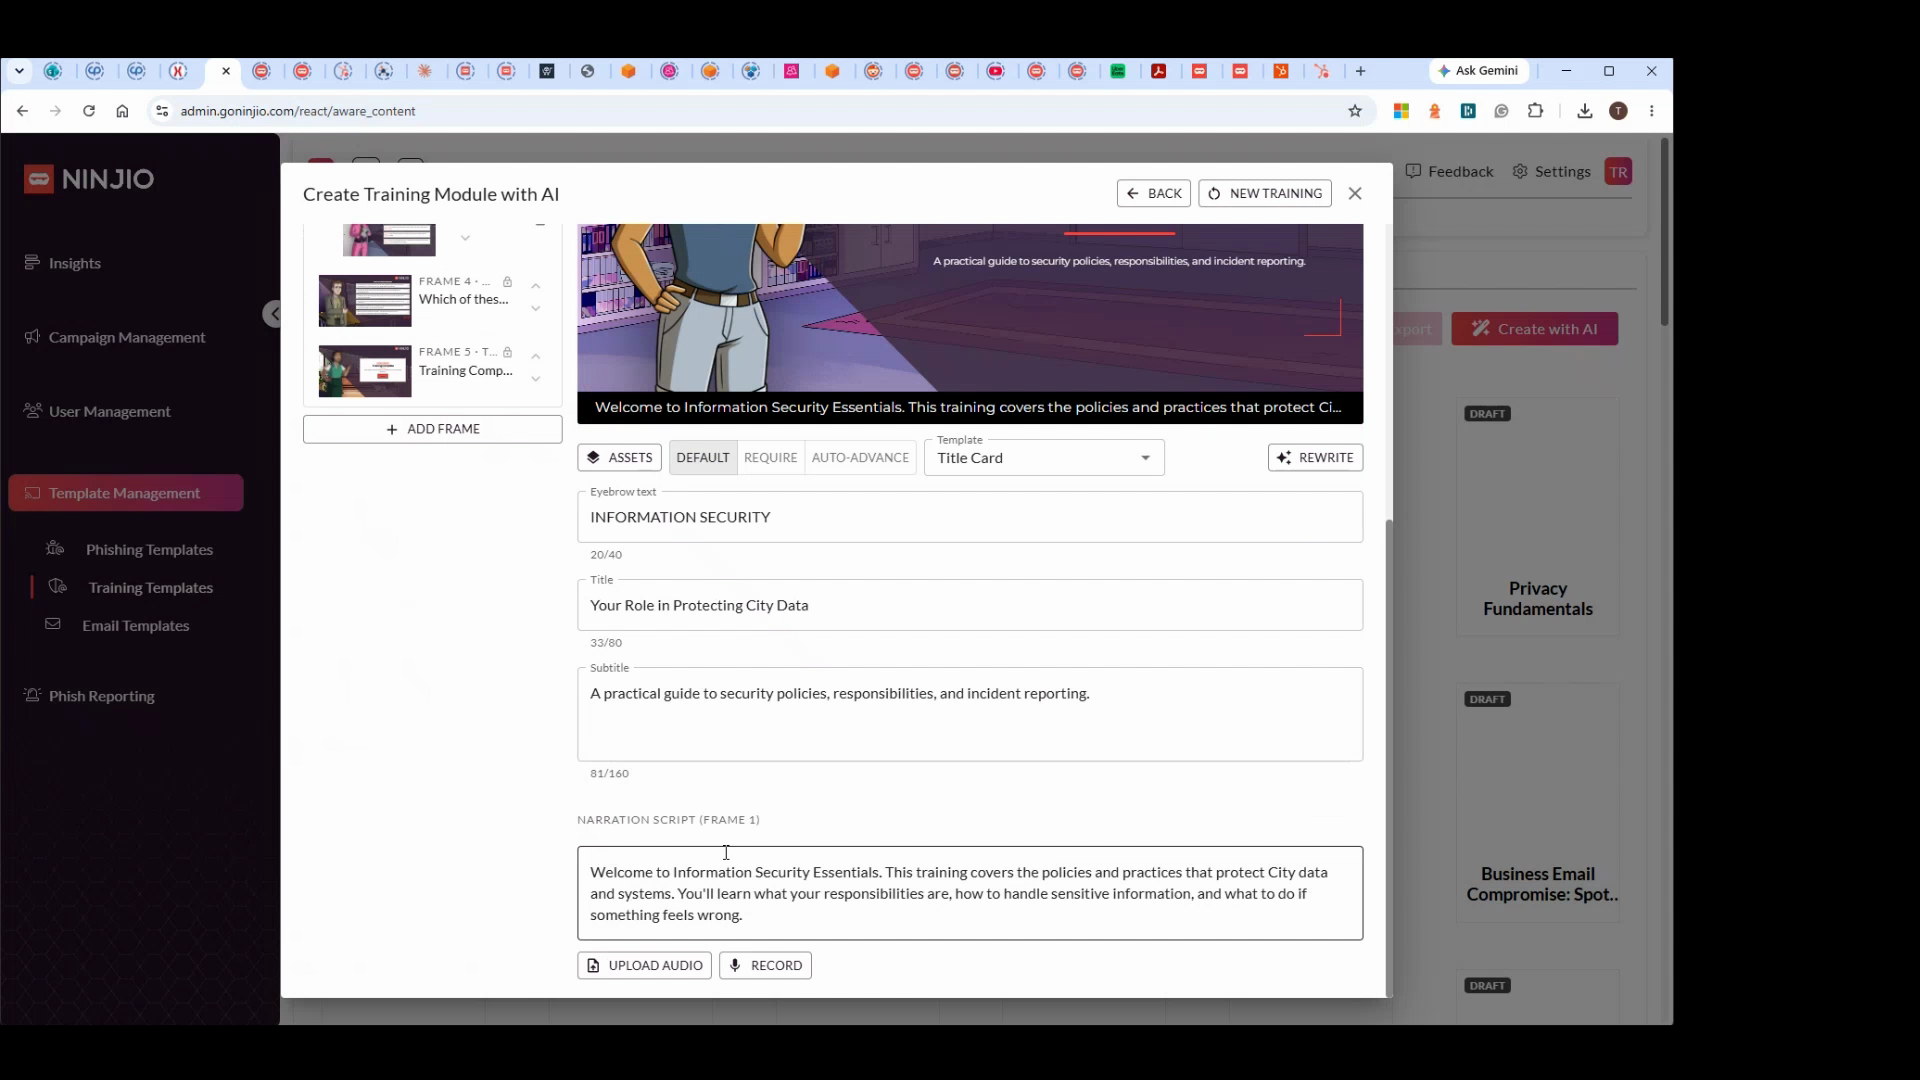
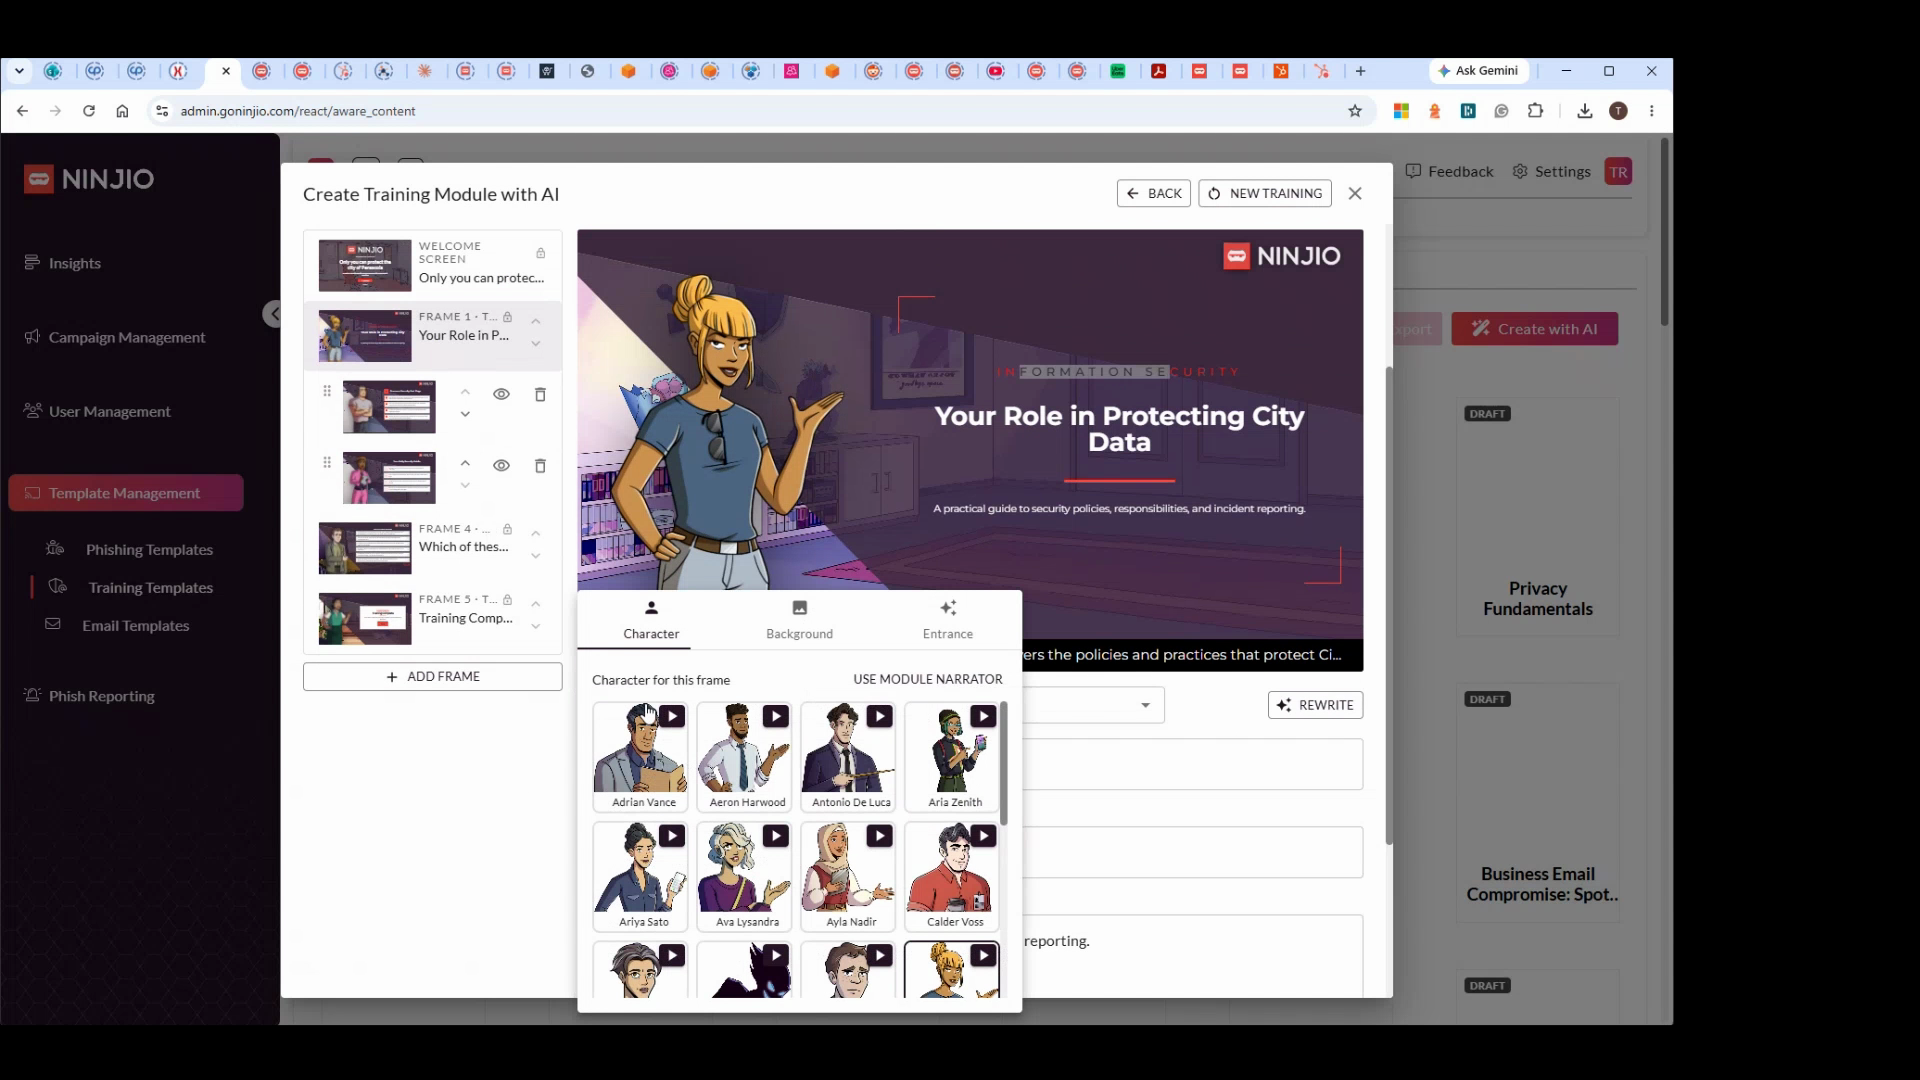
Step 24: Prefer your own voice? Choose a different character for narration, or click record to speak your own lines.
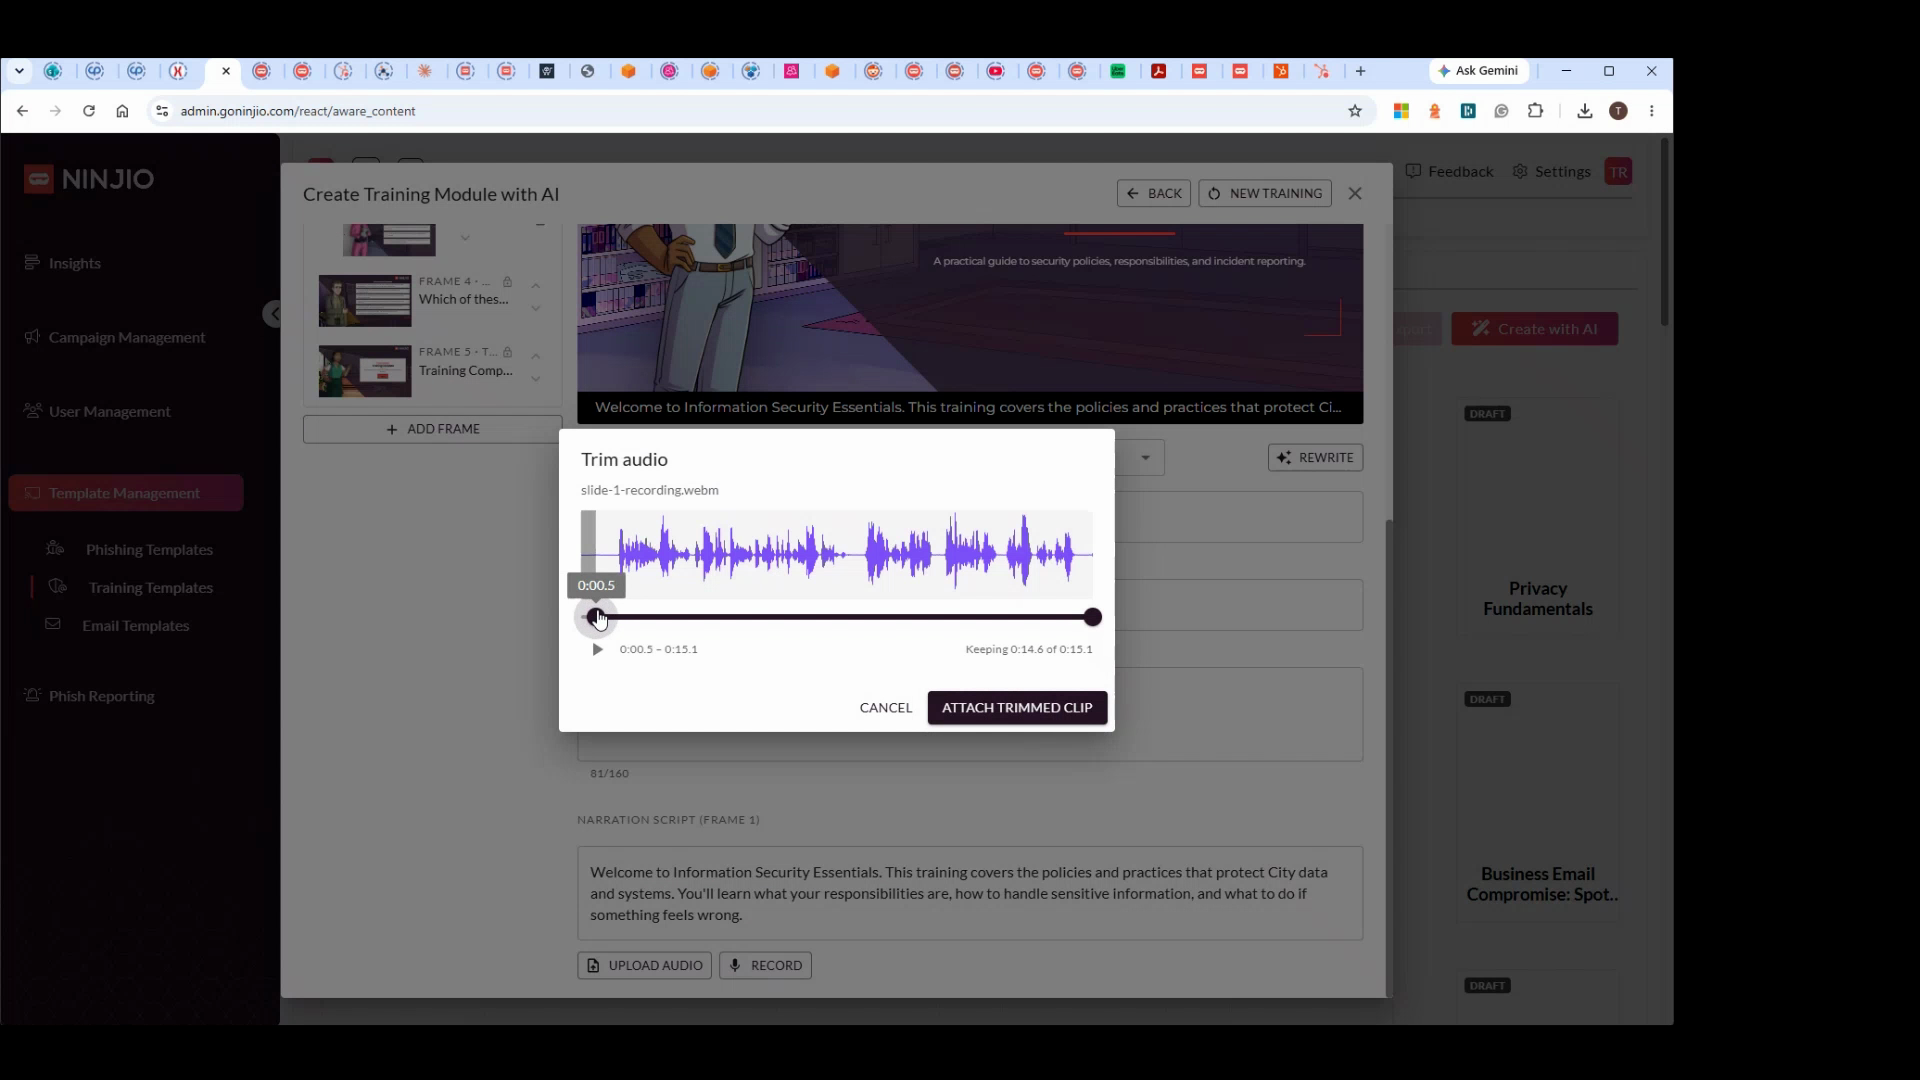
Step 25: After recording, trim unwanted pauses and attach your recording to the slide.
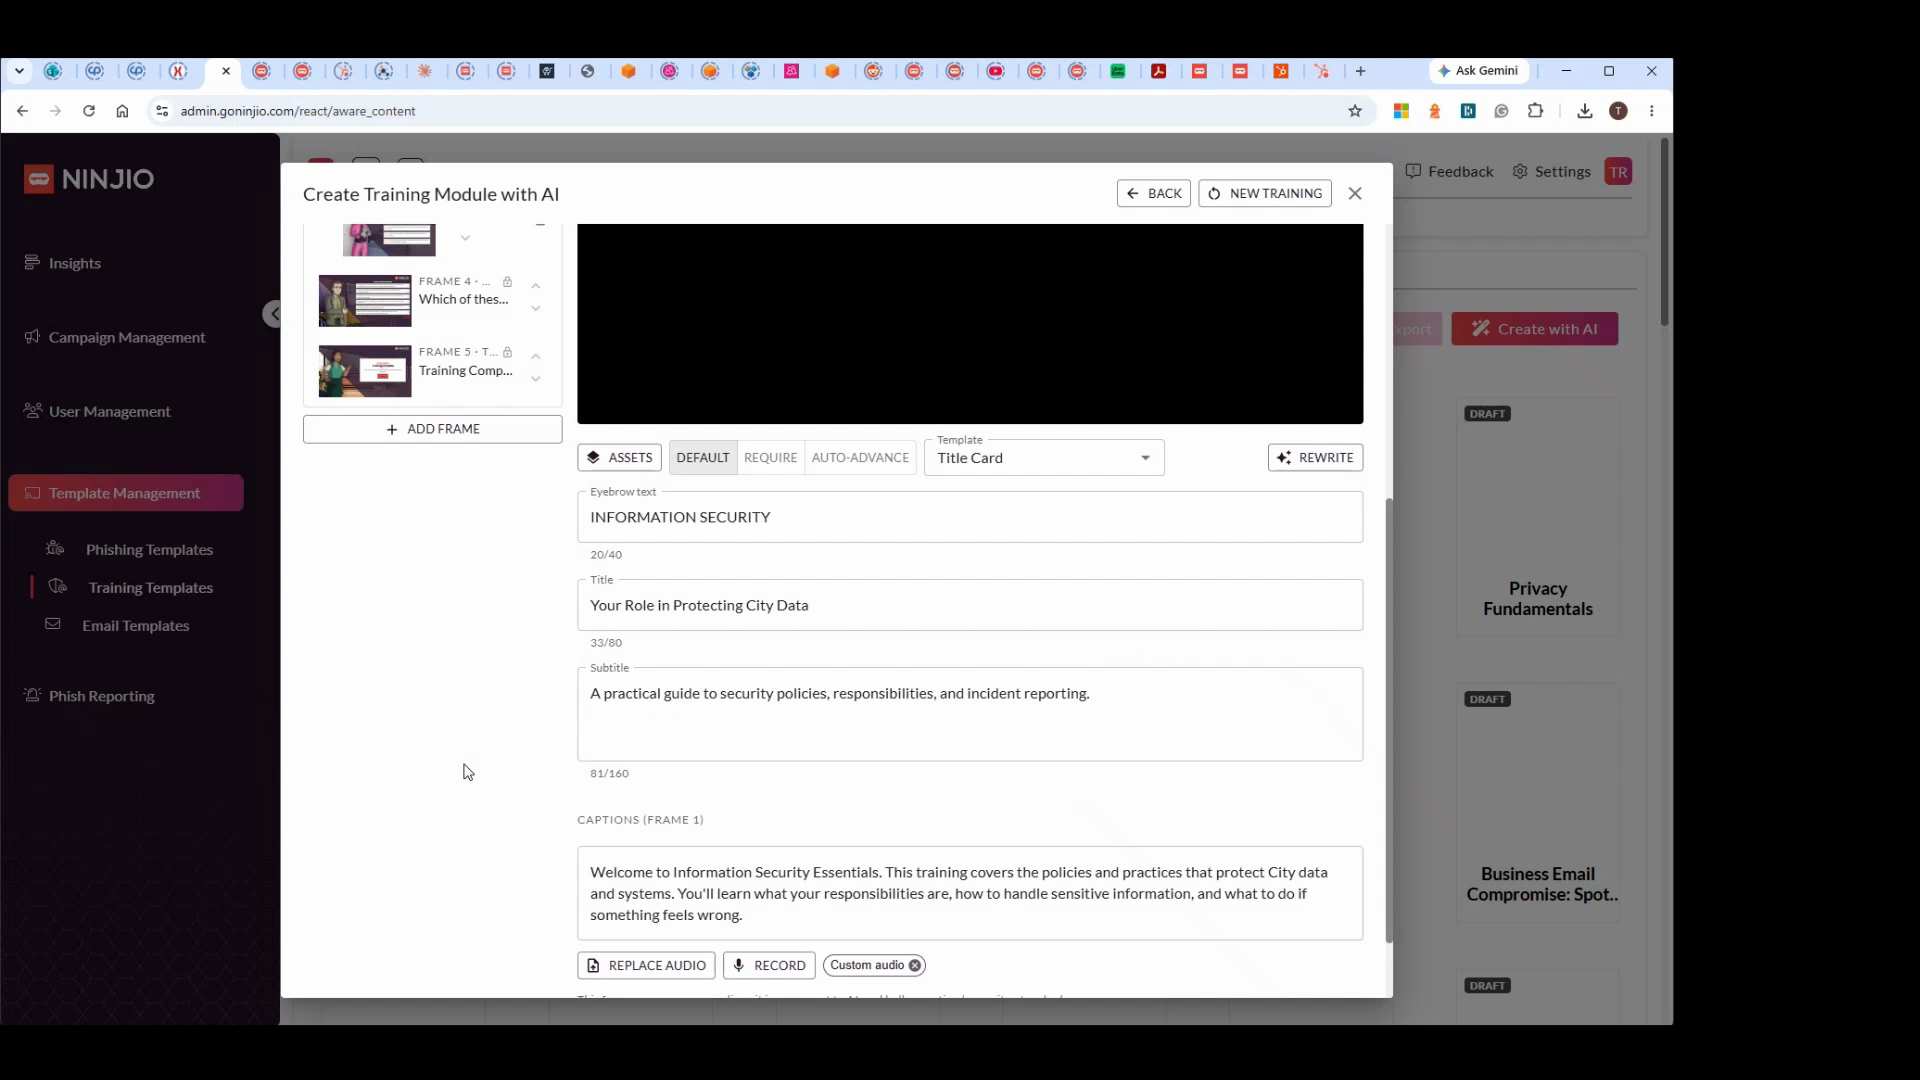
Step 26: Listen back and rerecord if necessary. Replace narration whenever you like.
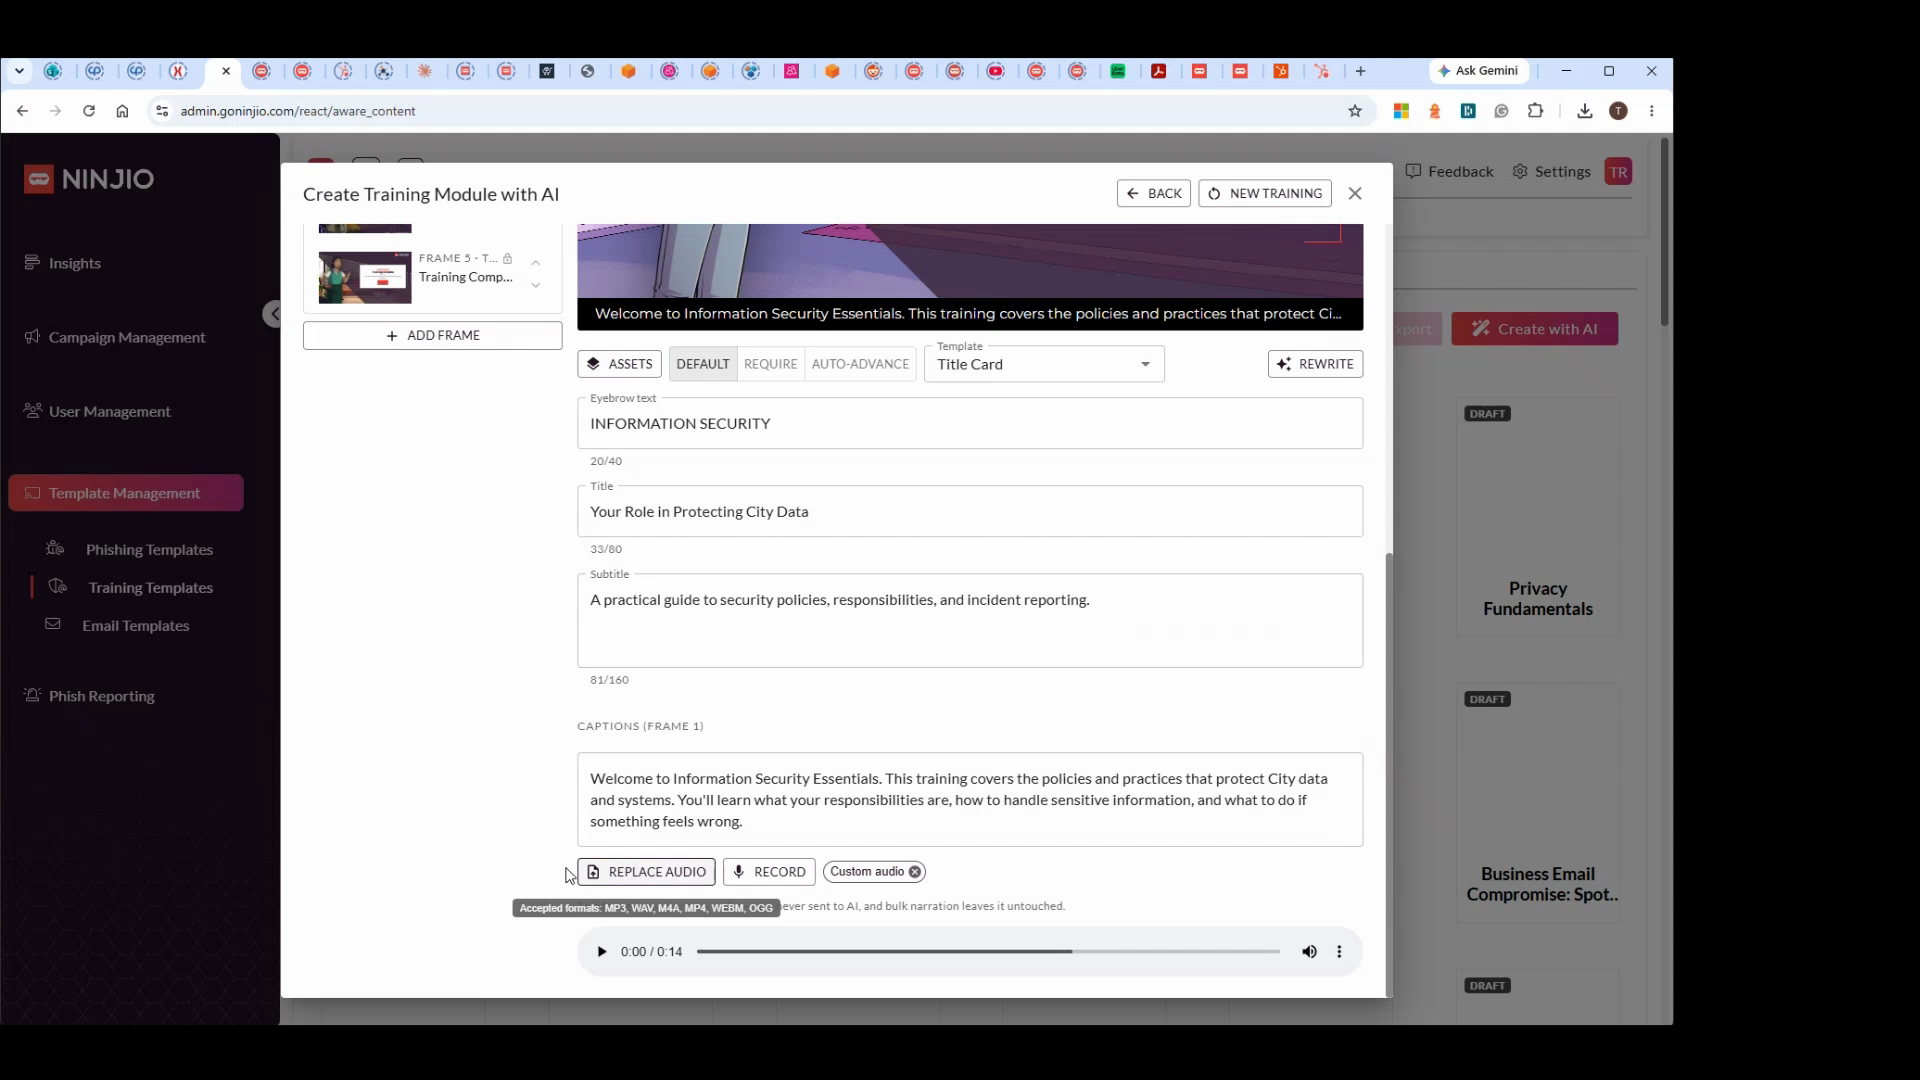
Step 27: Ensure the template settings are set to your preferences—adjust the title card, advance methods, and more.
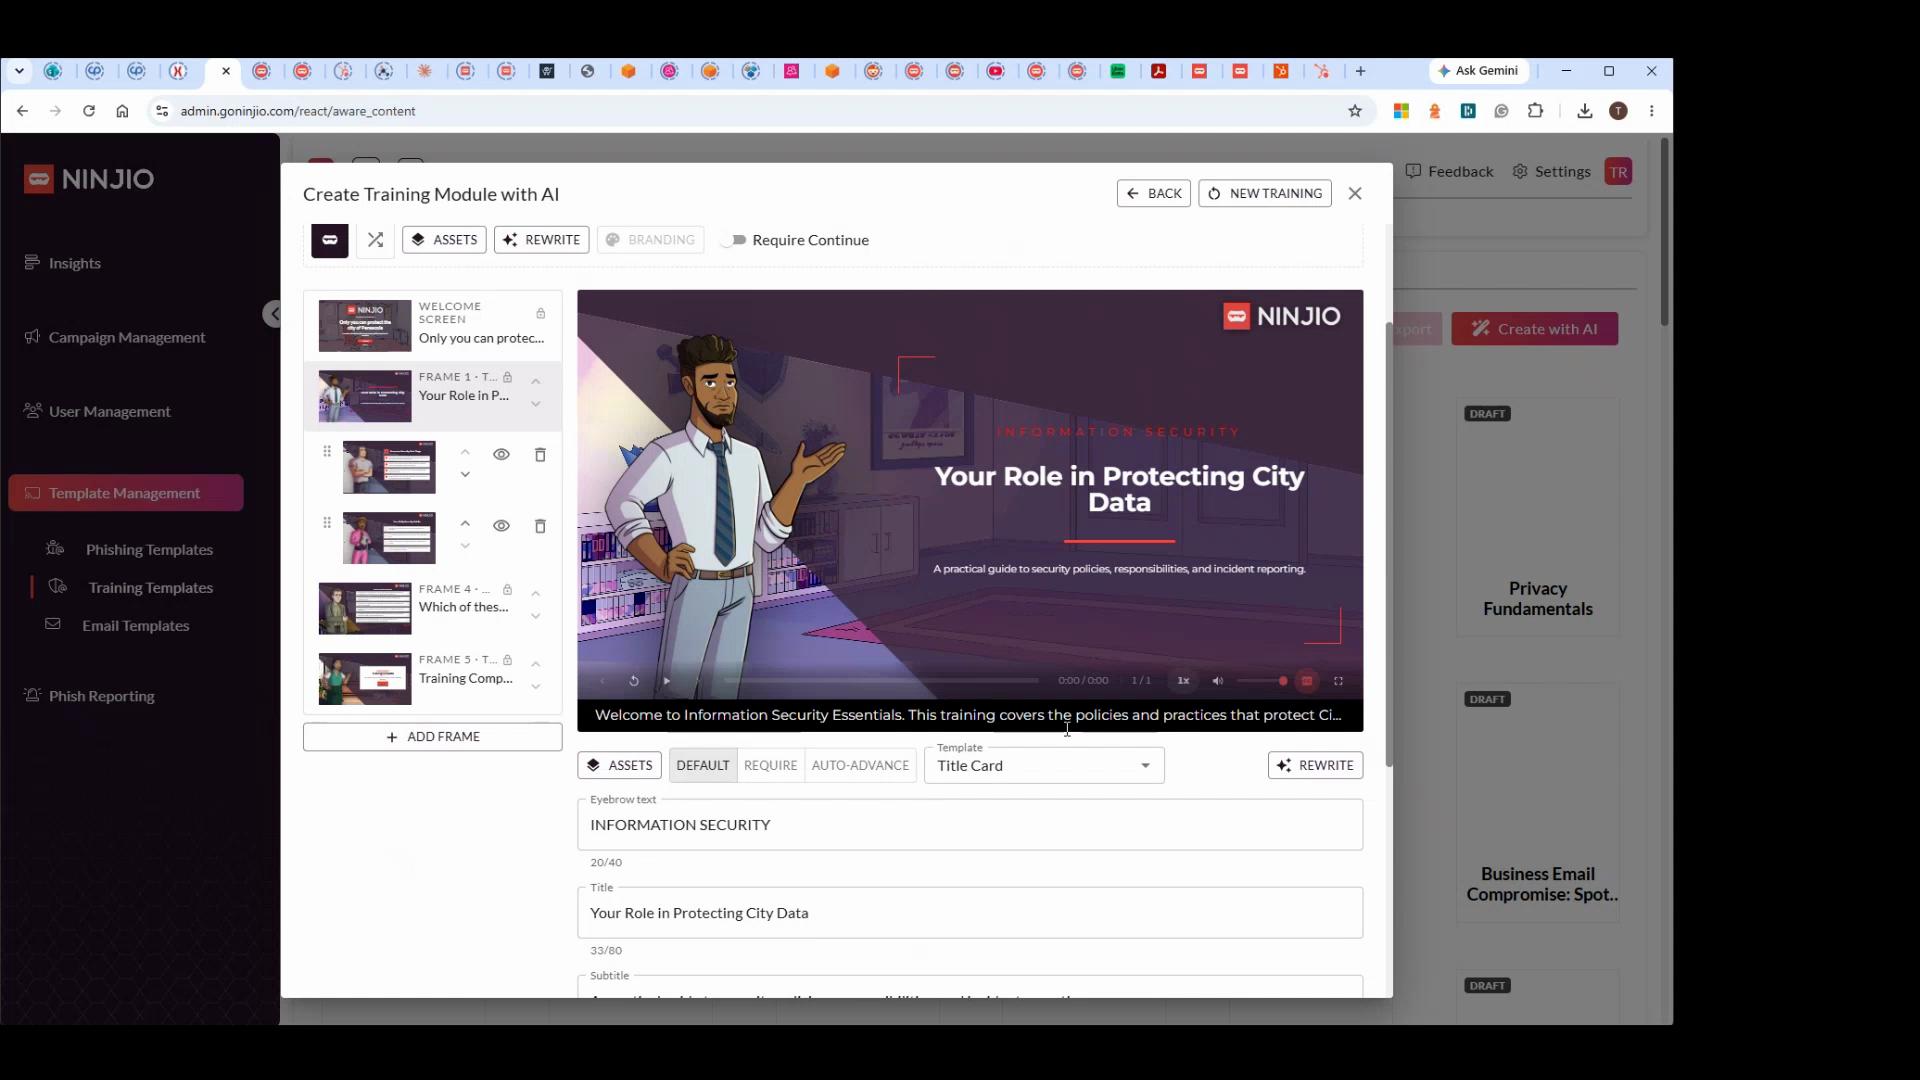
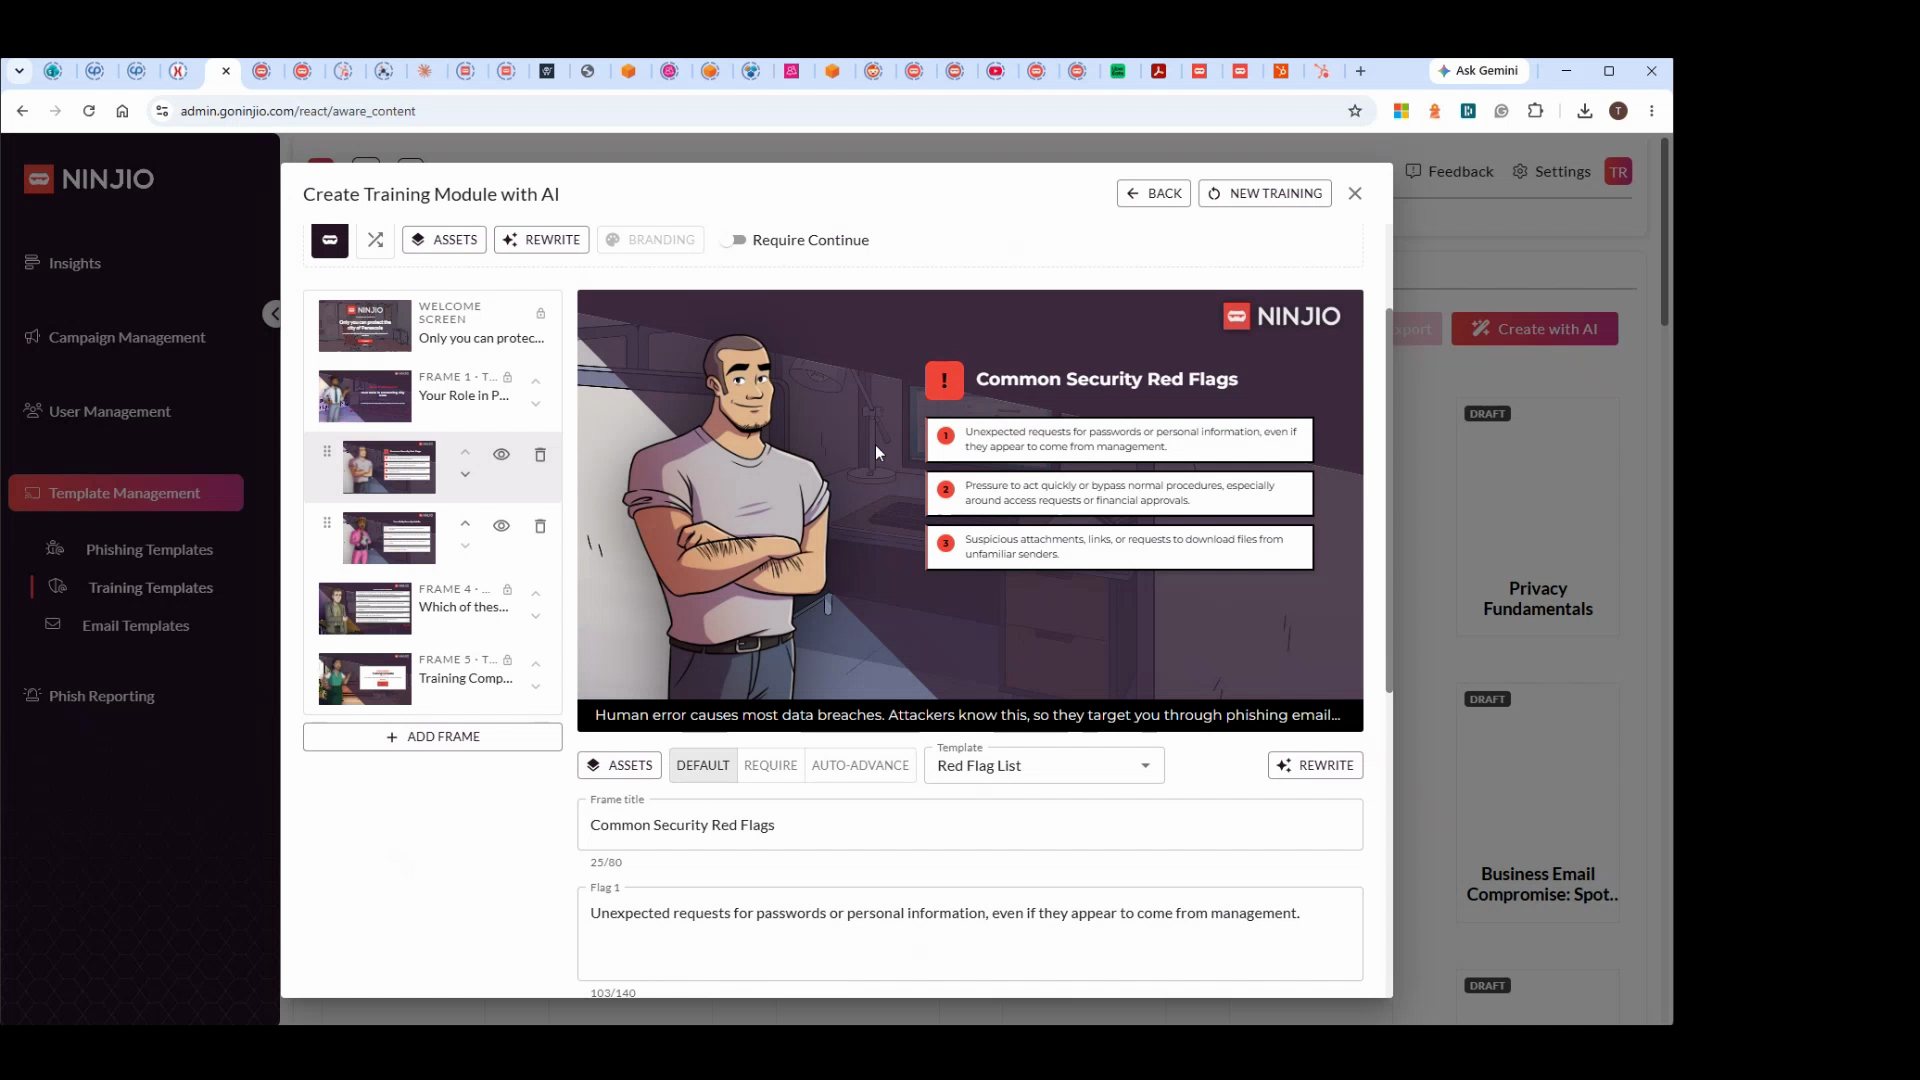
Step 28: Work through each slide to verify backgrounds, characters, language, and narration scripts match your needs.
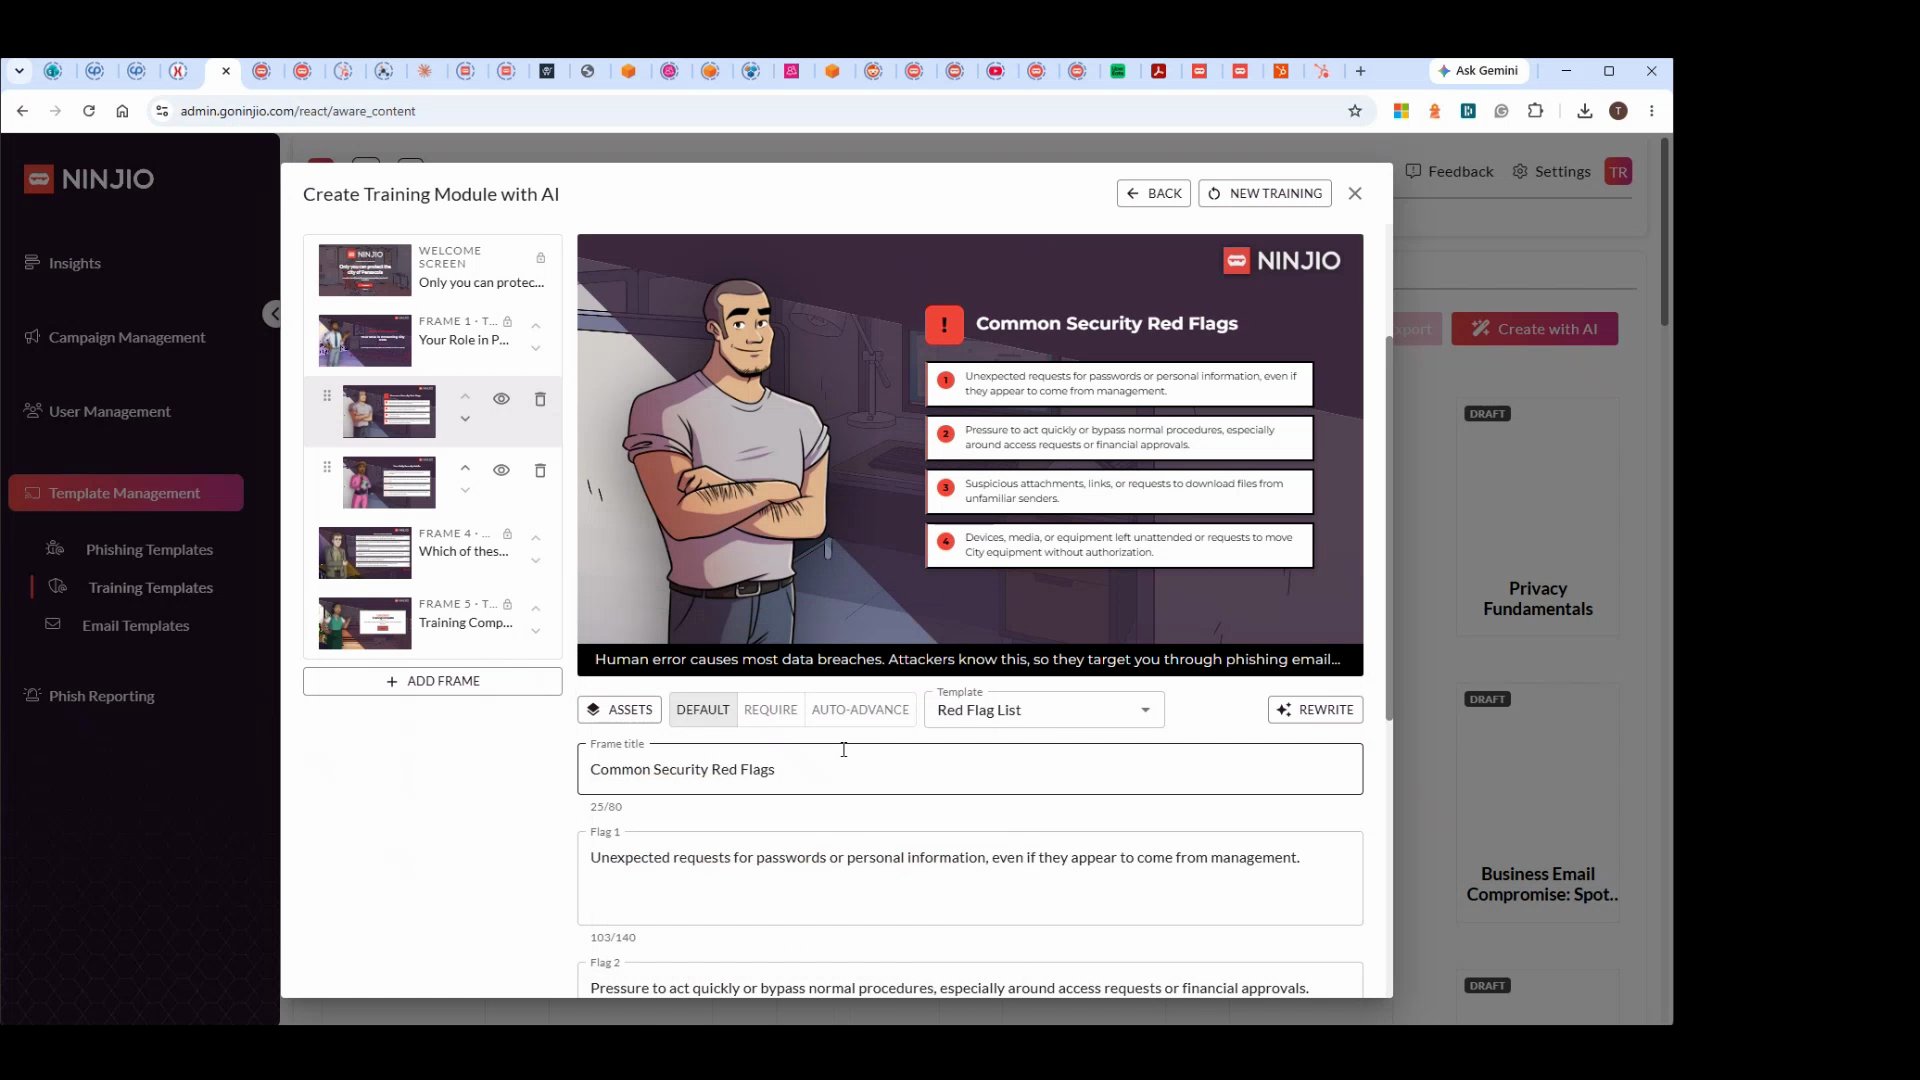
Step 29: Listen to character voiceovers before confirming your selections. Switch voices as needed.
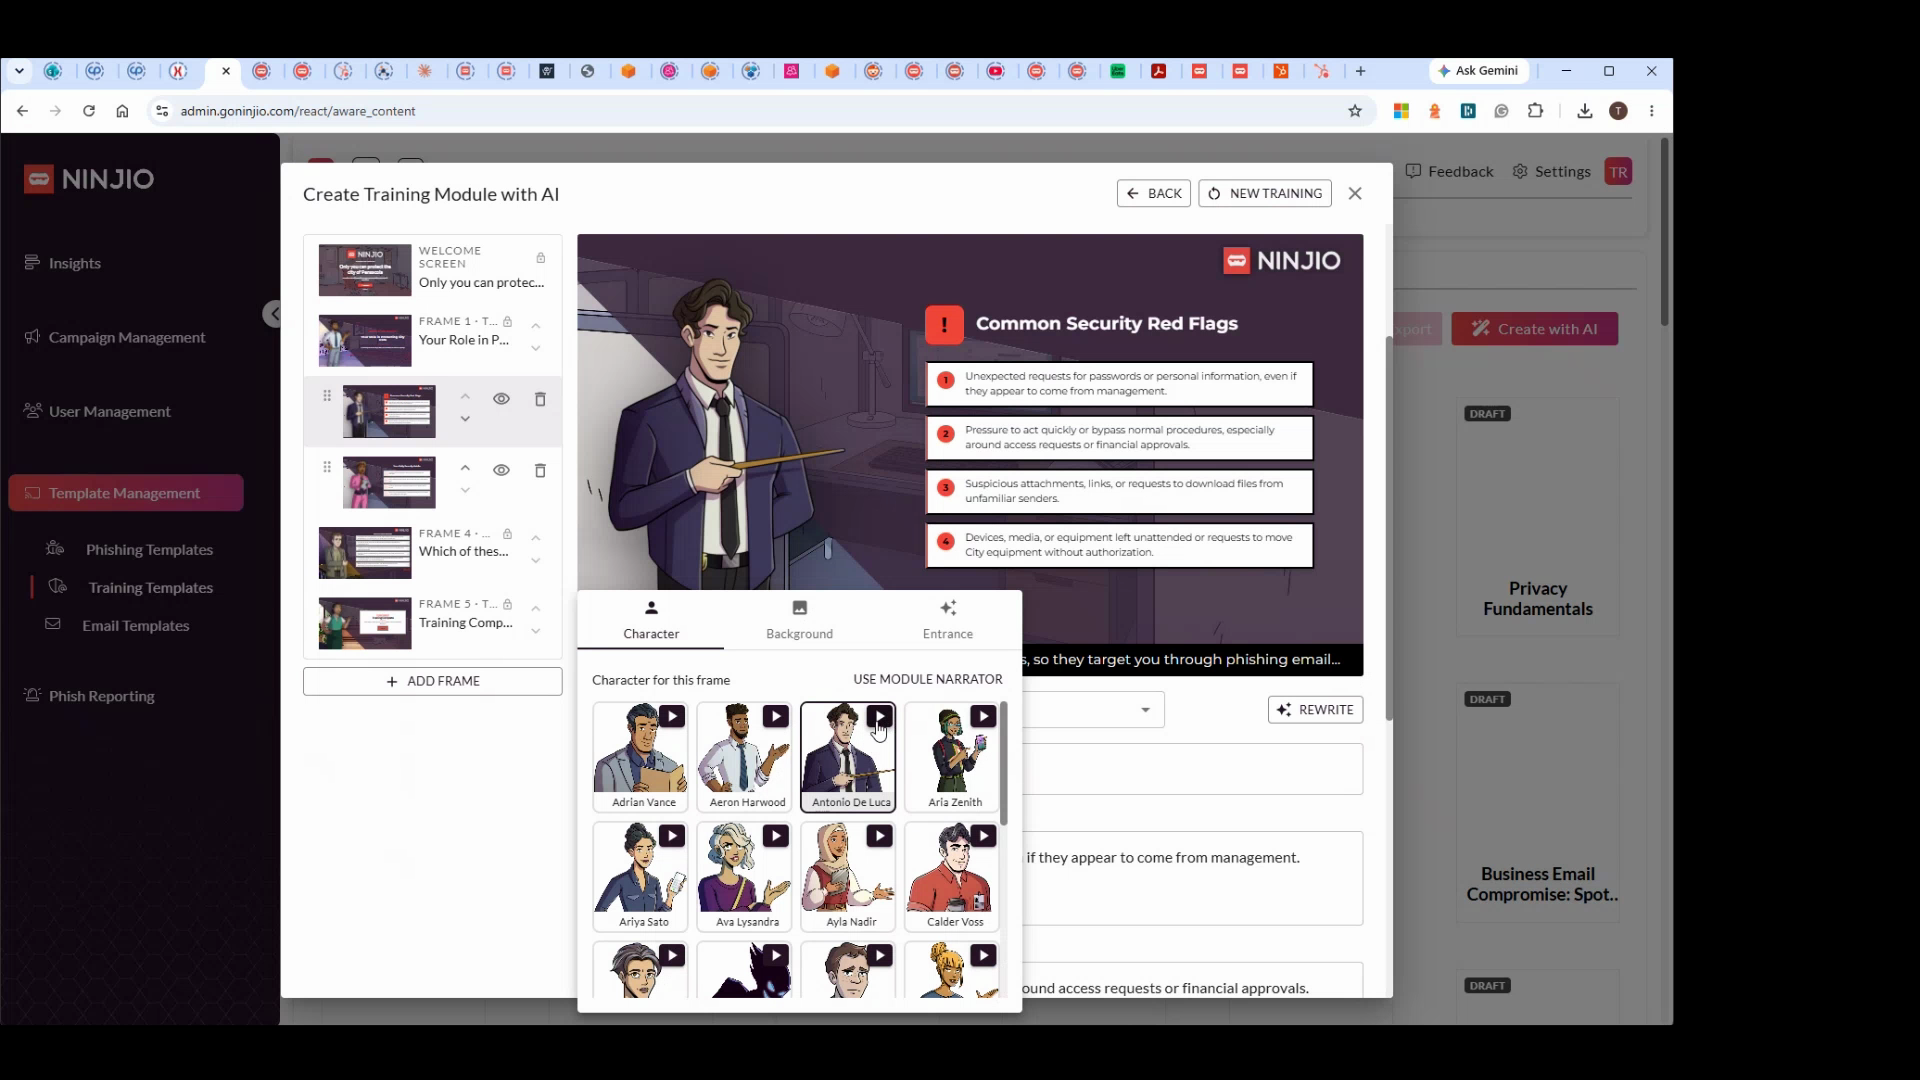
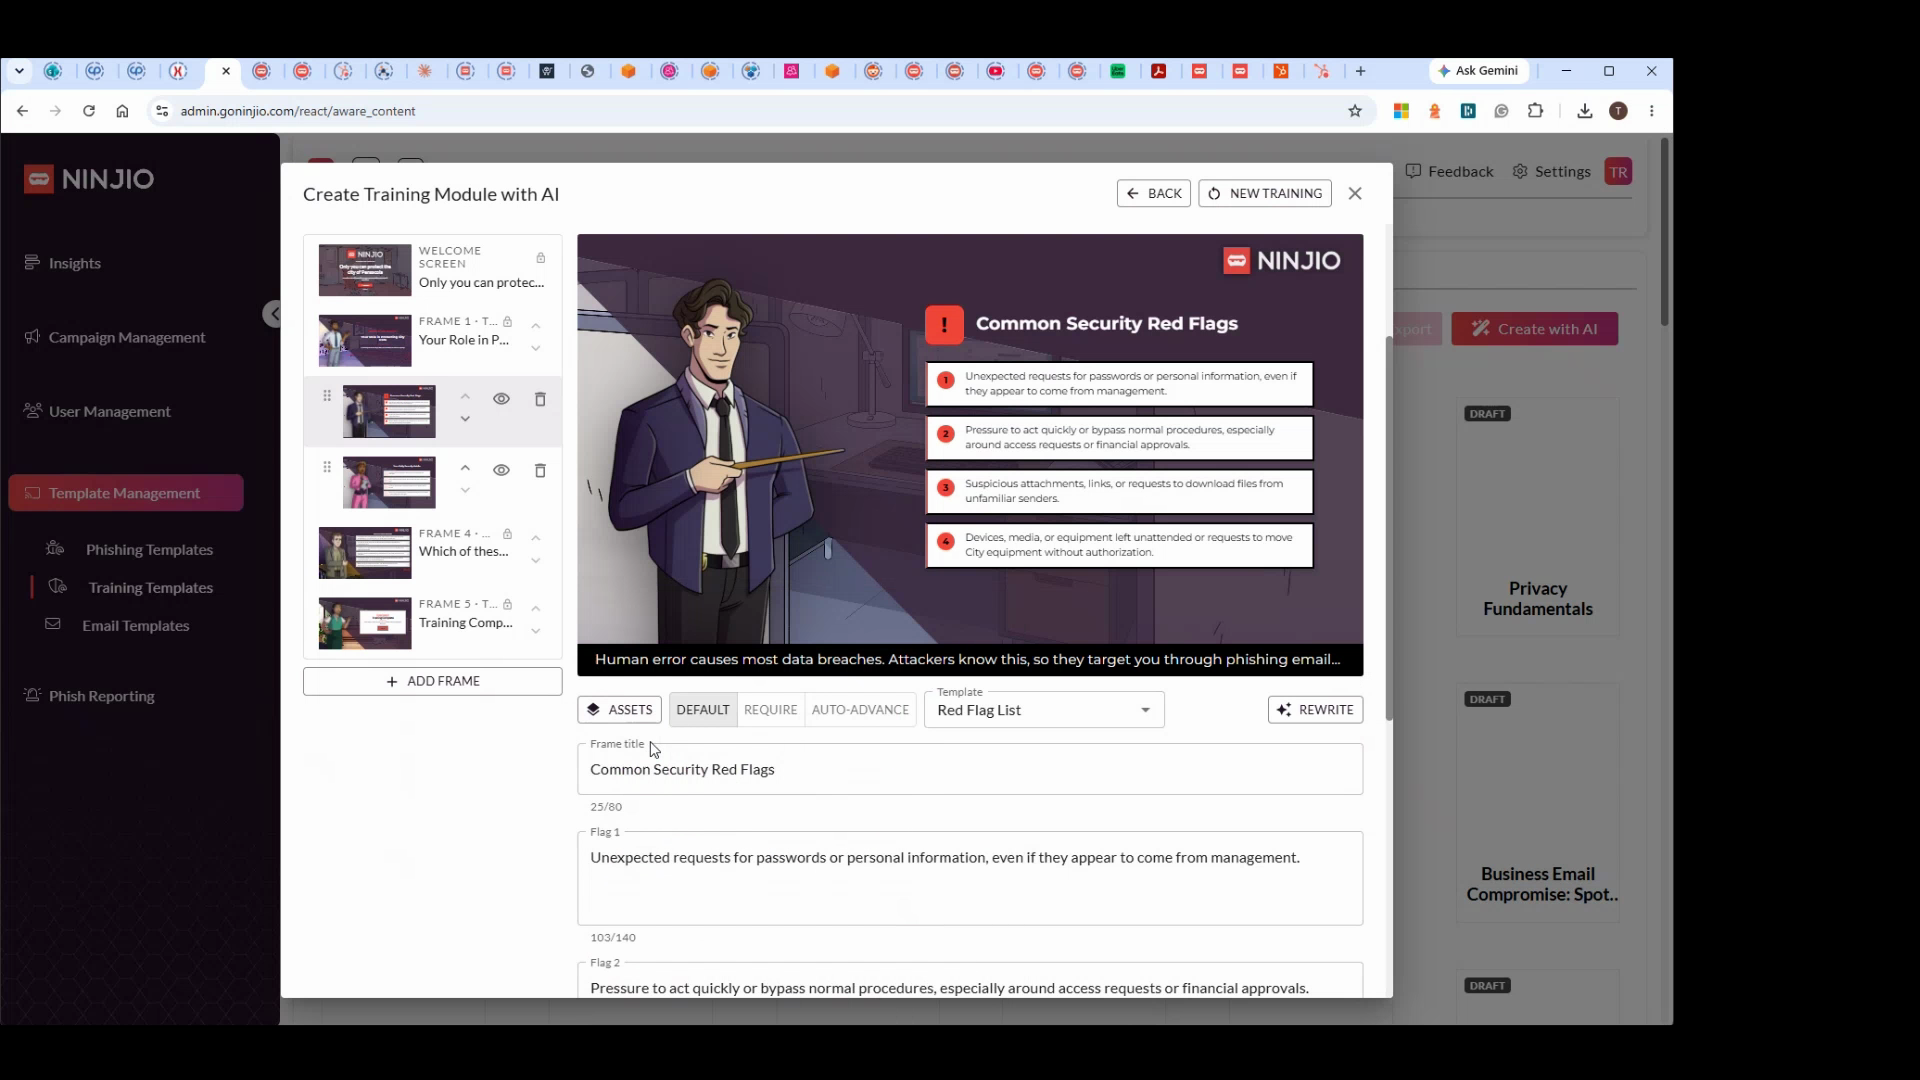
Step 30: Change the background or the animation effect for character entrances as you prefer.
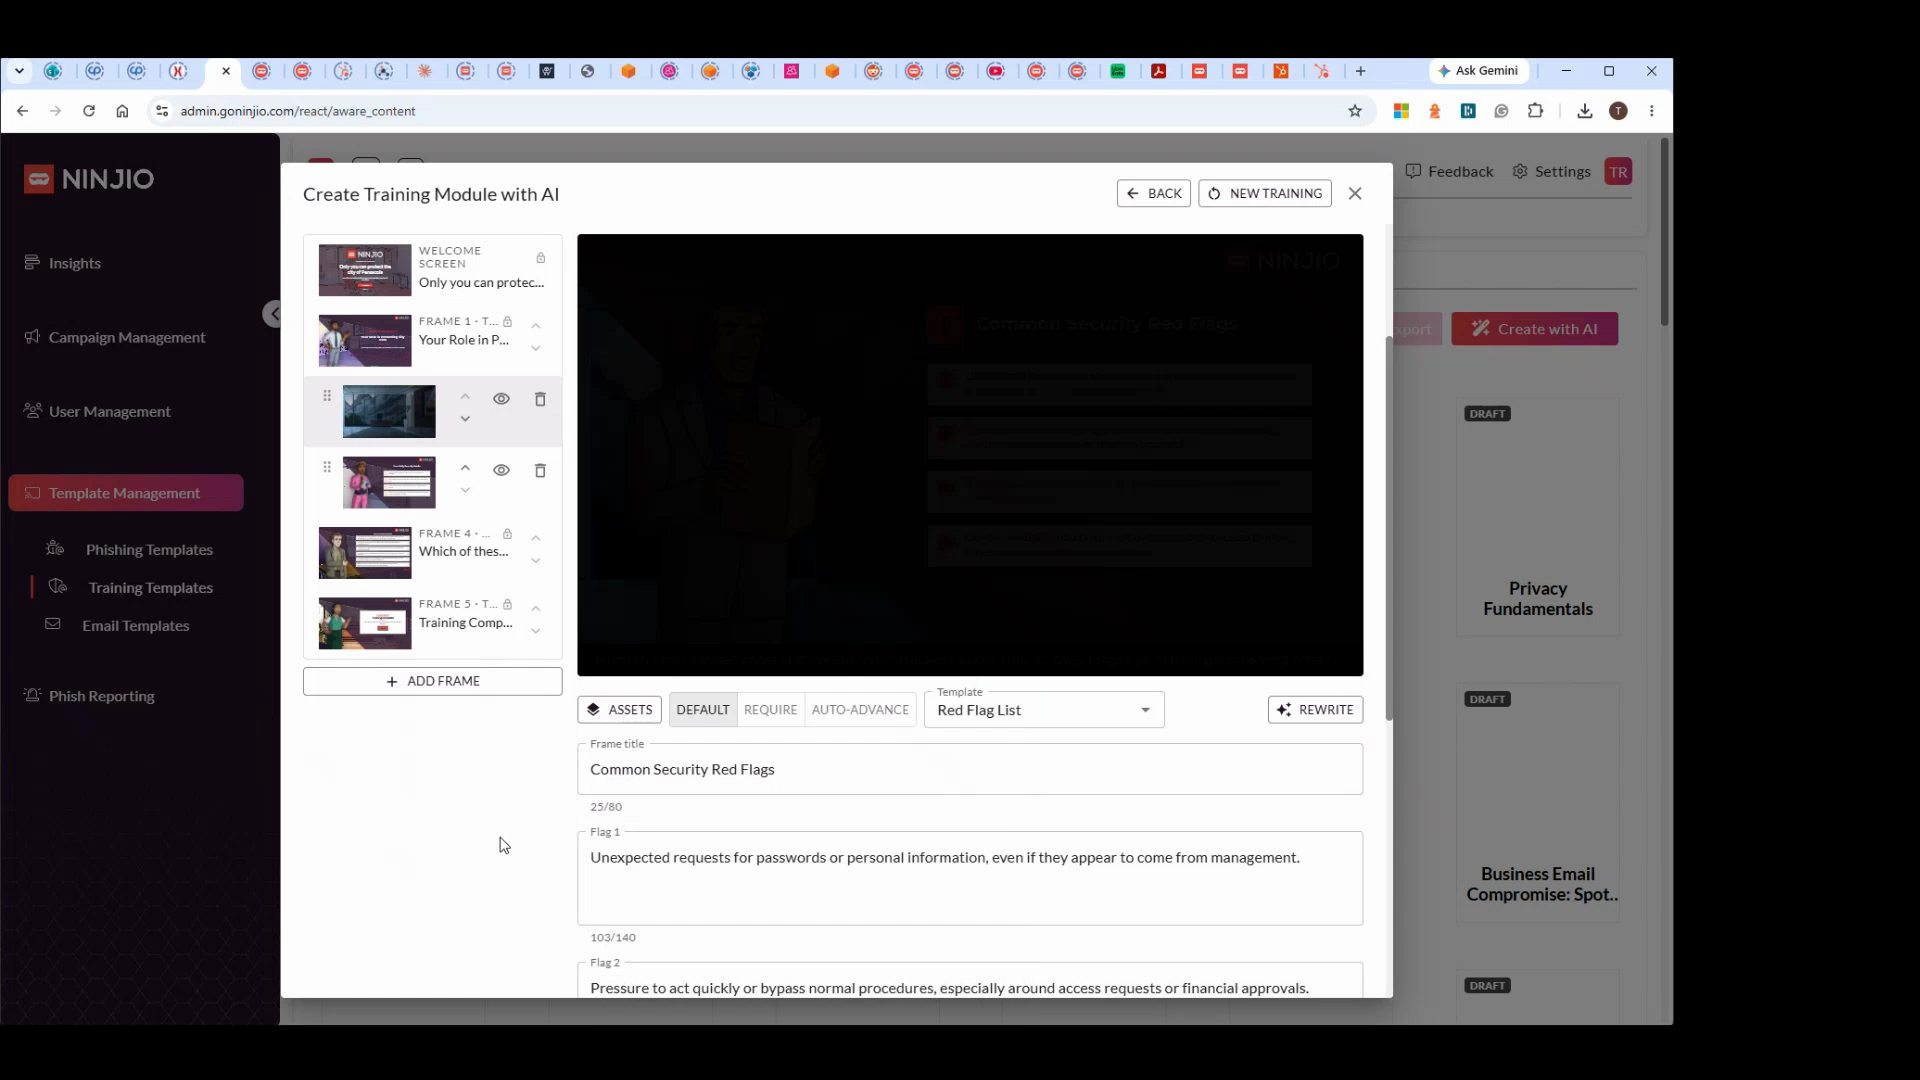
Step 31: Read the content generated for each slide. If improvements are needed, click Rewrite to quickly revise the text.
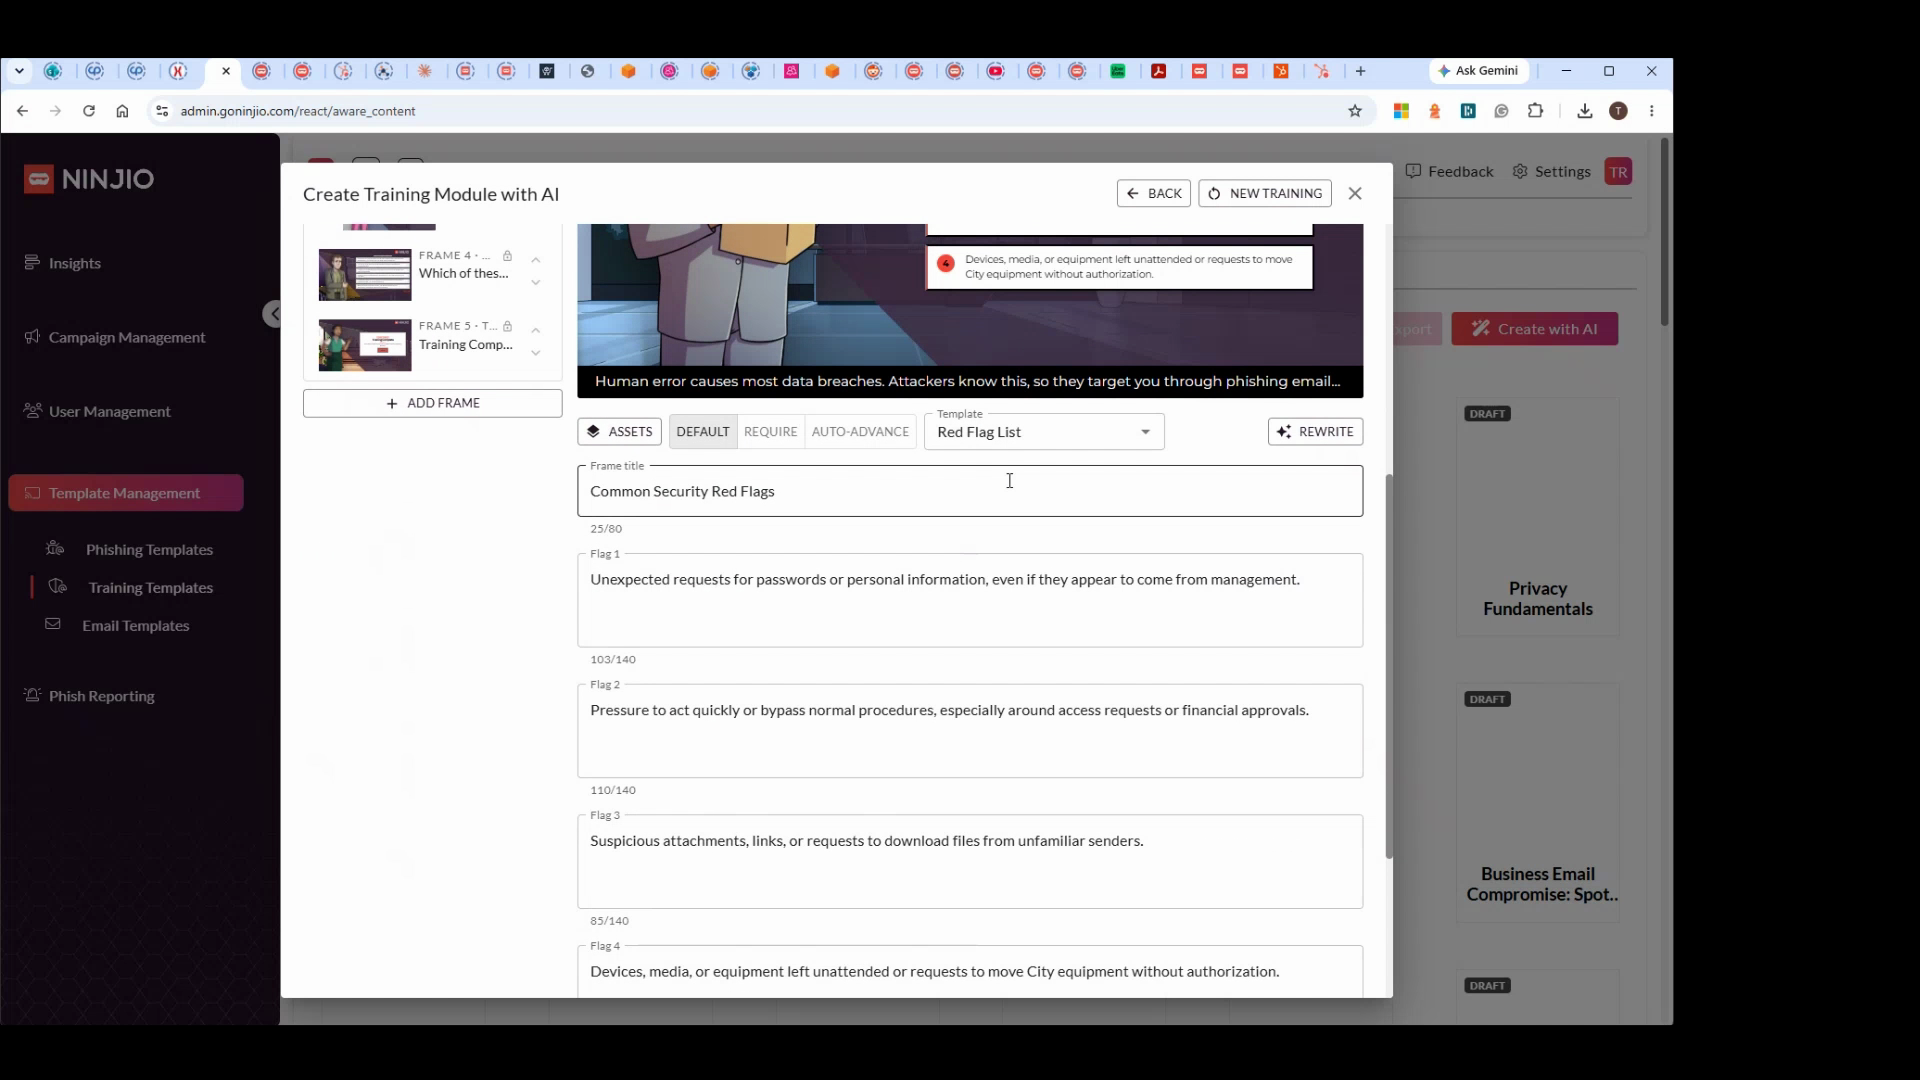
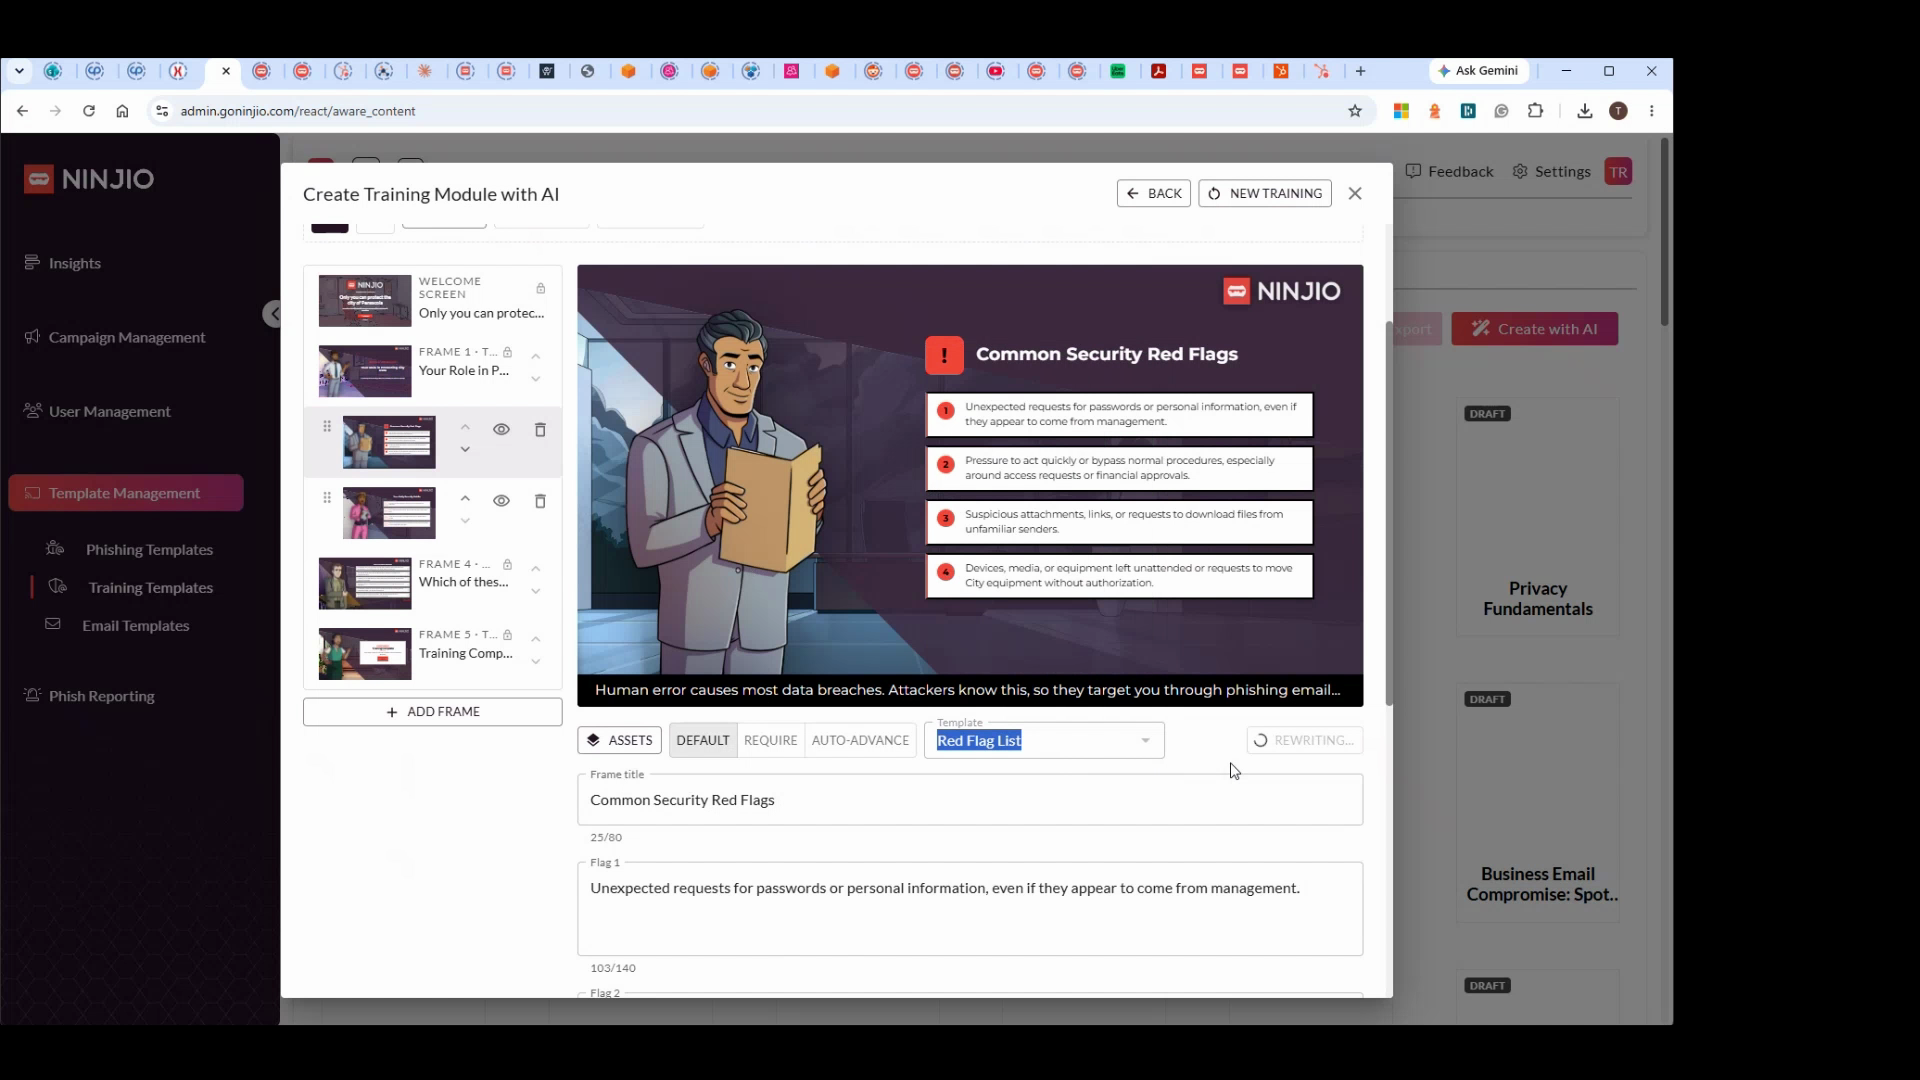
Step 32: Continue reviewing and customizing narration scripts across all slides, including the quiz frame.
Step 1: Check the quiz slide; switch between true/false or matching quiz styles. For matching, arrange terms and definitions.
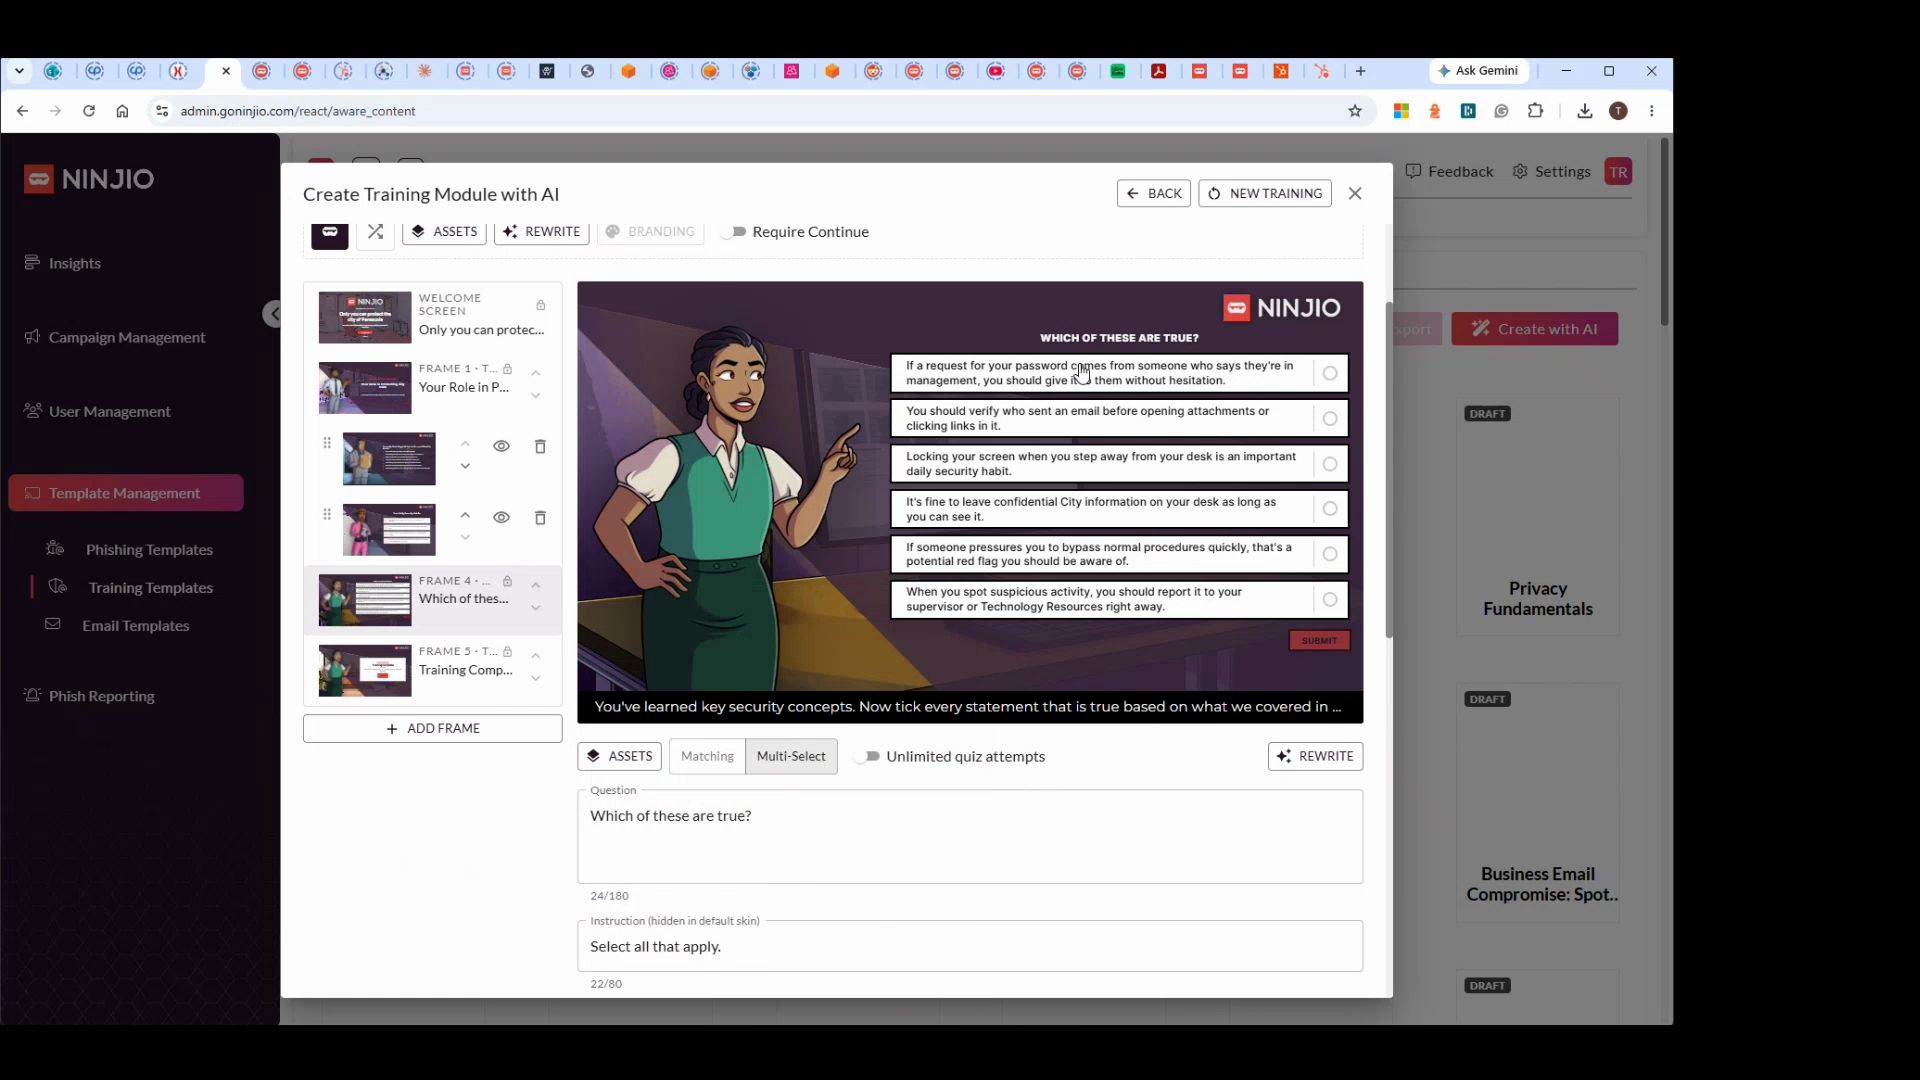
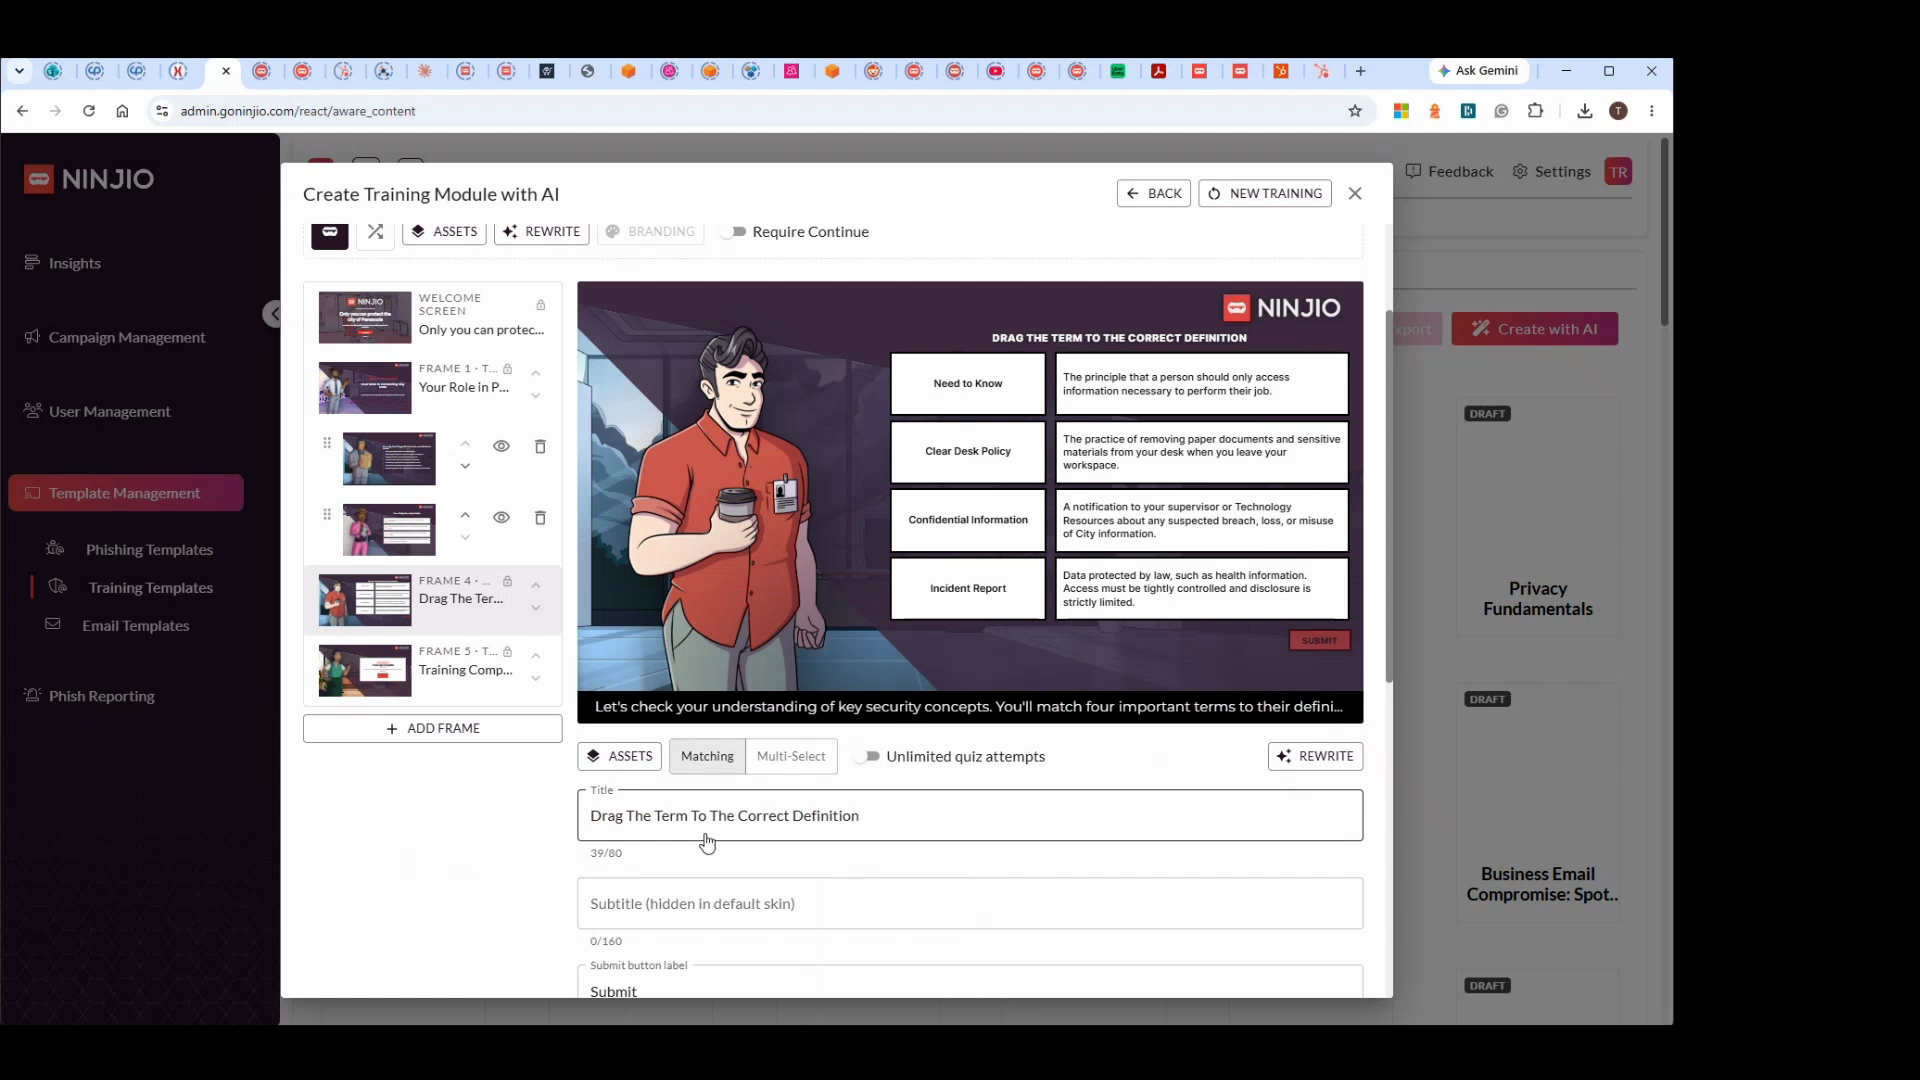
Step 2: Review your narration scripts and make final adjustments.
Step 3: When satisfied, click the confirmation button to use a purchased token.
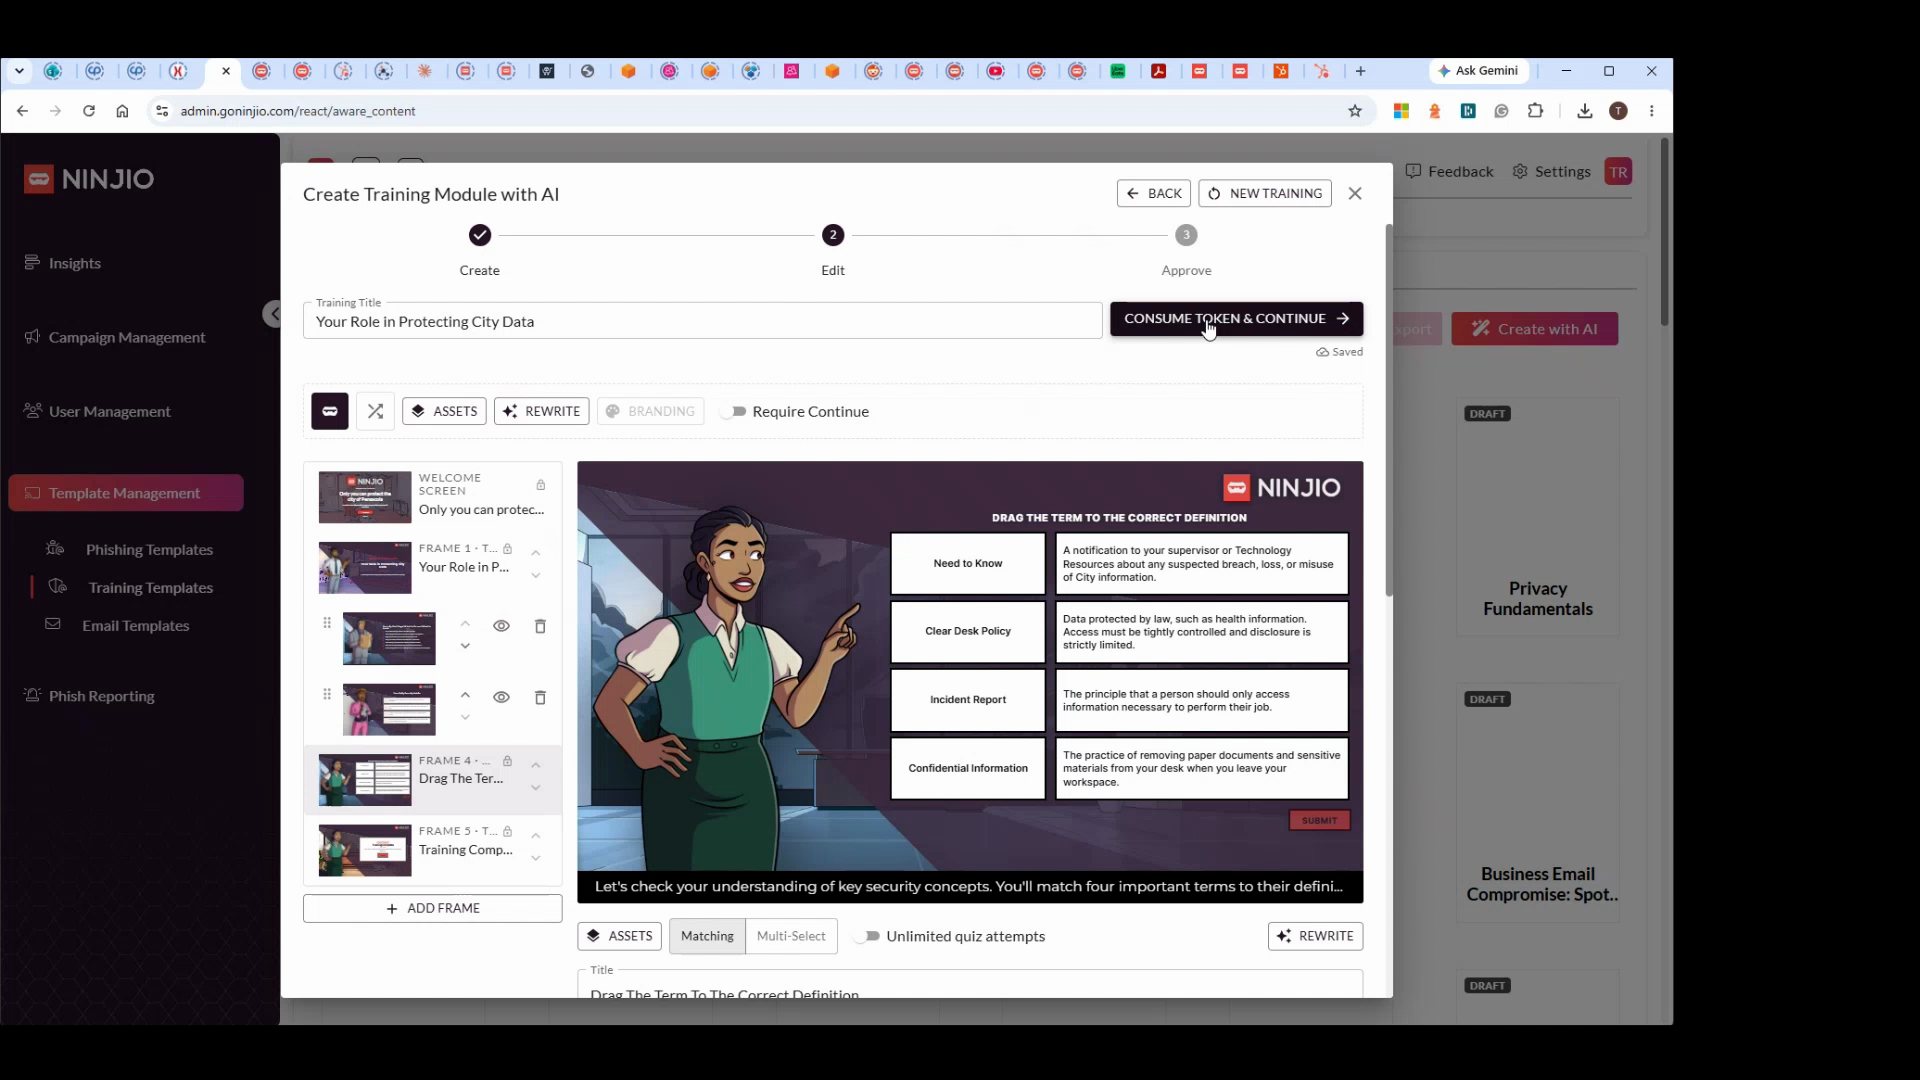
Step 4: After confirming, click Consume Token to generate and finalize your training.
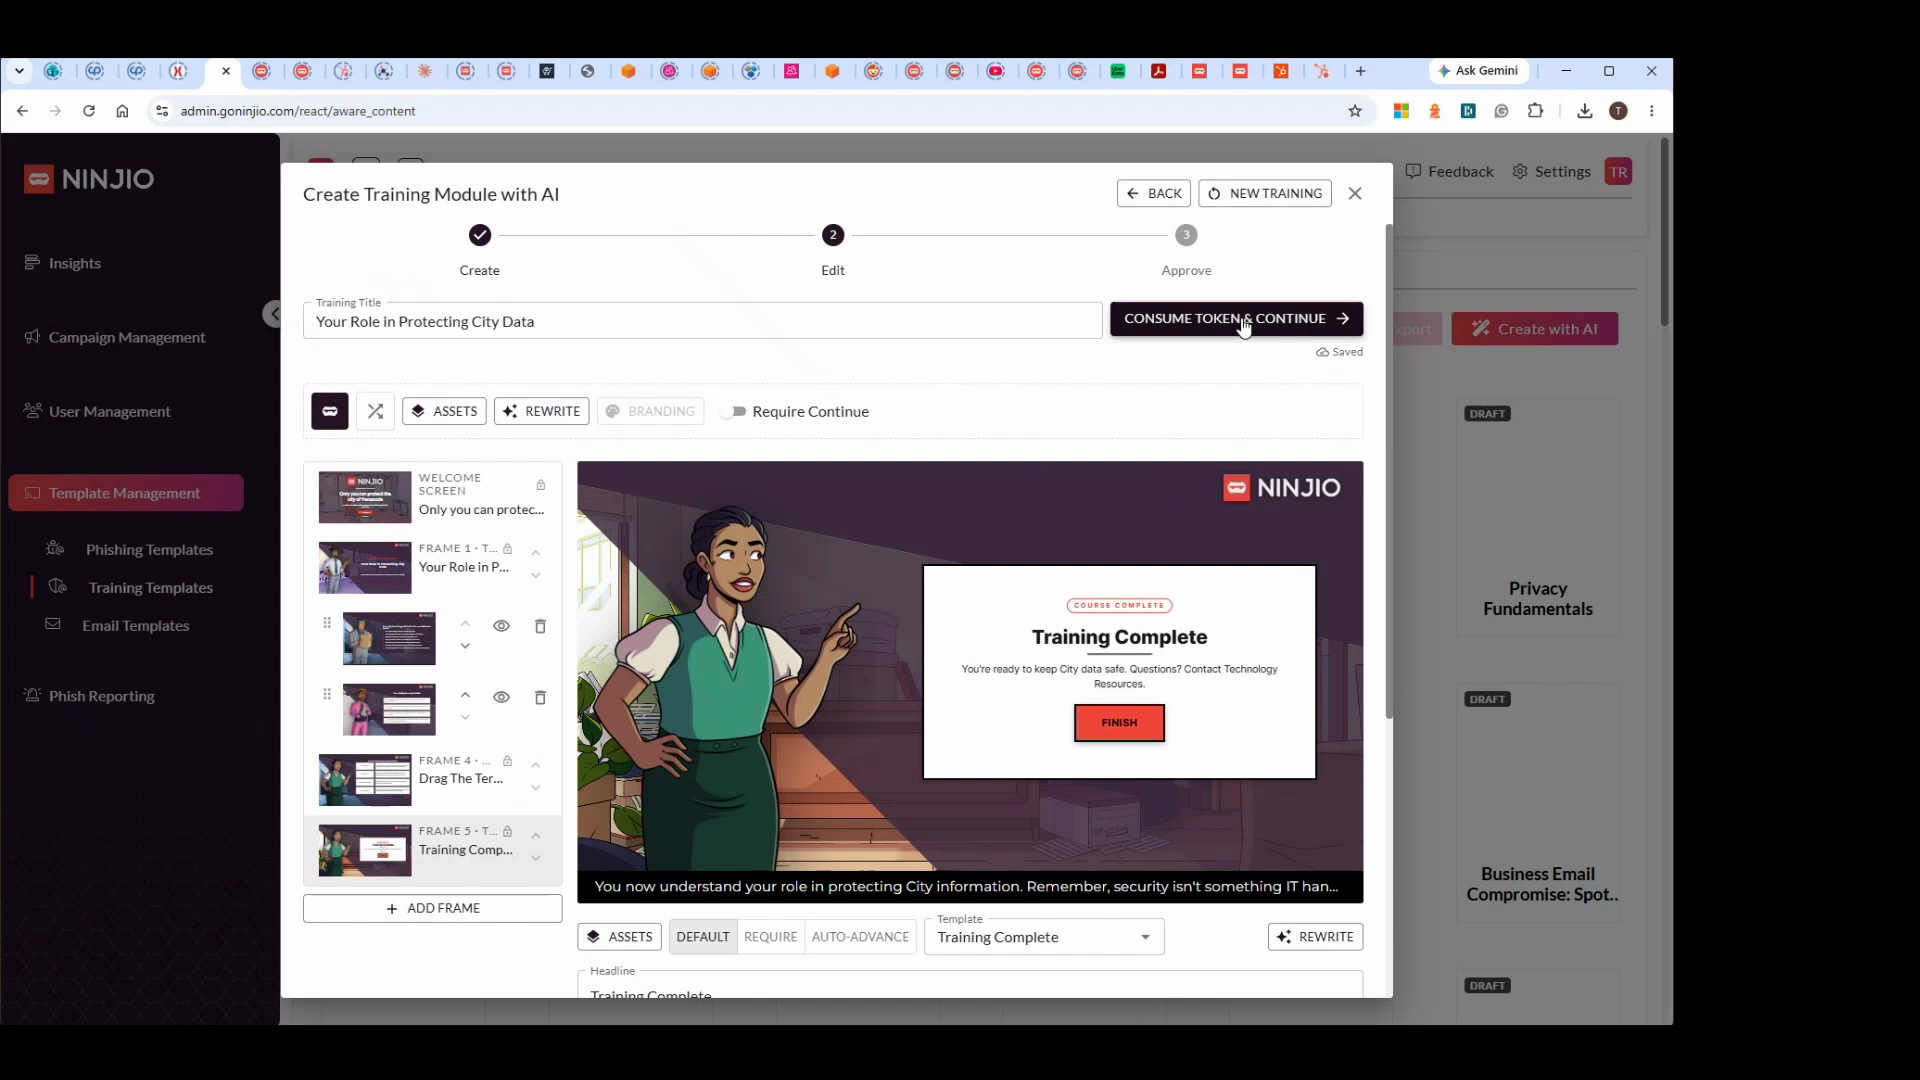
Step 5: Wait for audio narration to be generated. Test your training by walking through it like a learner.
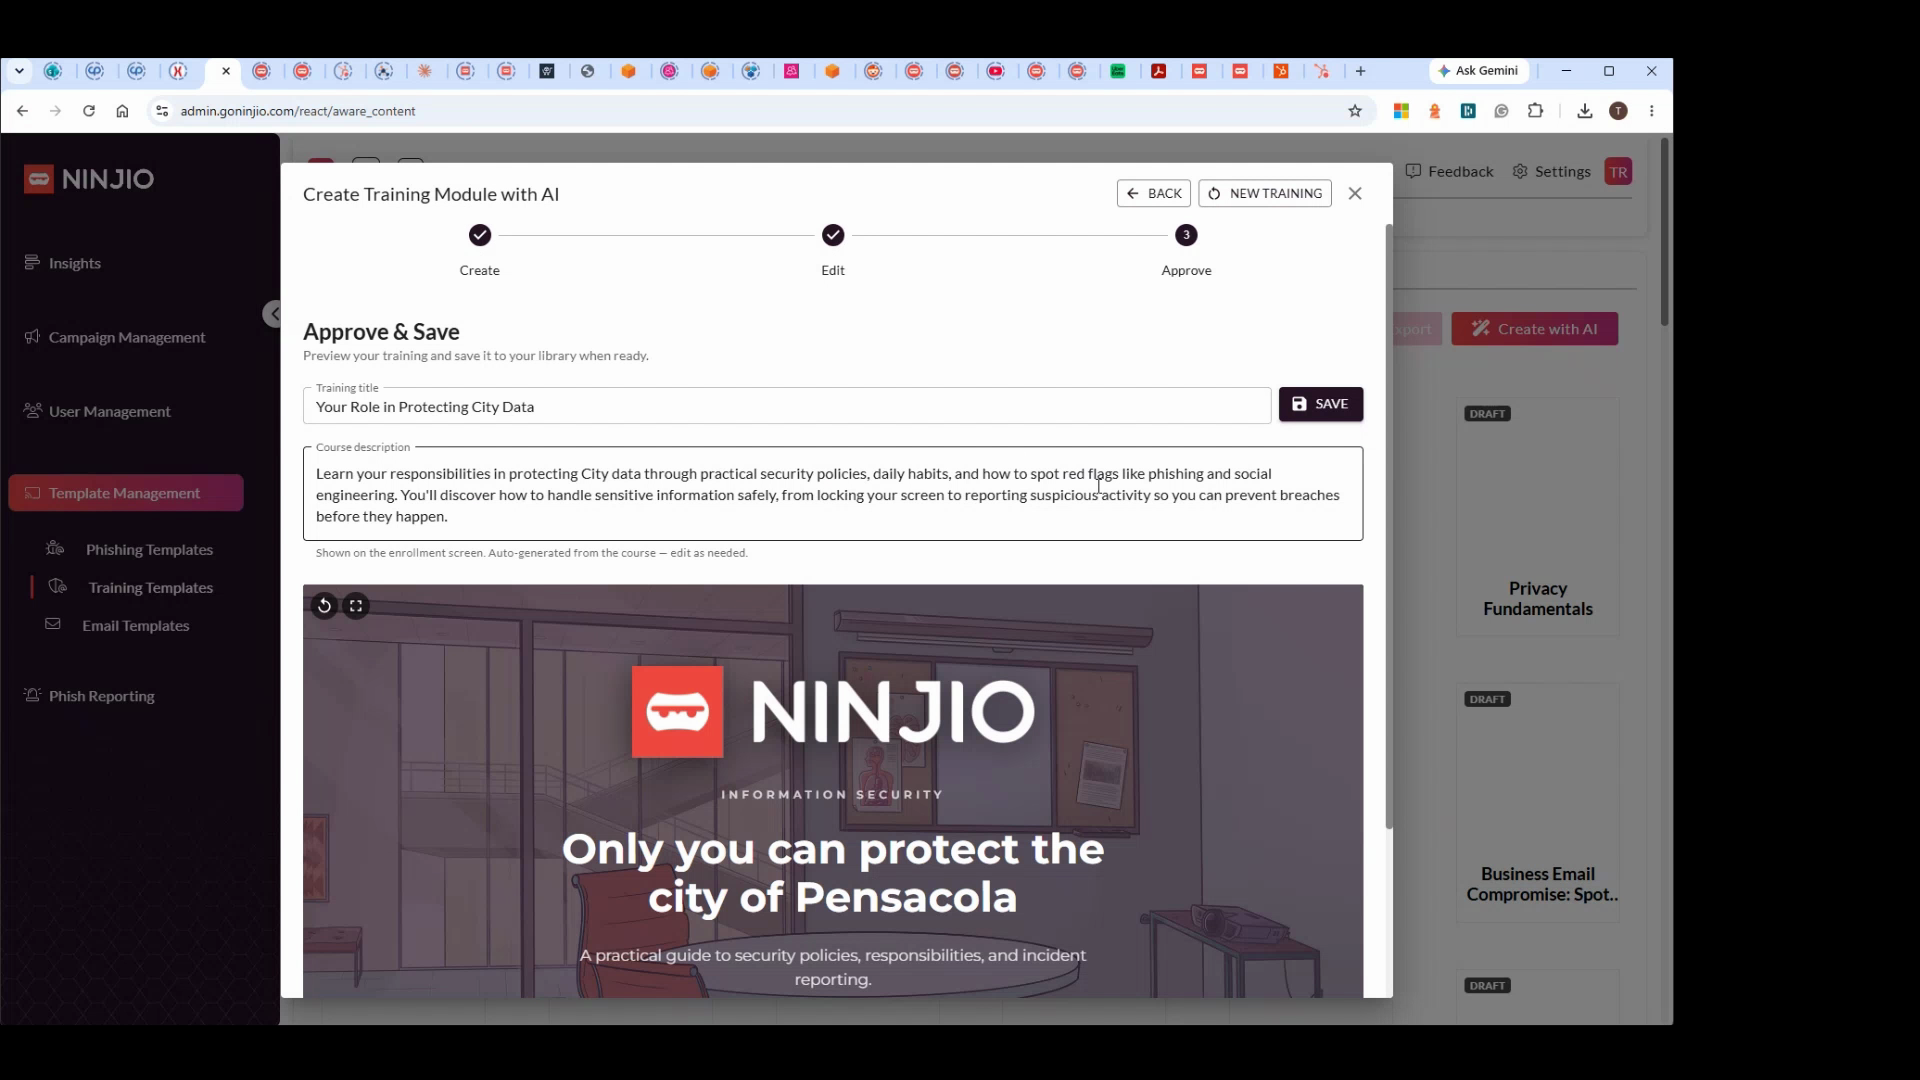
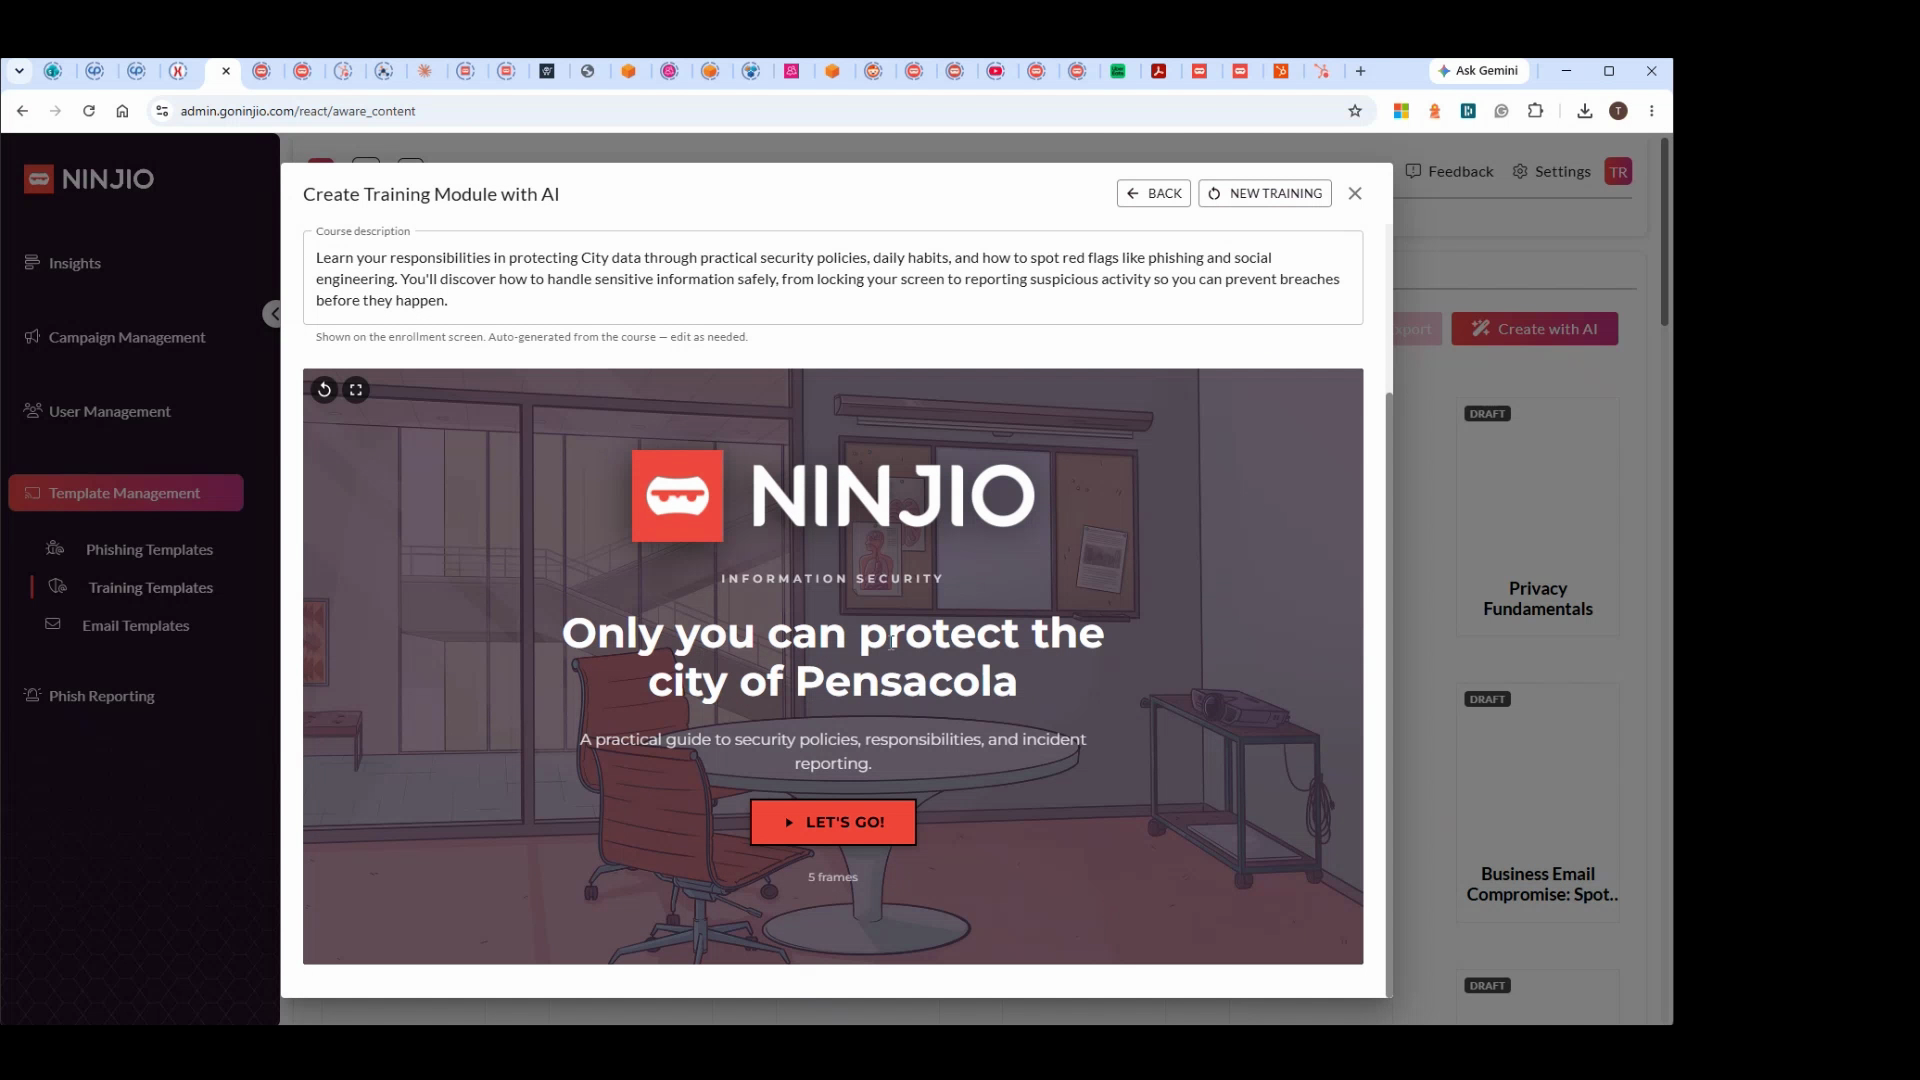
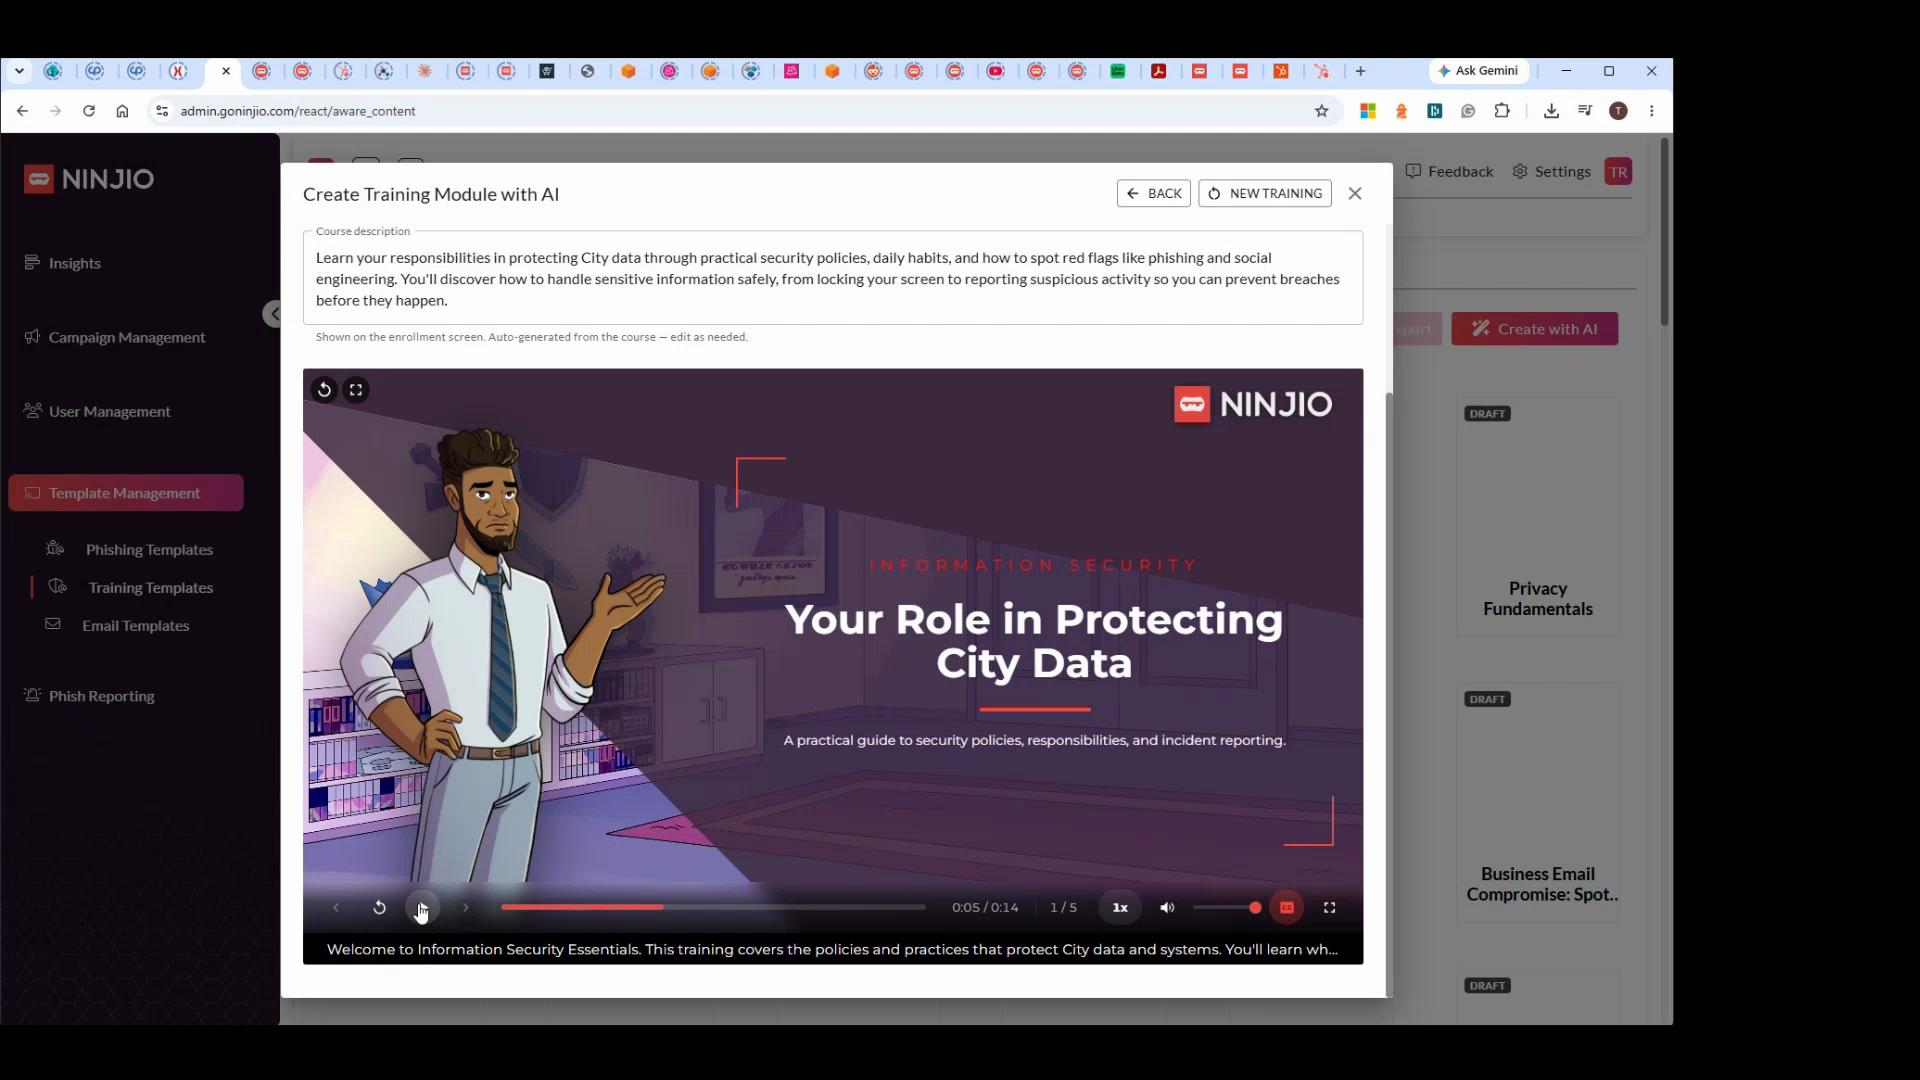
Step 6: If further changes are needed, click Back. Remember, every time you consume a token, it uses up a purchased credit.
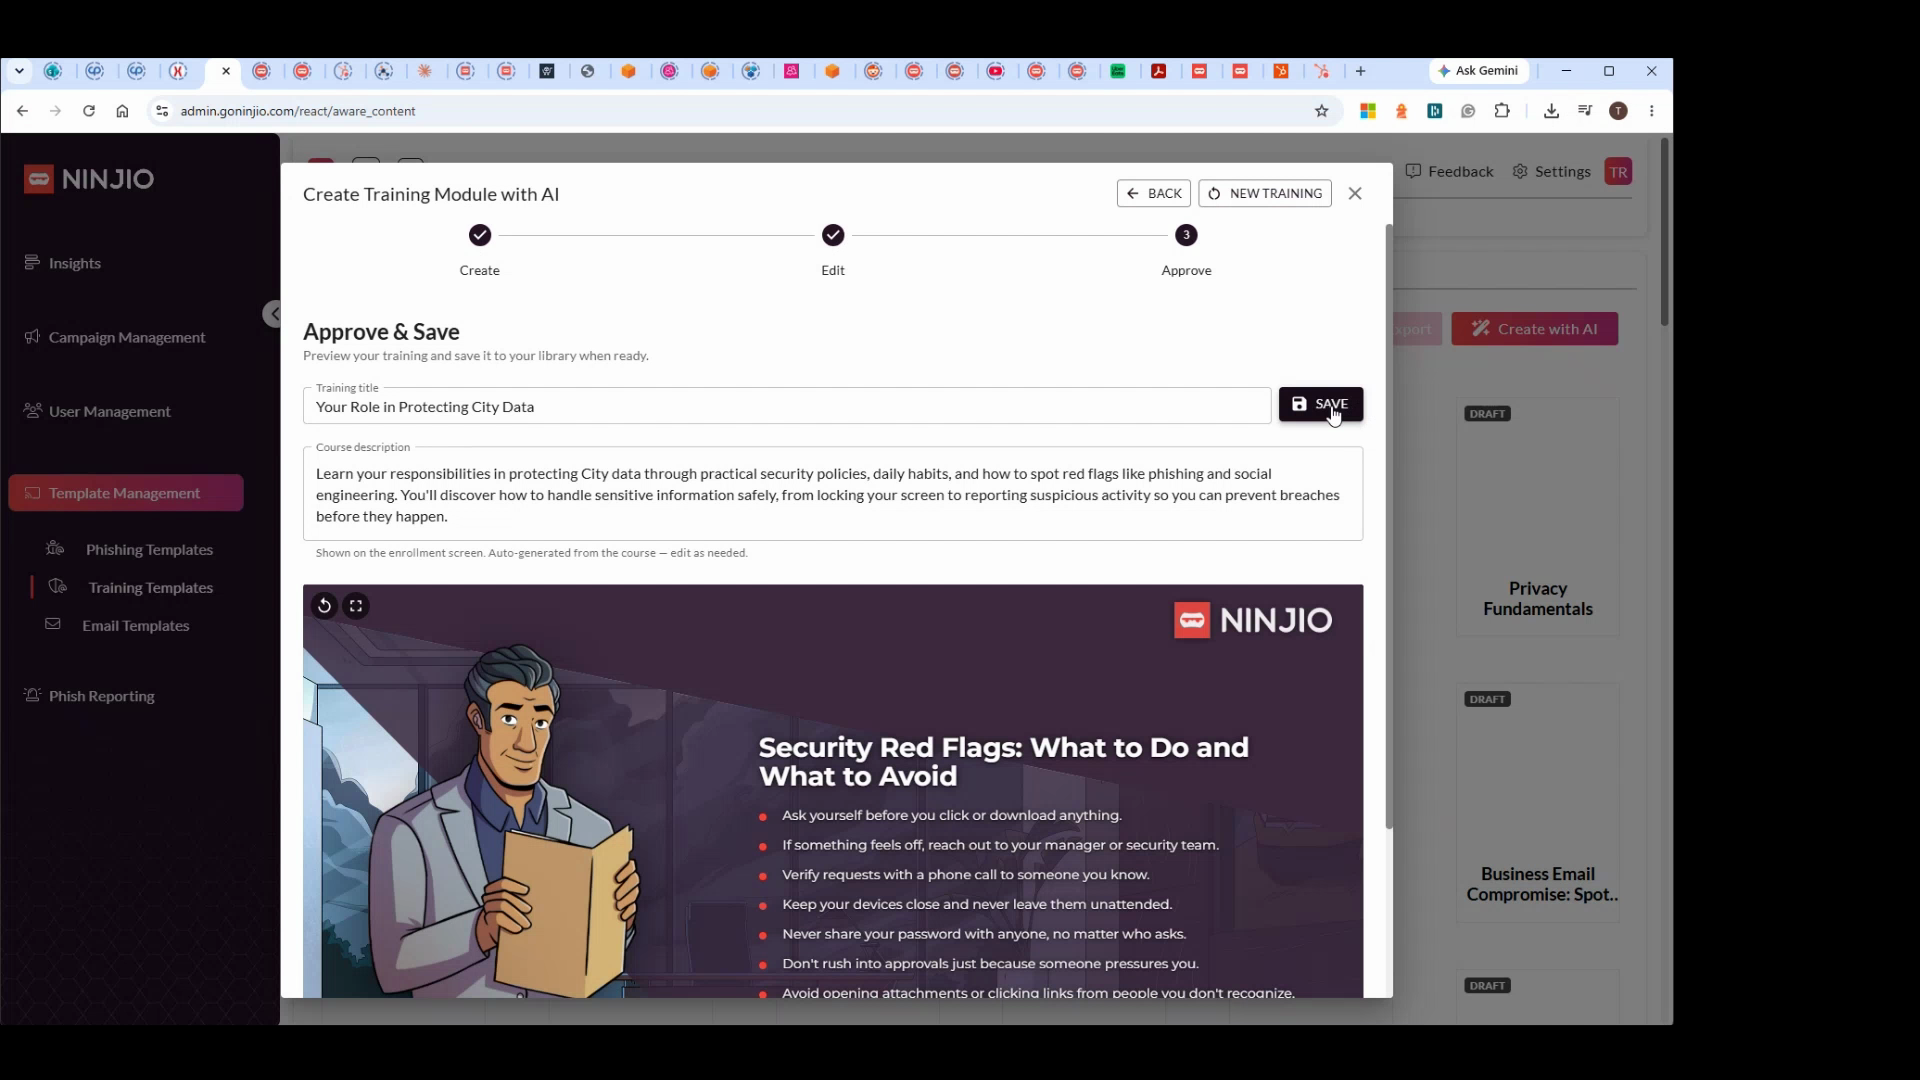
Step 7: To publish, click Save and add the training to your content library.
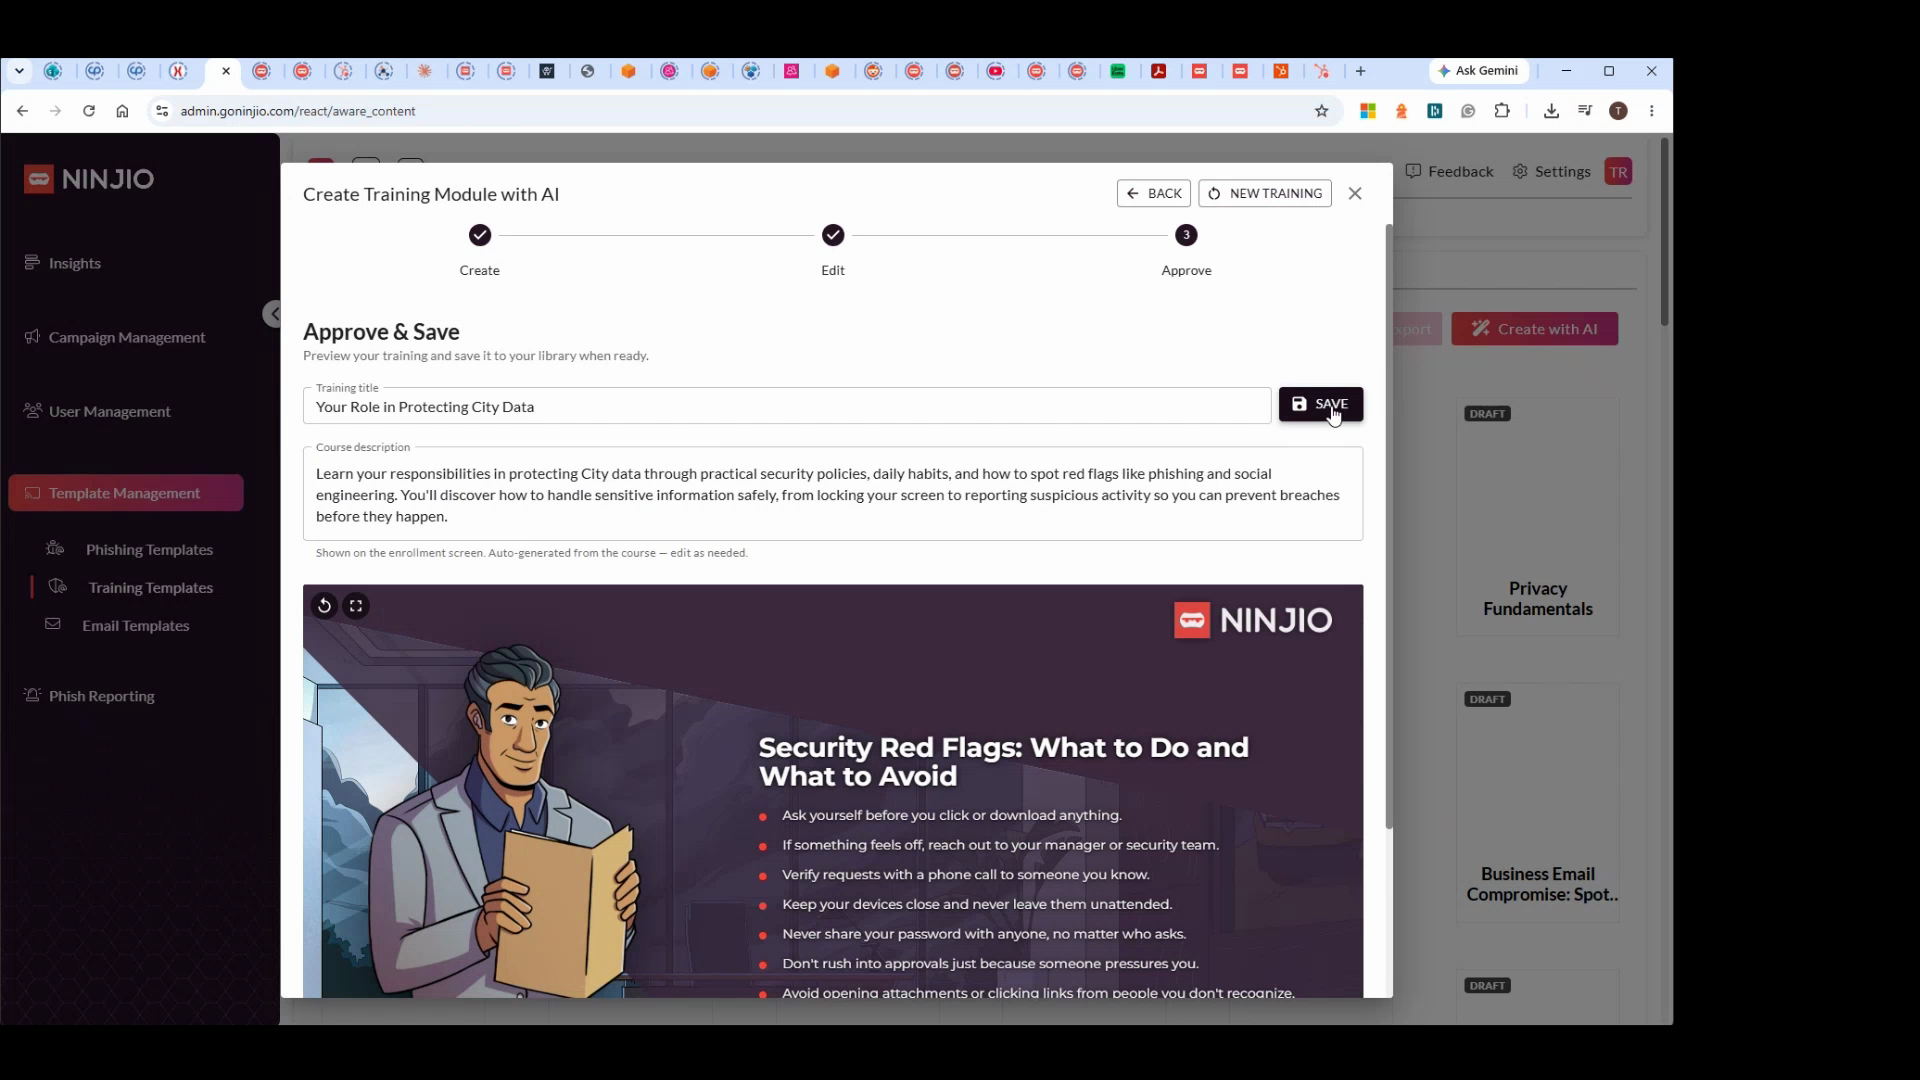
Step 8: Deliver the training to any group, just as you do with your monthly sessions. Unpublished trainings remain in draft.
For questions or support, reach out to NINJIO’s support team. Happy training!
Comments
0 comments
Please sign in to leave a comment.