Keep your team's access up to date by setting up Google User Sync in NINJIO. This feature connects your Google Workspace directory, so users are added and updated automatically.
How-To Video:
Step-by-Step Instructions:
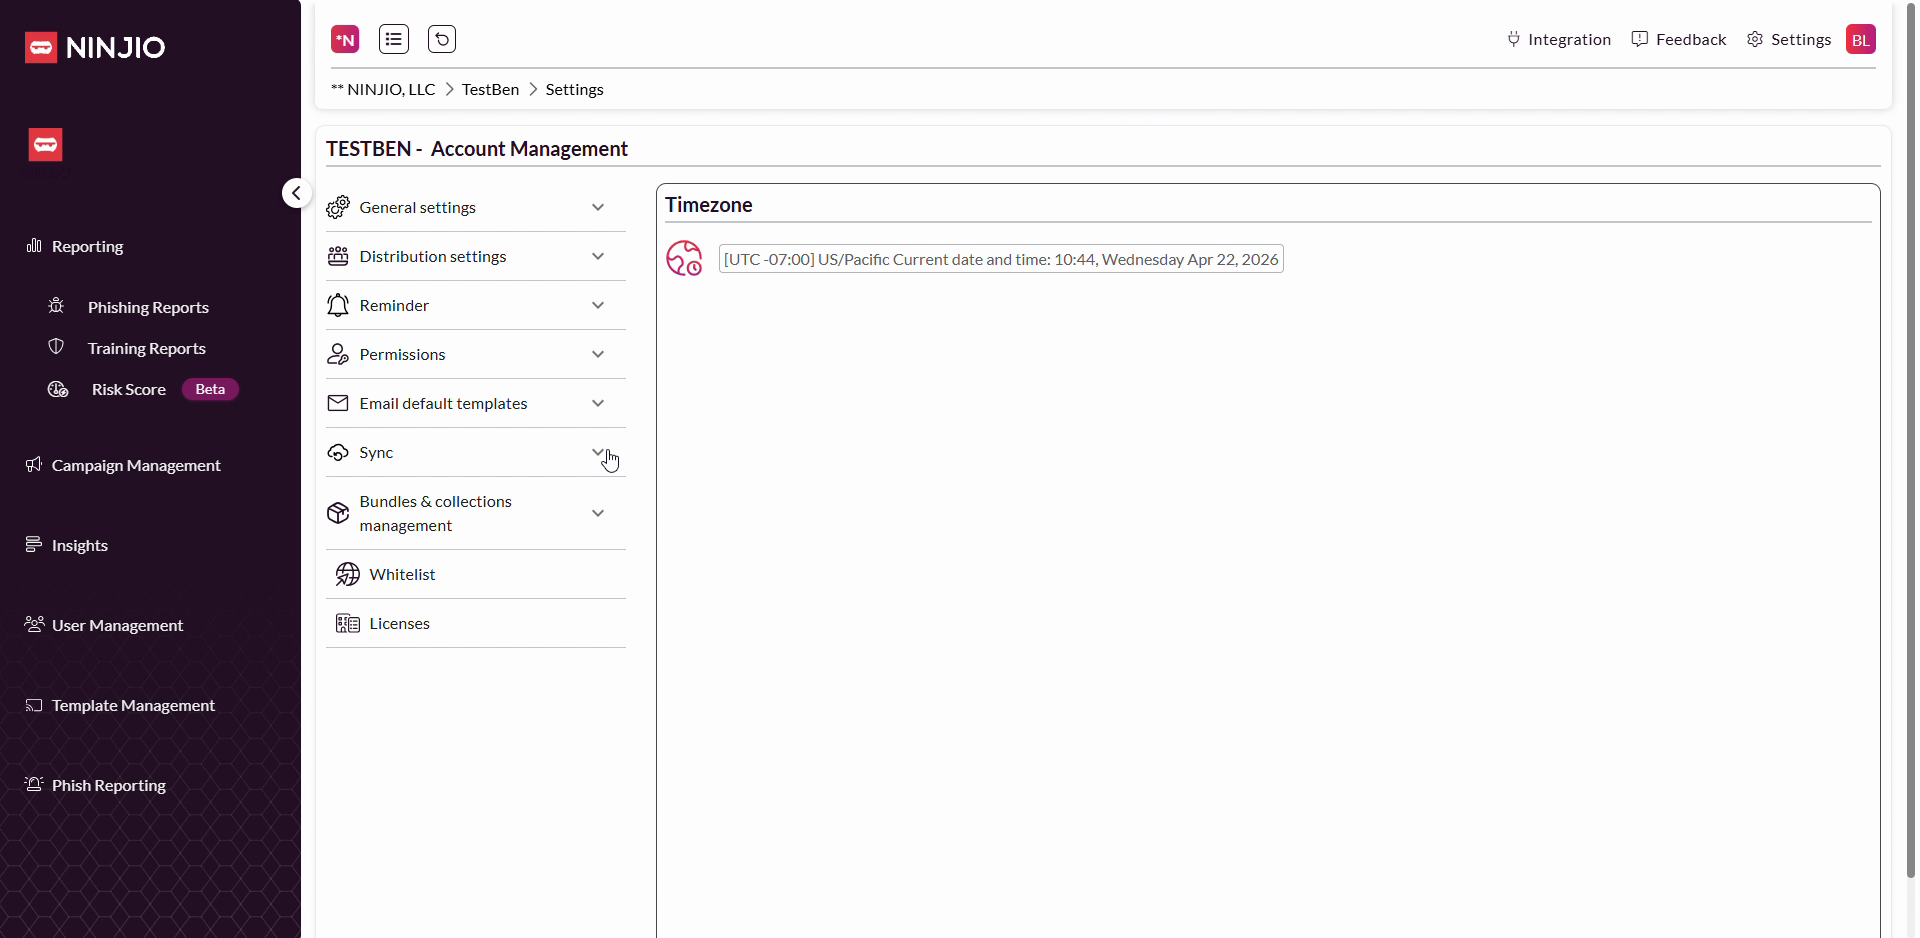
Step 1: Click your profile icon in the top right corner of the NINJIO dashboard.
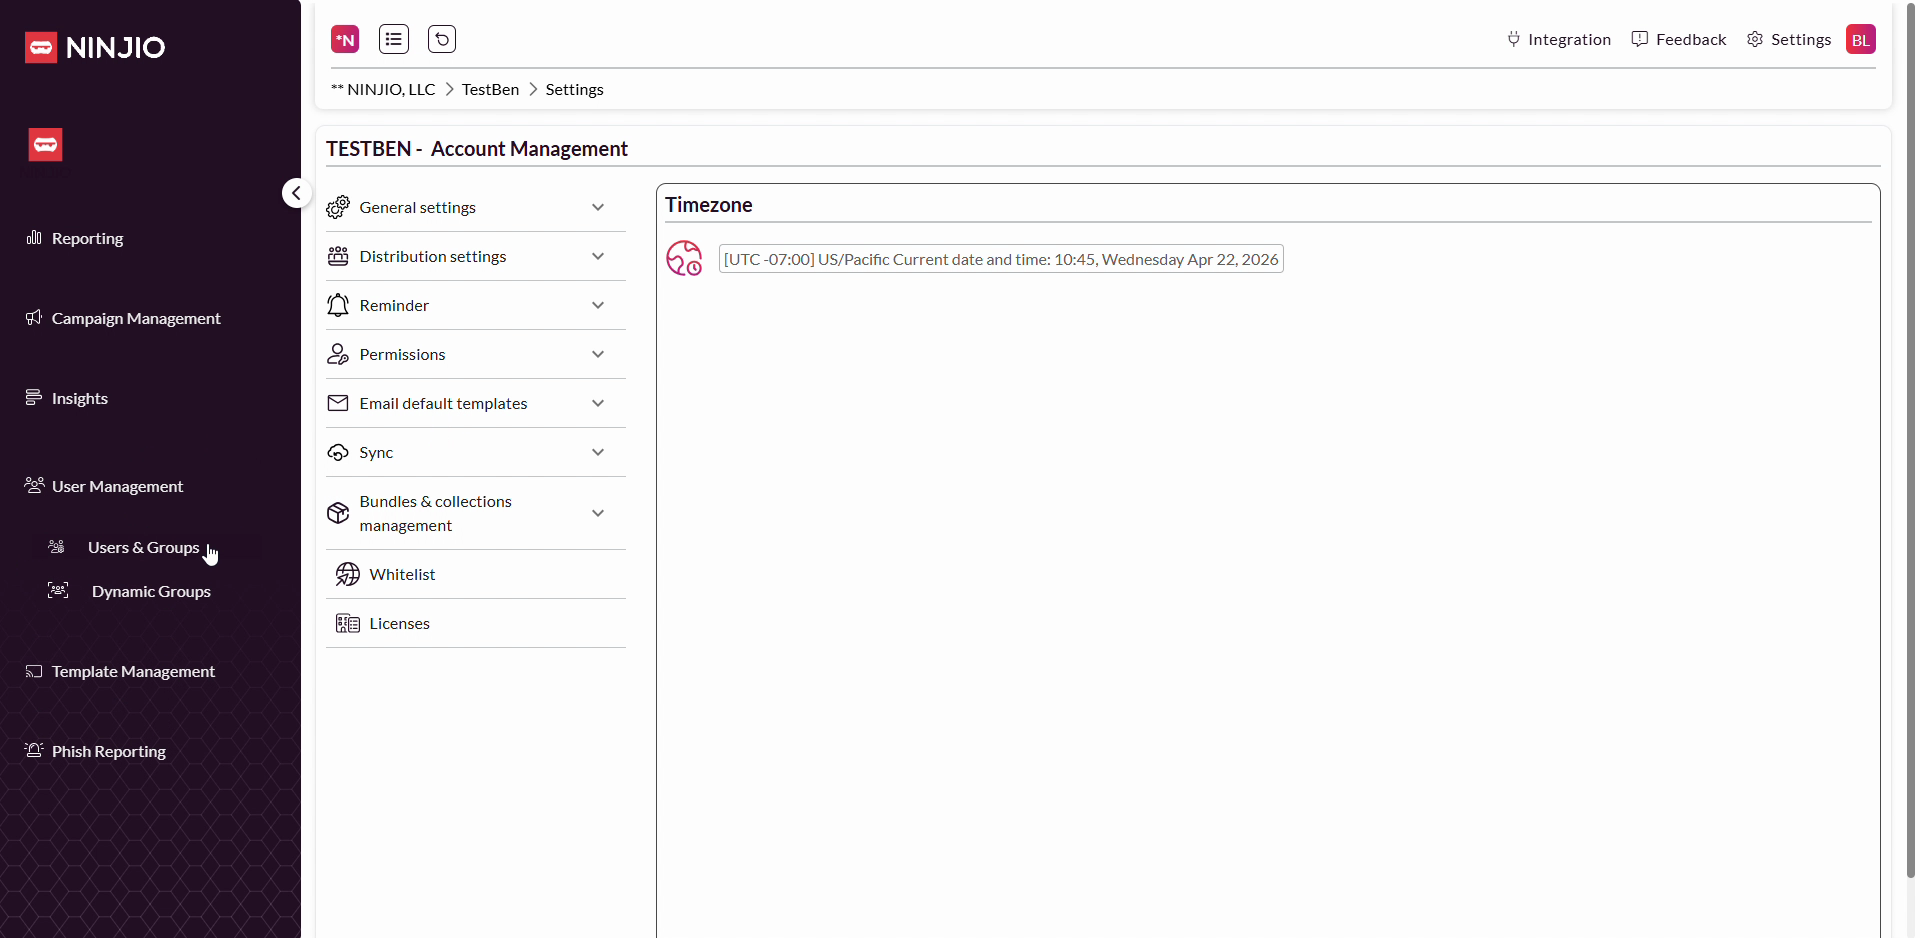
Step 2: Choose Settings from the dropdown menu.

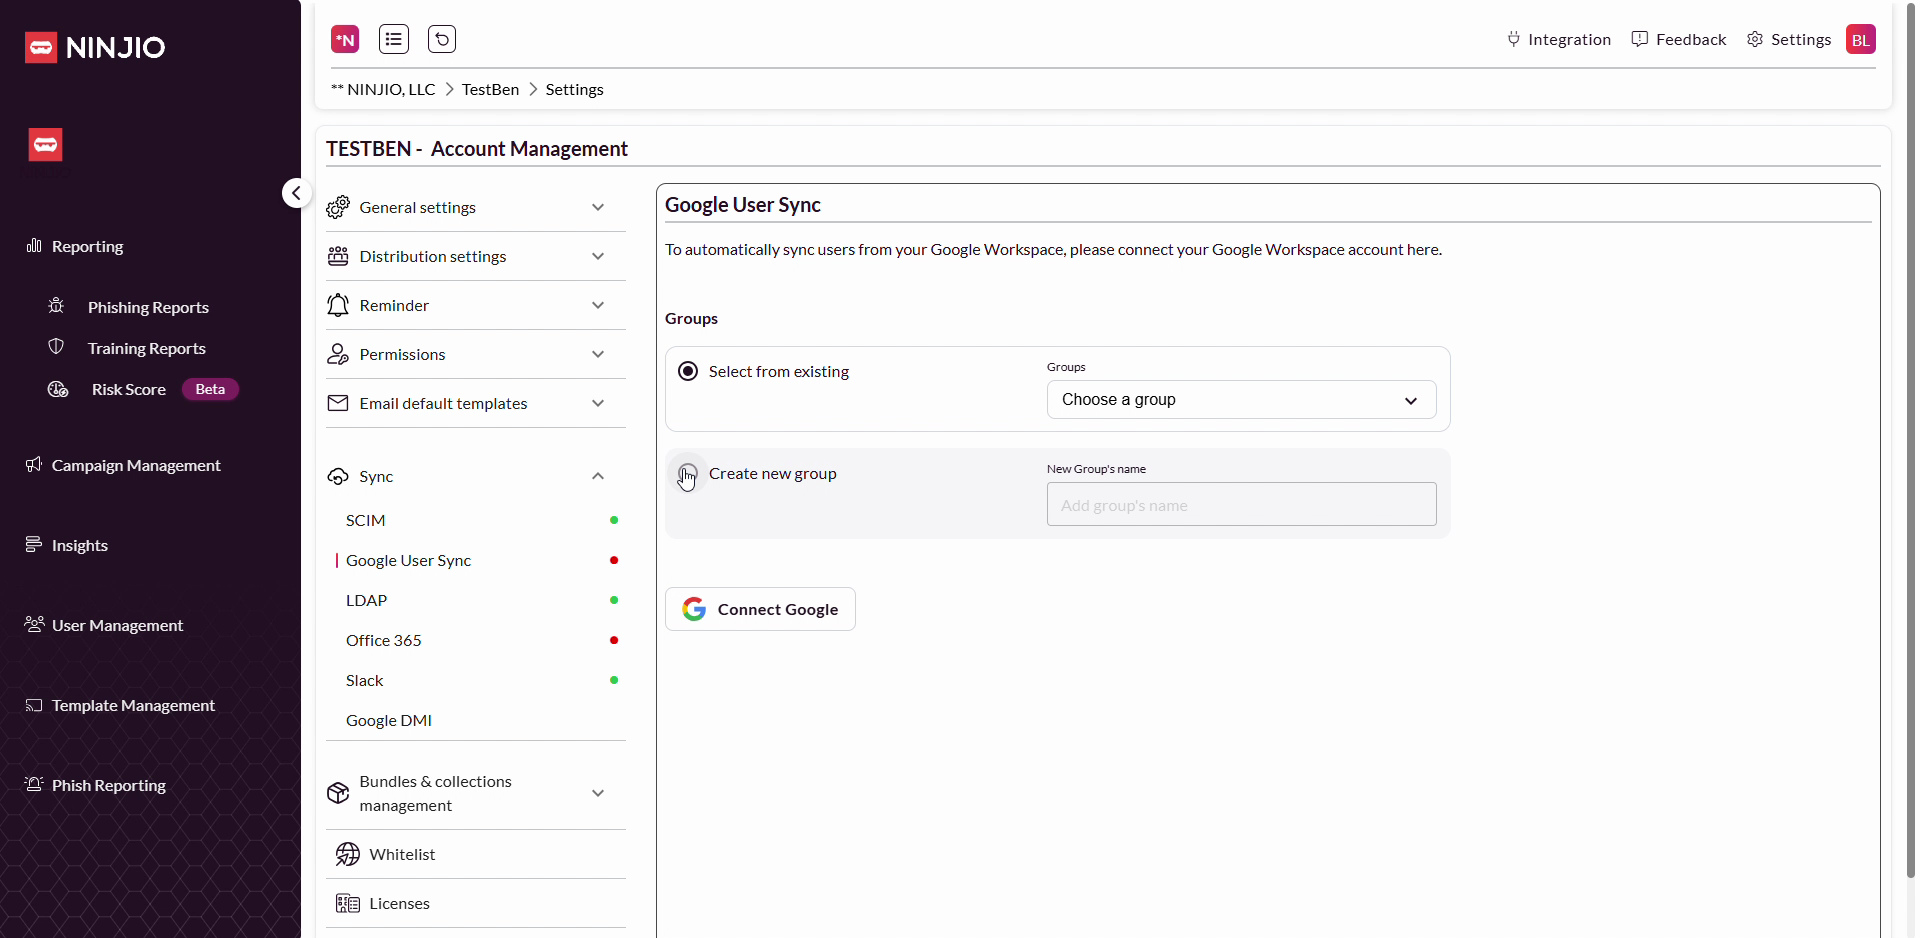
Step 3: Find the Sync section and select Google User Sync from the dropdown options.
Step 4: Click the Google User Sync button to start setup.

Step 5: Choose how you want to organize your synced users. You can either select from existing groups or create a new group.


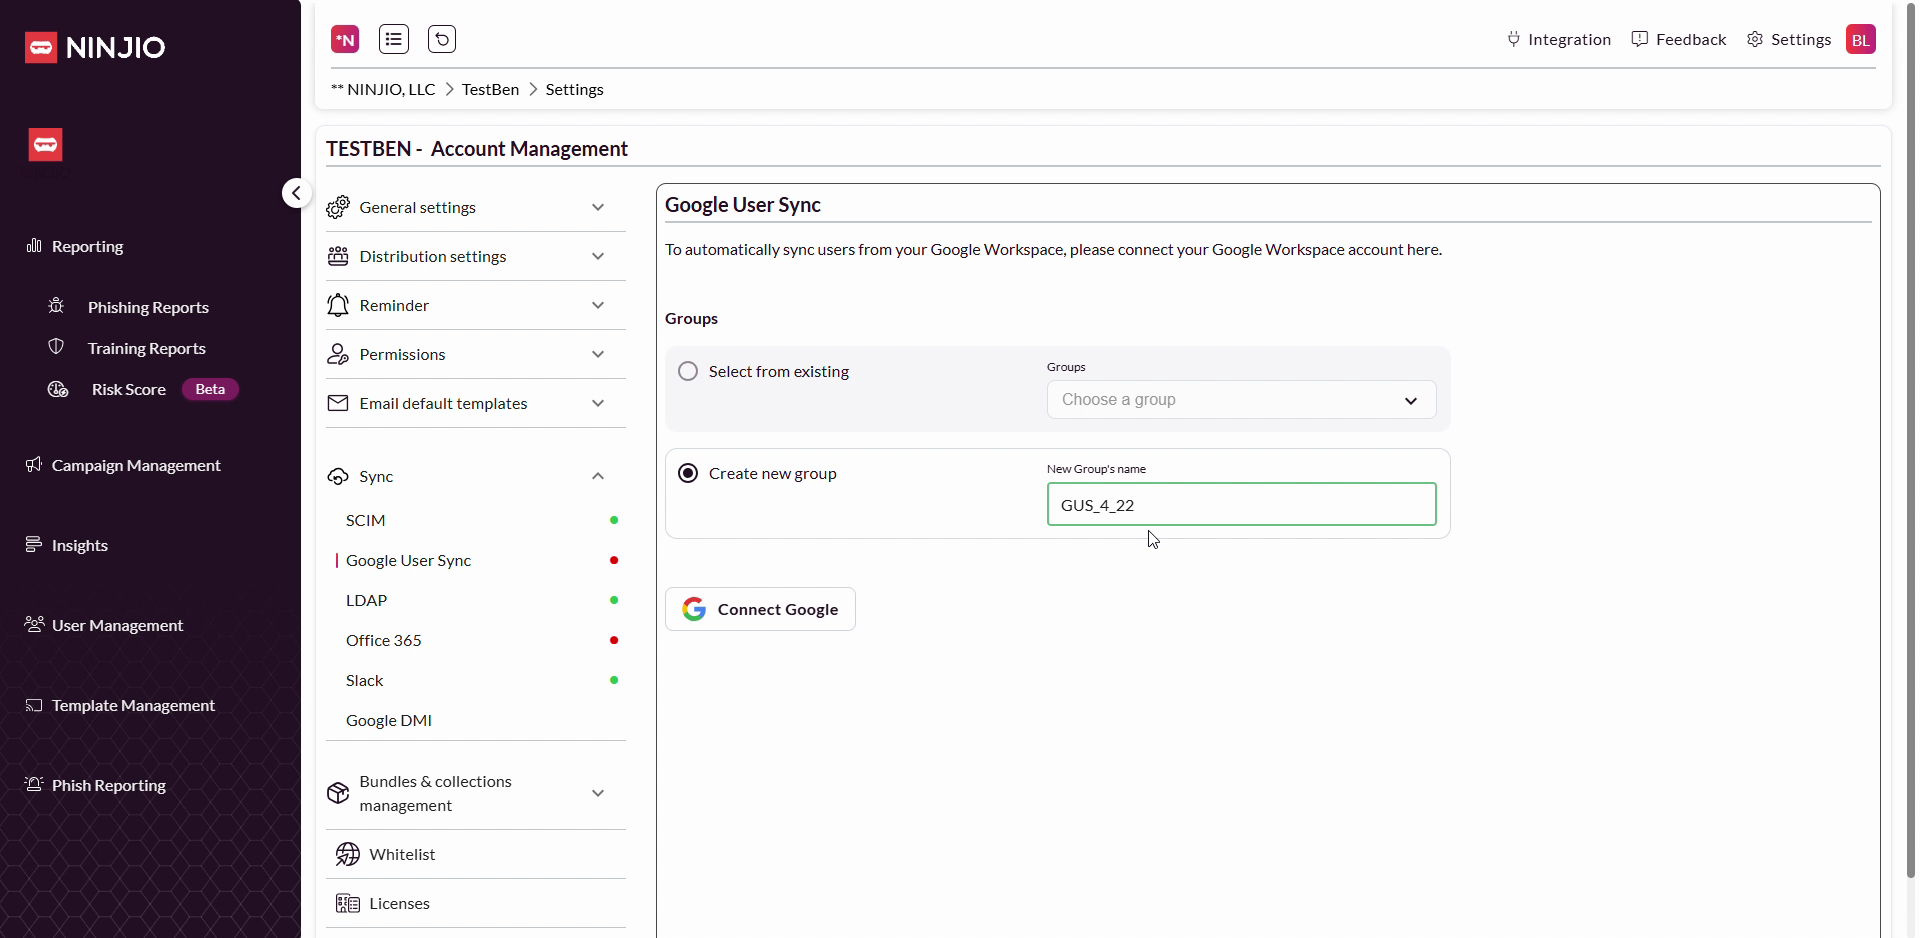
Step 6: For new users, click Create New Group. This helps keep your Google-synced users organized and easy to identify.
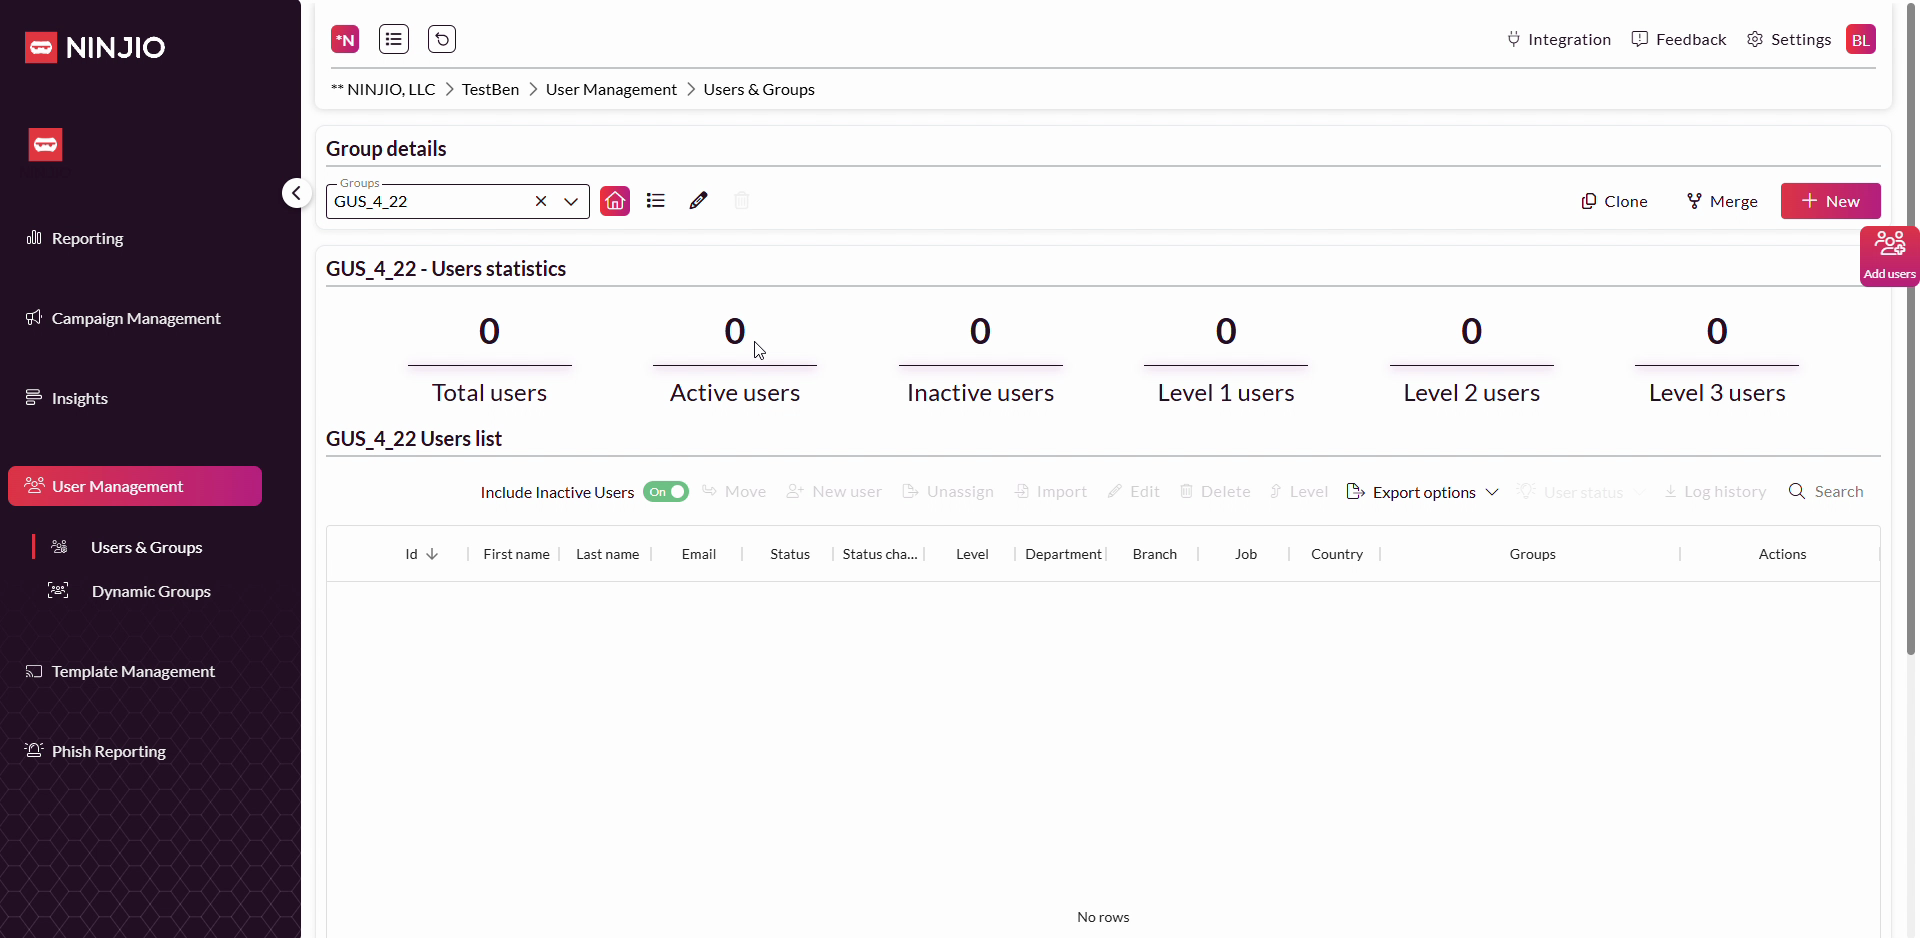
Step 7: Enter a name for your group, like "GUS422", and click Save or continue.

Step 8: Click Connect Google to proceed.
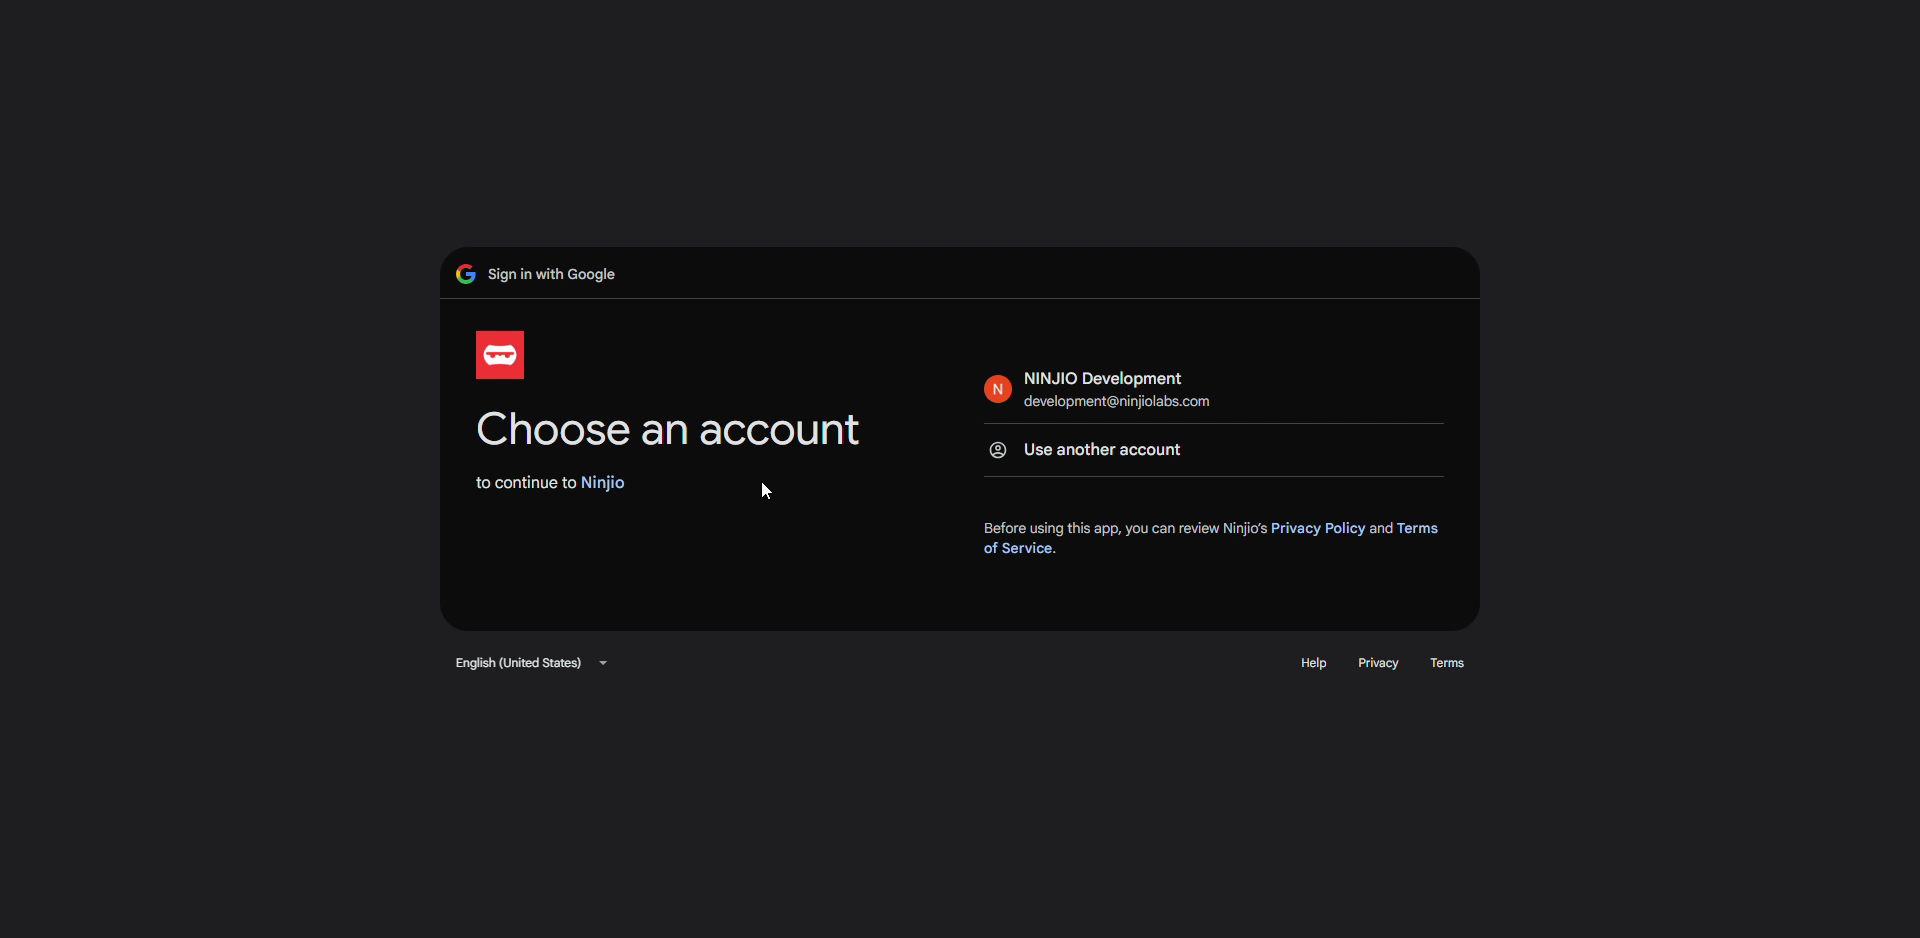
Step 9: Select the Google account that manages your organization's users.
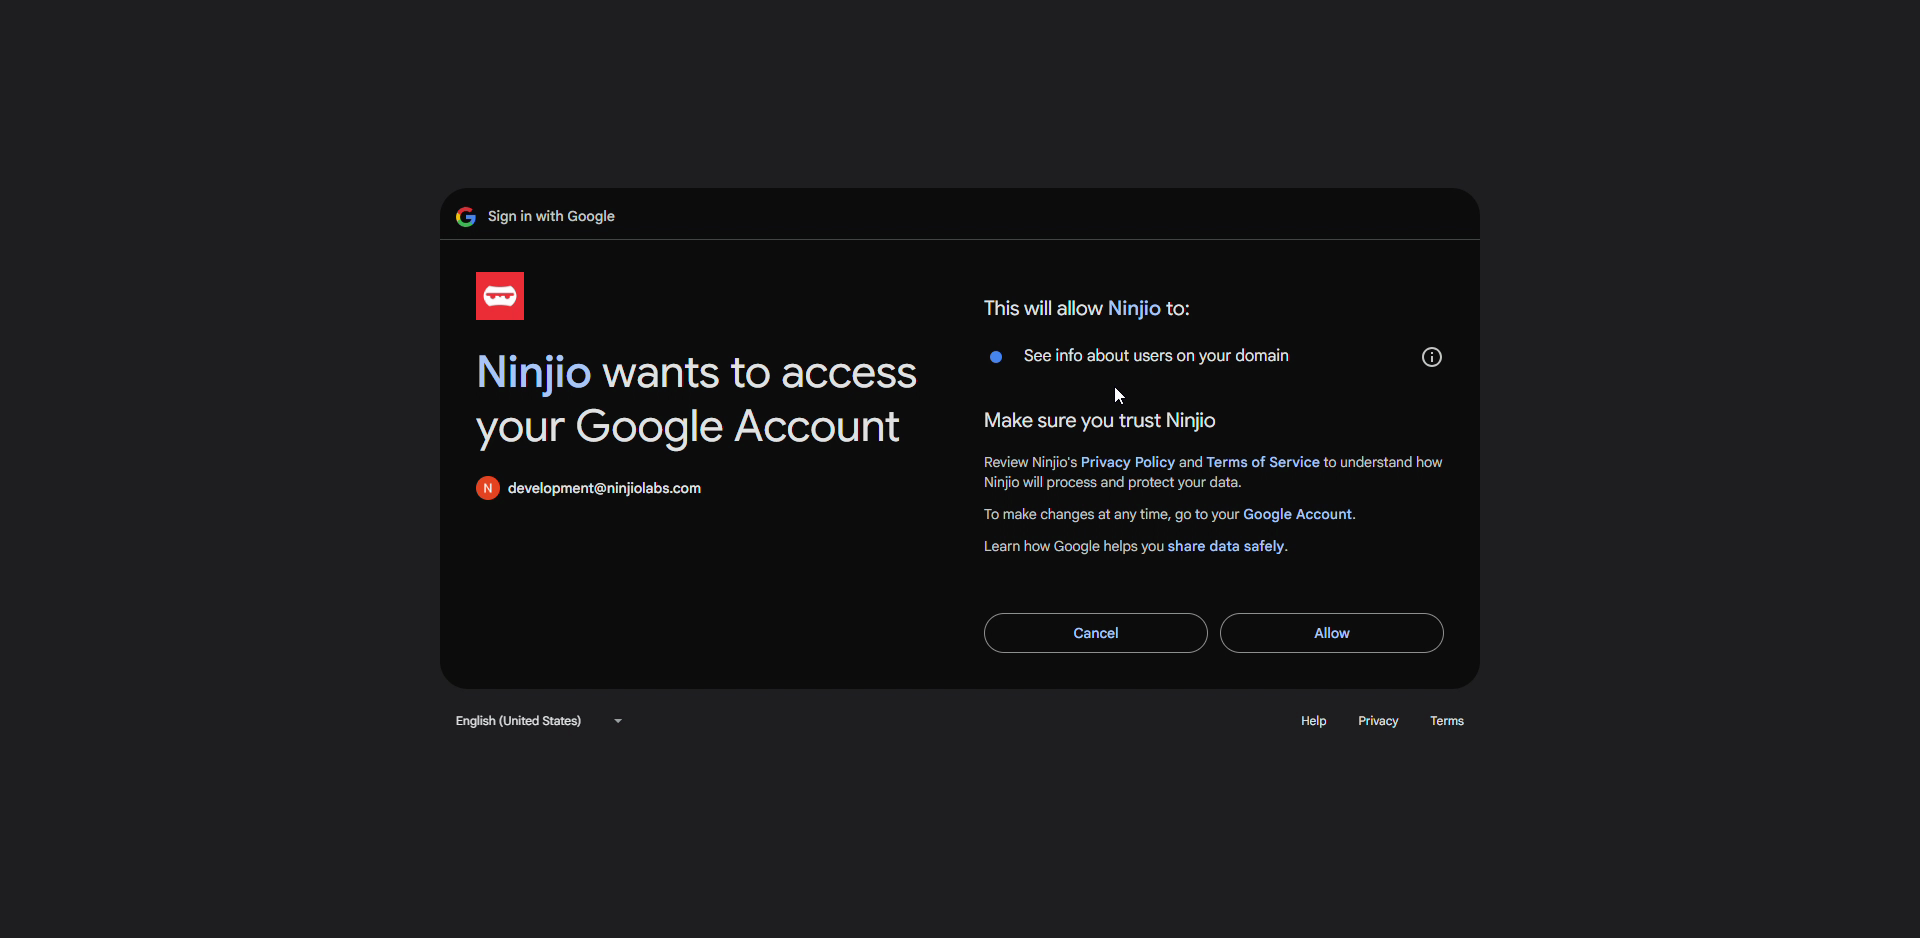
Step 10: Grant consent so NINJIO can access your Google user data for syncing.
Step 11: Wait for redirection back to NINJIO. The platform will take you to your Groups page for confirmation.
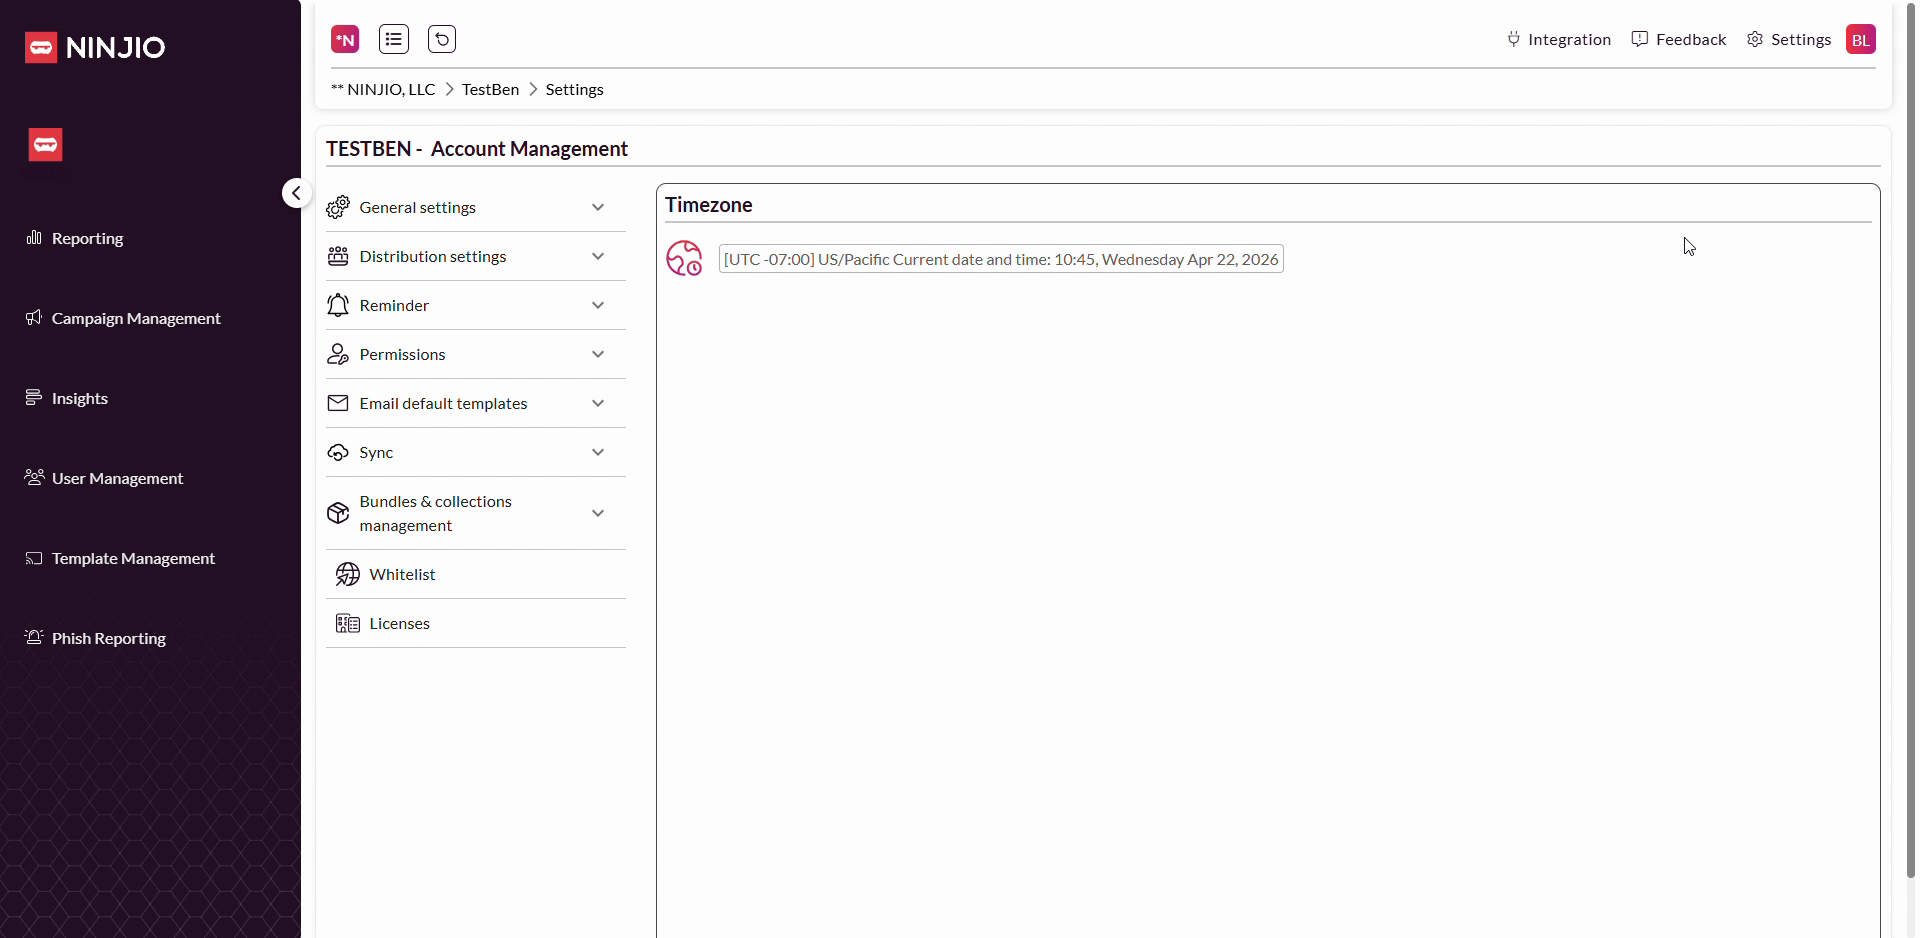
Step 12: Look for your new group (e.g., GUS422) in the Groups list. This shows your Google users are now syncing to NINJIO.
Step 13: User updates from Google will appear in this group about every 20 minutes as the synchronization runs.
Setting up Google User Sync makes it much easier to manage access as employees join or leave your organization. If you need more help, email support@ninjio.com. Syncing regularly saves time and ensures only the right people have access to NINJIO.
Comments
0 comments
Please sign in to leave a comment.