How to Set up Integration in Azure AD/Microsoft Entra ID
Azure AD/Microsoft Entra ID Demo
1. Setting up your Azure Ad (Microsoft Entra ID) SCIM Connection via Enterprise application
A. Go to https://aad.portal.azure.com/and login into your portal.
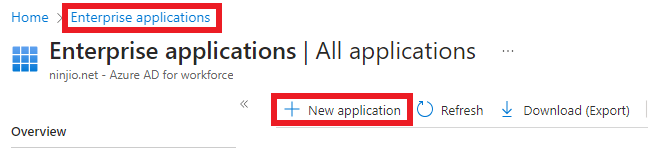
B. Select Enterprise Applications and create a new application.
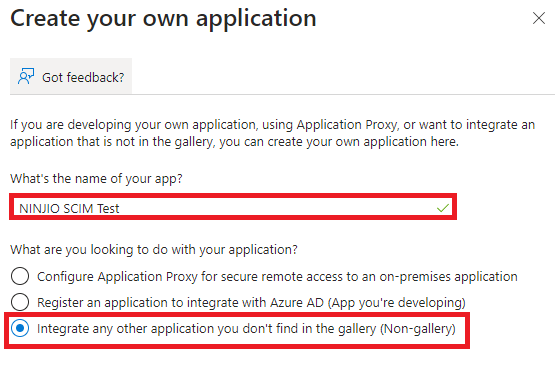
2. Create your own application.

3. Integrate with other applications that don’t find in the gallery:
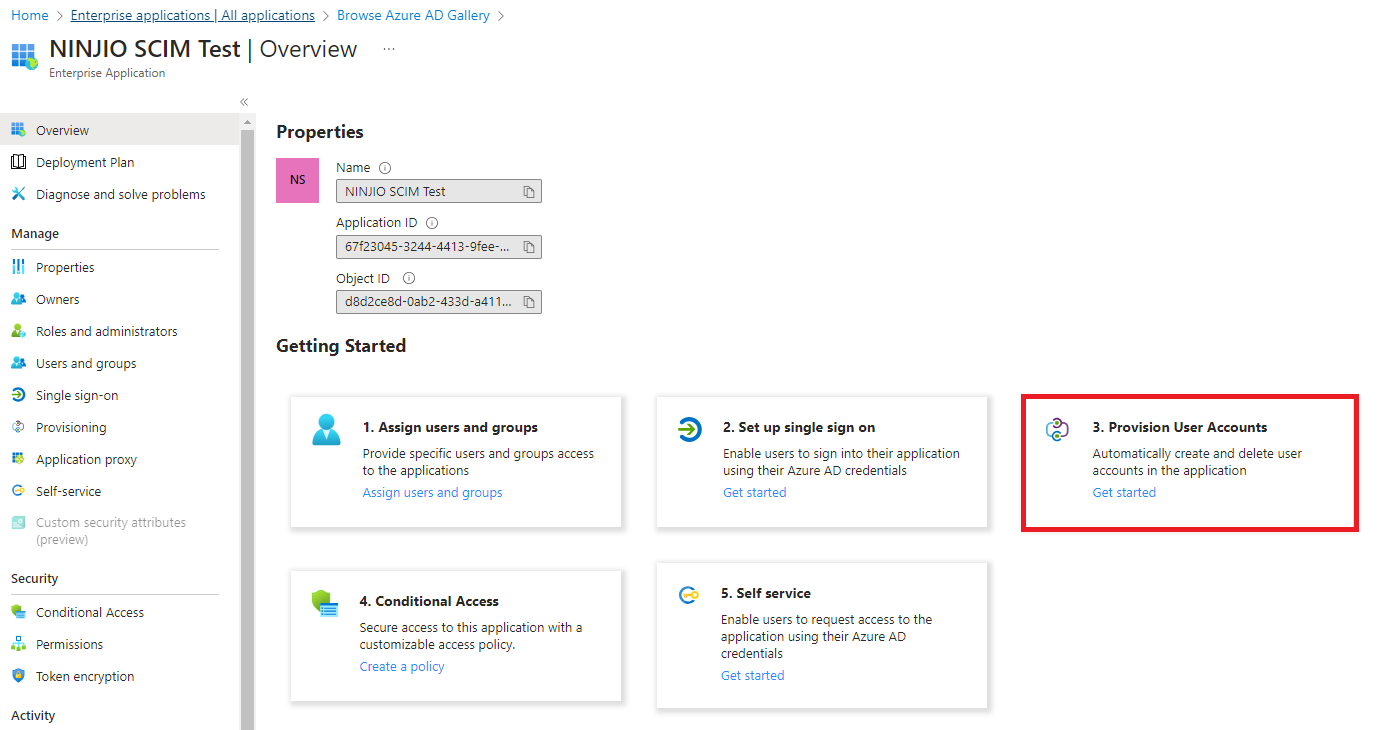
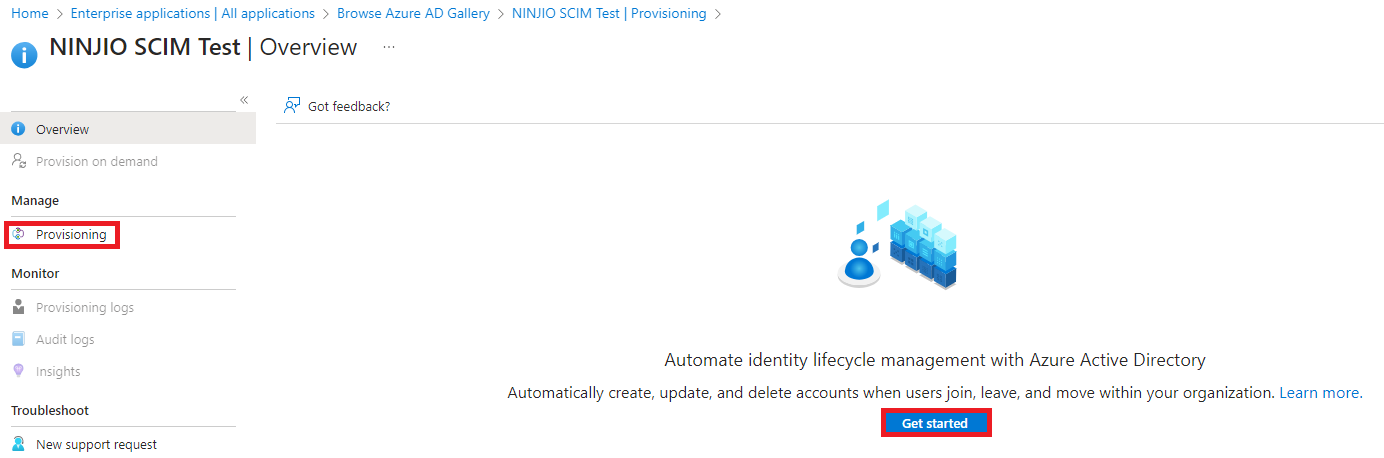
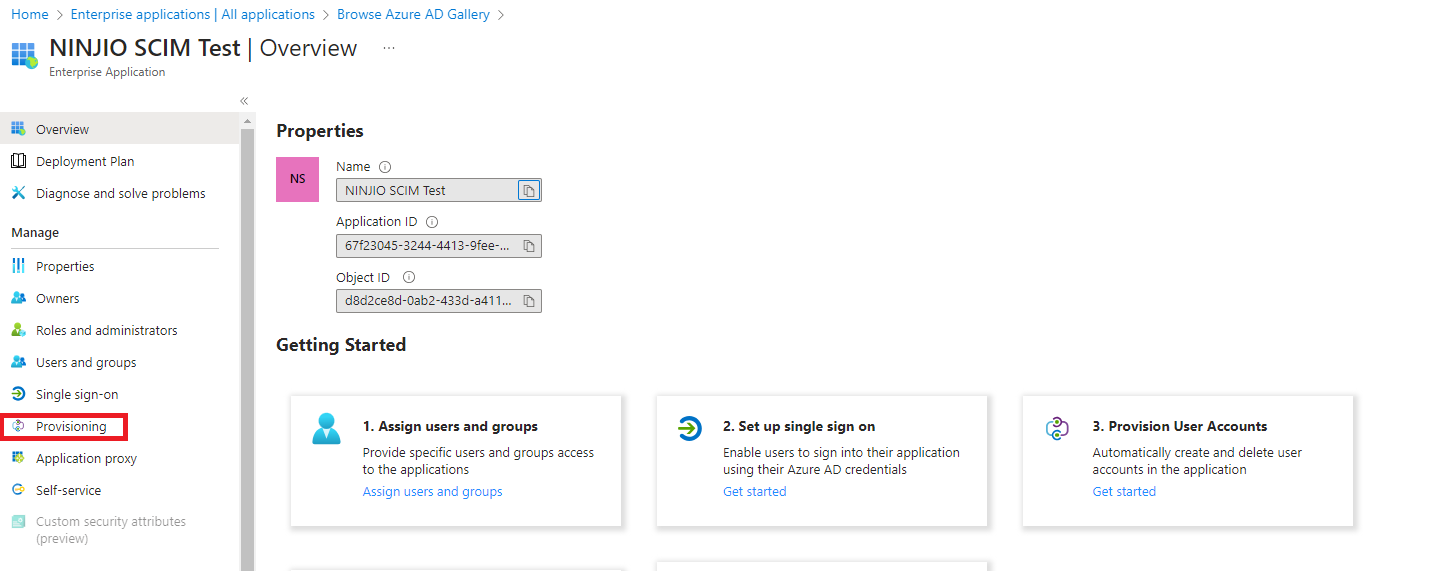
4. In the Enterprise Application under the overview menu, go to Provision User Accounts and select Getting Started and then under the provisioning menu, select “Get started”:
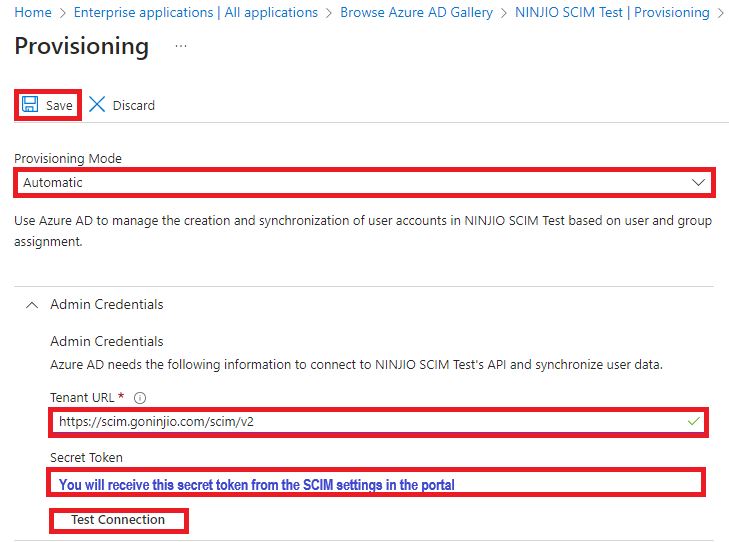
5. Configure automatic provisioning and input the Tenant URL: https://scim.goninjio.com/scim/v2
A. Input the secret token in the “Secret Token” field. You will receive the secret token from the SCIM setting in the NINJIO portal.
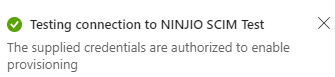
B. Test Connection after you have input your Tenant URL and Secret Token.
C. Once the test is successful, click the “Save” button.
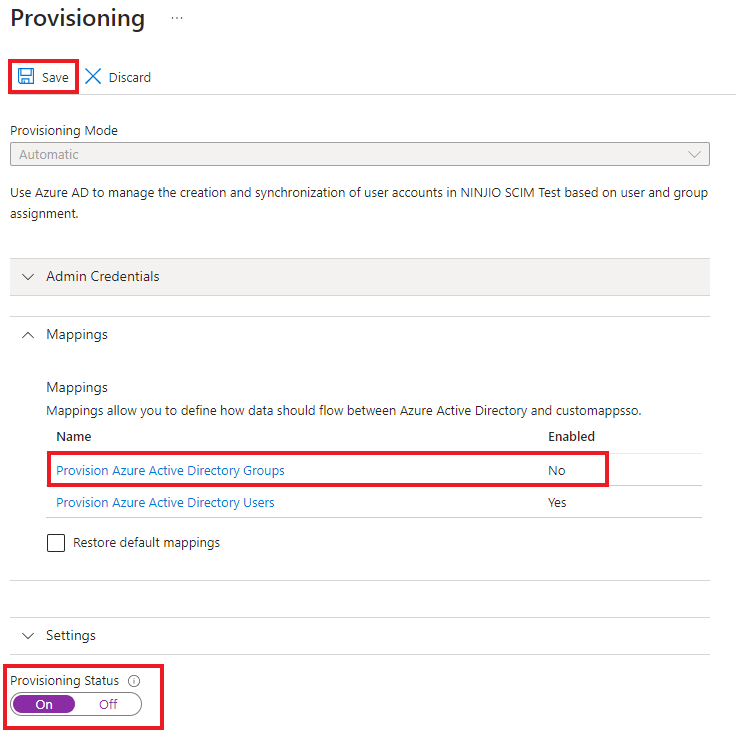
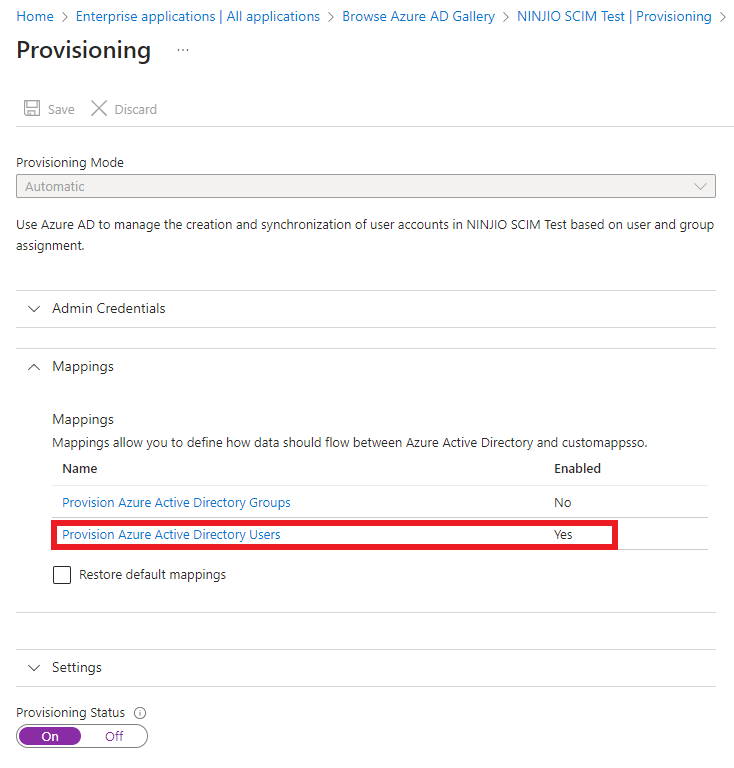
6. Go to the Provisioning menu in the Enterprise Application you created, and then make sure to disable “Provision Azure Active Directory Groups” by selecting the Group mapping and select No for Enabled.
- Under Settings at the bottom, turn “On” Provisioning Status and hit the “Save” button.
7. Make sure to set up your security groups to be synchronized. Organizations can create their synchronizing groups based on AAD attributes in the Main AAD portal menu, which can be used here for organizing your sync groups.
A. In the Enterprise Application, go to Users and Groups and select Add user/Group:

B. Select your user or group and then complete the selection process by assigning the users/groups.
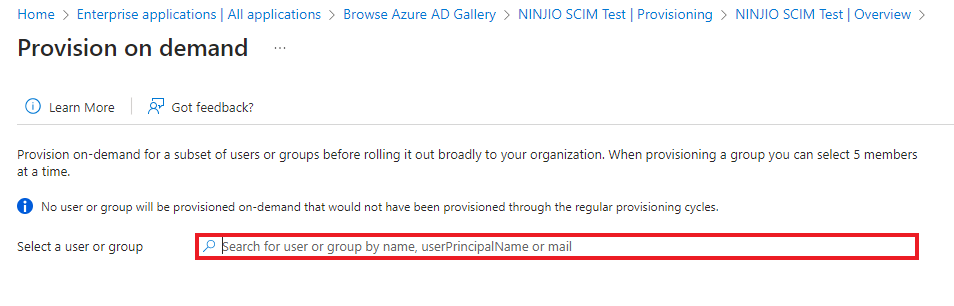
C. To test the synchronization, go to the Provisioning menu and select Provision on Demand:
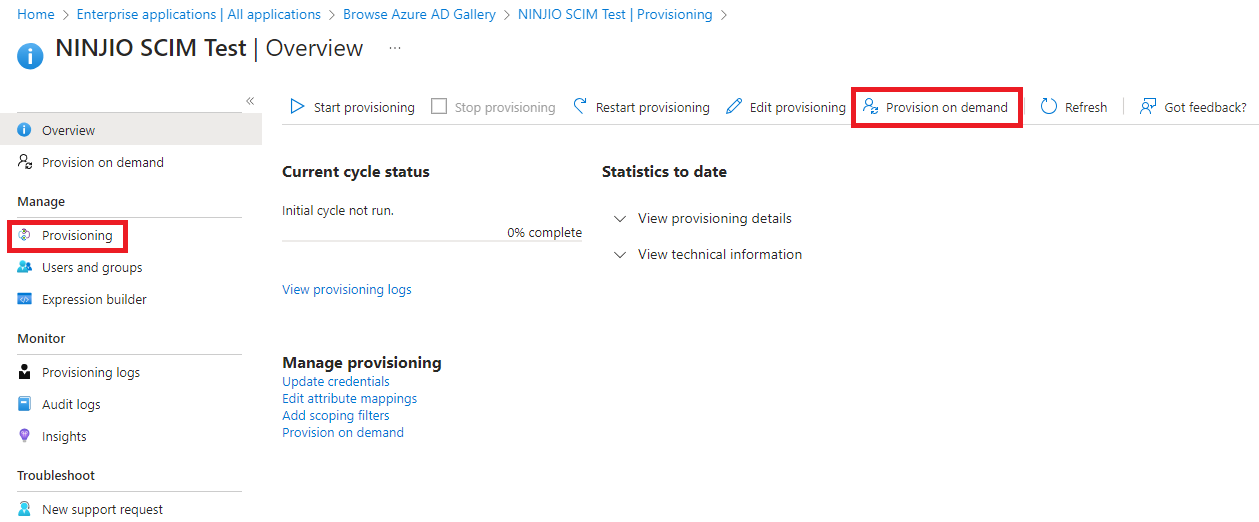
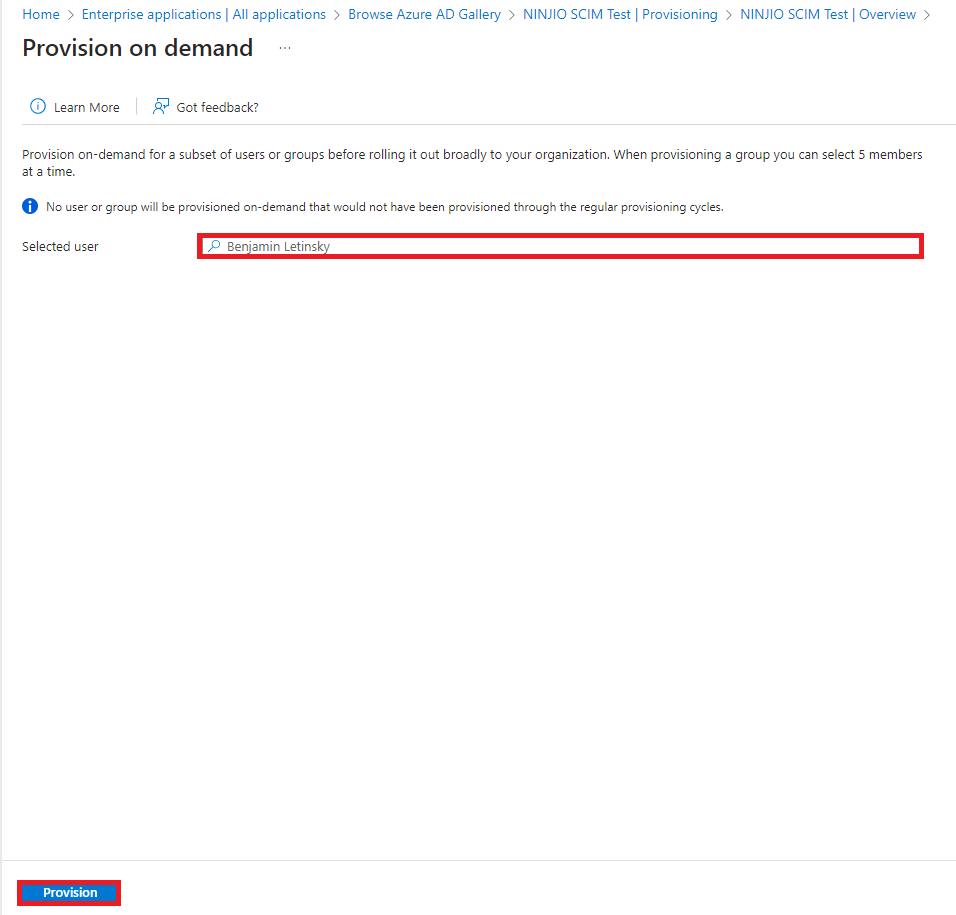
D. Select a user/group to provision by typing a name in the search box and selecting “Provision.”
**NOTE** Provisioning Synchronization Time frame:
– Provisioning on demand – lets you provision a single user/group into the SCIM group within NINJIO. This synchronization takes between 5-20 mins to reflect in the SCIM group.
– Provisioning Cycle- lets you provision multiple users/groups into the SCIM group within NINJIO. This synchronization takes about 40mins – 1hr to reflect within the SCIM group.
Deprovisioning:
- Removing User Access: Our standard process removes user(s) from the active user group on the platform when their account is disabled in your Microsoft Entra ID directory.
- What Doesn't Happen Automatically: This standard process doesn't deactivate their account profile within our platform. Also, if an account is permanently deleted from Microsoft Entra ID, the Enterprise Application might not catch this to remove the user.
- For Automatic Account Deactivation: If you want user accounts on our platform to be automatically activated or deactivated based on changes in your AD, please contact Support, and we can help to set this up for you.
- Recommended User Removal: When user accounts are managed automatically via SCIM, the correct procedure is always to start in Microsoft Entra ID. Deactivate the user or remove their application assignment there first. SCIM handles automatic synchronization to update and deactivate the account on our platform.
- Consequences of Manual Deletion: It is not recommended to delete users manually on the platform. Doing so while SCIM still sees the user as active in Microsoft Entra ID will cause the user to be automatically re-added, but as a brand-new account, losing all prior data and history permanently.
- Timing Considerations: Before permanently deleting a user in Microsoft Entra ID, ensure you have first deactivated them and allowed time for this change to sync to our platform via SCIM. Deleting too quickly can disrupt the deprovisioning & deactivation process.
FAQ
1. Need to remap attributes?
- To remap attributes, you will need to go into the “Enterprise Application Overview” Menu and click provisioning.
2. Once you’re within the provisioning settings, you will need to click “Edit Provisioning.”

3. While in the “Edit provisioning” Menu, you will need to click the “Mappings” drop down and
select “Provision Azure Active Directory Users”.
4. In the “Attribute Mapping” Menu, you can scroll down the page and view the default Azure
Active Directory attributes.
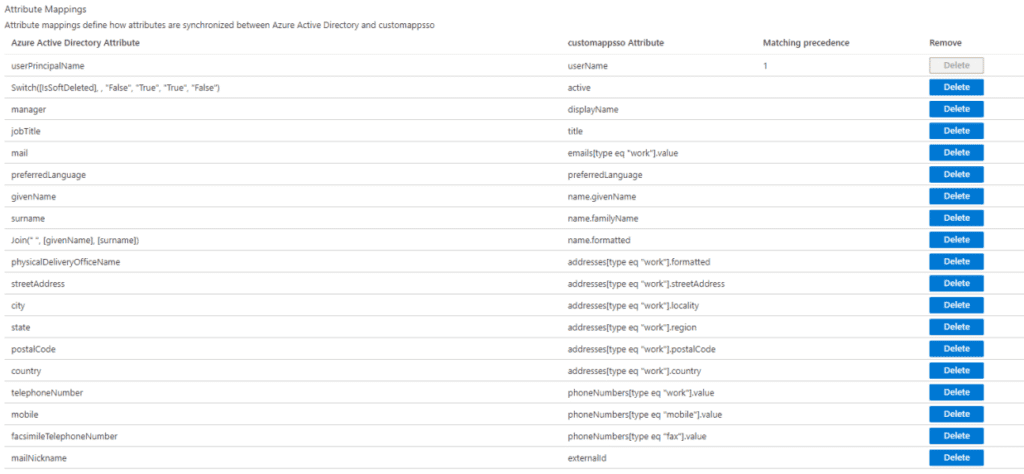
The NINJIO Platform utilizes the following attribute fields:
• Given Name
• Surname
• Department
• Branch (Region Attribute)
• Title
• Country
• Business Phone
• Manager
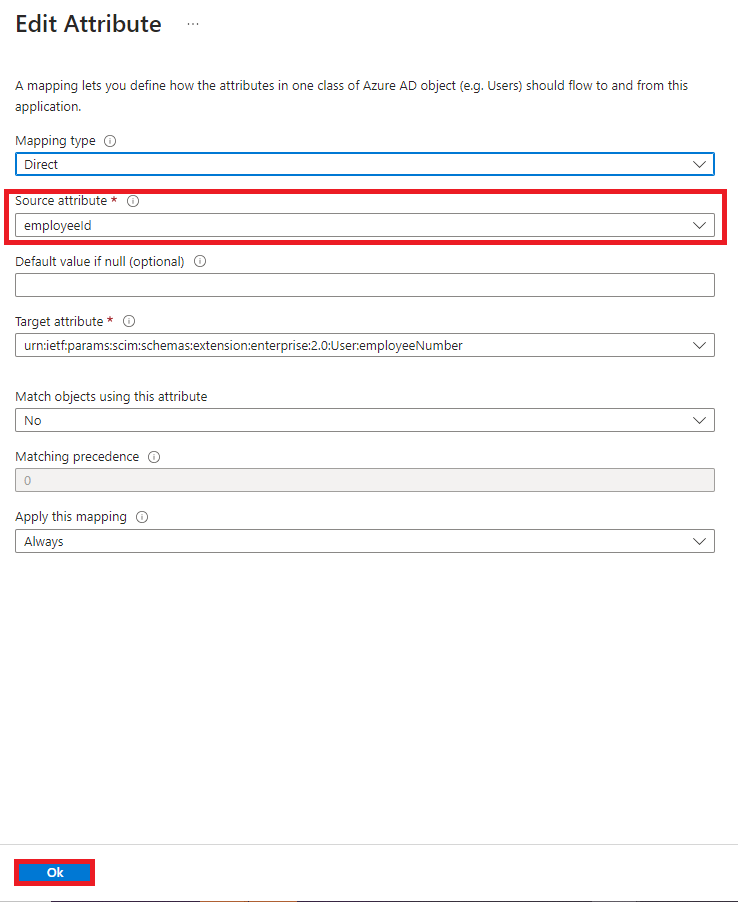
Select the “Source attribute” drop-down and choose the attribute you want to be remapped to
the platform and click “Ok”.
• **Note** The Manager field can be remapped, but it will only pull in the Manager ID unless the Manager’s Name is provisioned in the application.
• When editing an attribute, only adjust the “Source” attribute, not the “Target”
attribute.
• Need to use scoping filters to include or exclude specific users via attributes?
A scoping filter allows the Azure provisioning service to include or exclude any users who have an
attribute that matches a specific value. For example, you might want to specify that only users with a
“Department” attribute of “Sales” should be in scope for provisioning. Another example would be if you
have accounts for non-users (such as ConferenceRoom) that you want to exclude from the provisioning.
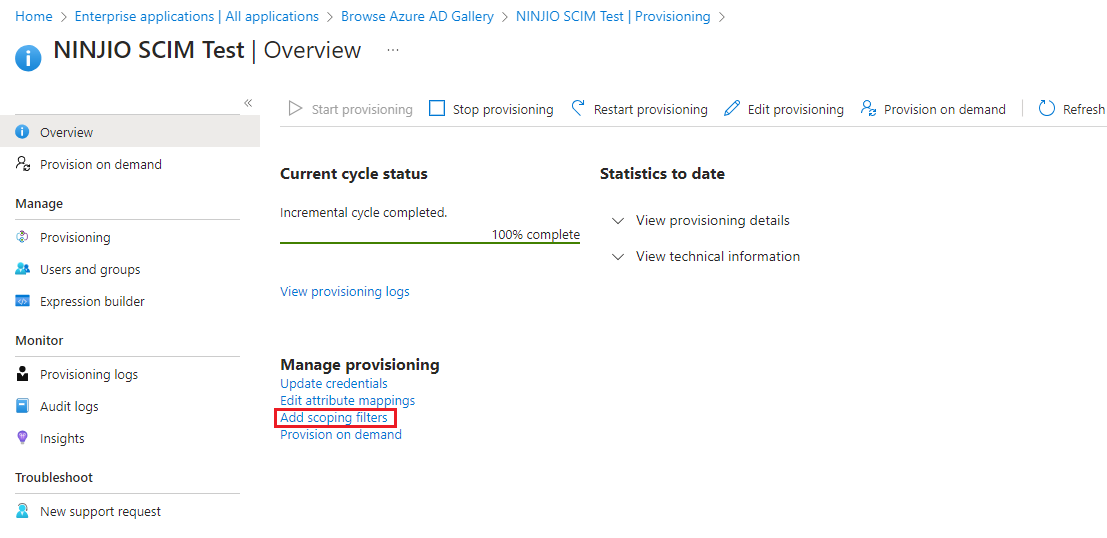
1. To create scoping filters, navigate to the application you created “Enterprise Application
Overview” Menu and click provisioning.
2. Select the link to “Add Scoping Filters.”
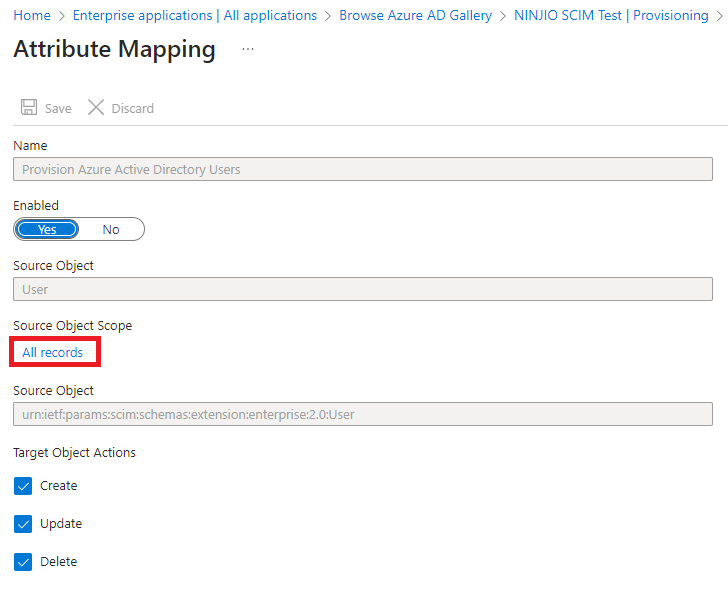
3. Click the arrow to expand the menu for “Mappings” and then click “Provision Azure Active
Directory Users”.
4. Select the link “All Records” under the Source Object Scope.
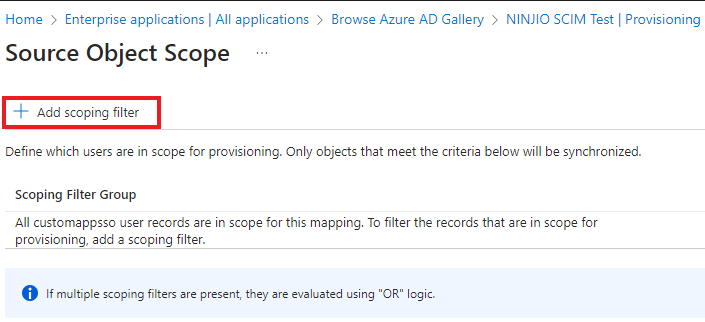
5. Click on “Add scoping filter
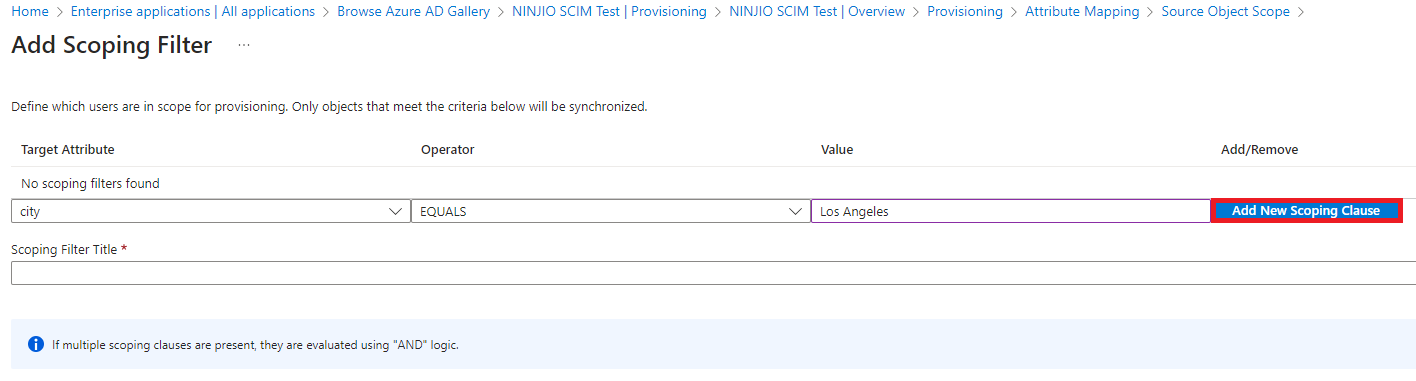
6. Click Add New Scoping Clause button to add a new clause (if multiple clauses are present in the
same filter they will be evaluated using “AND” logic).
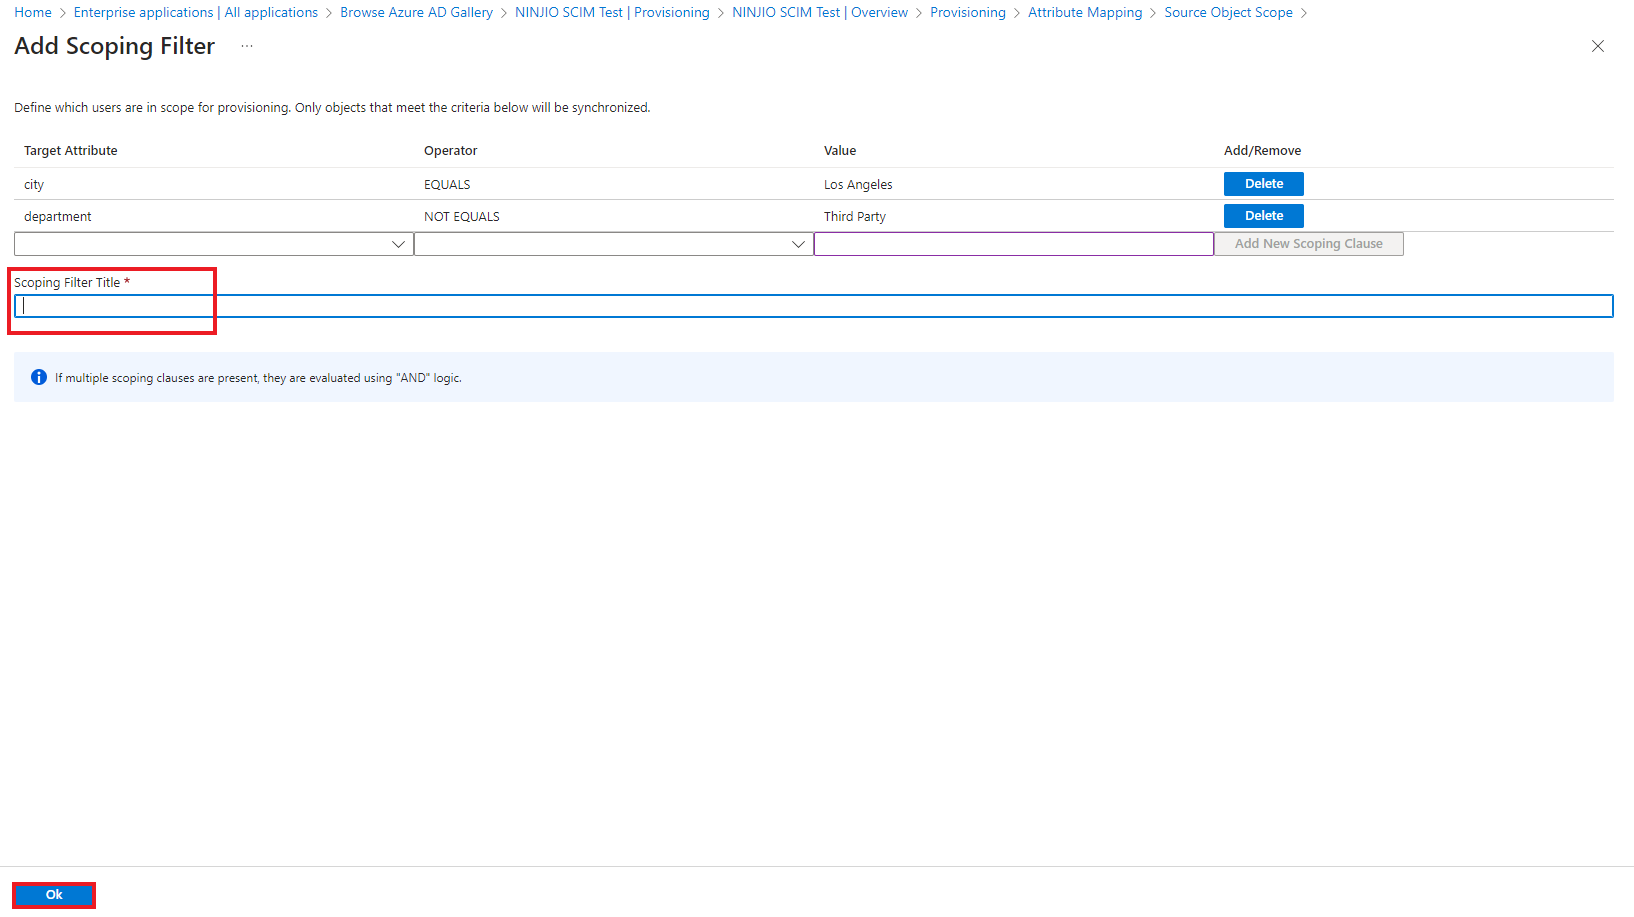
7. Once your scoping clauses have been entered, enter a title name for your filter and click OK. You
can create multiple scoping filters in this manner, each with its own set of clauses.
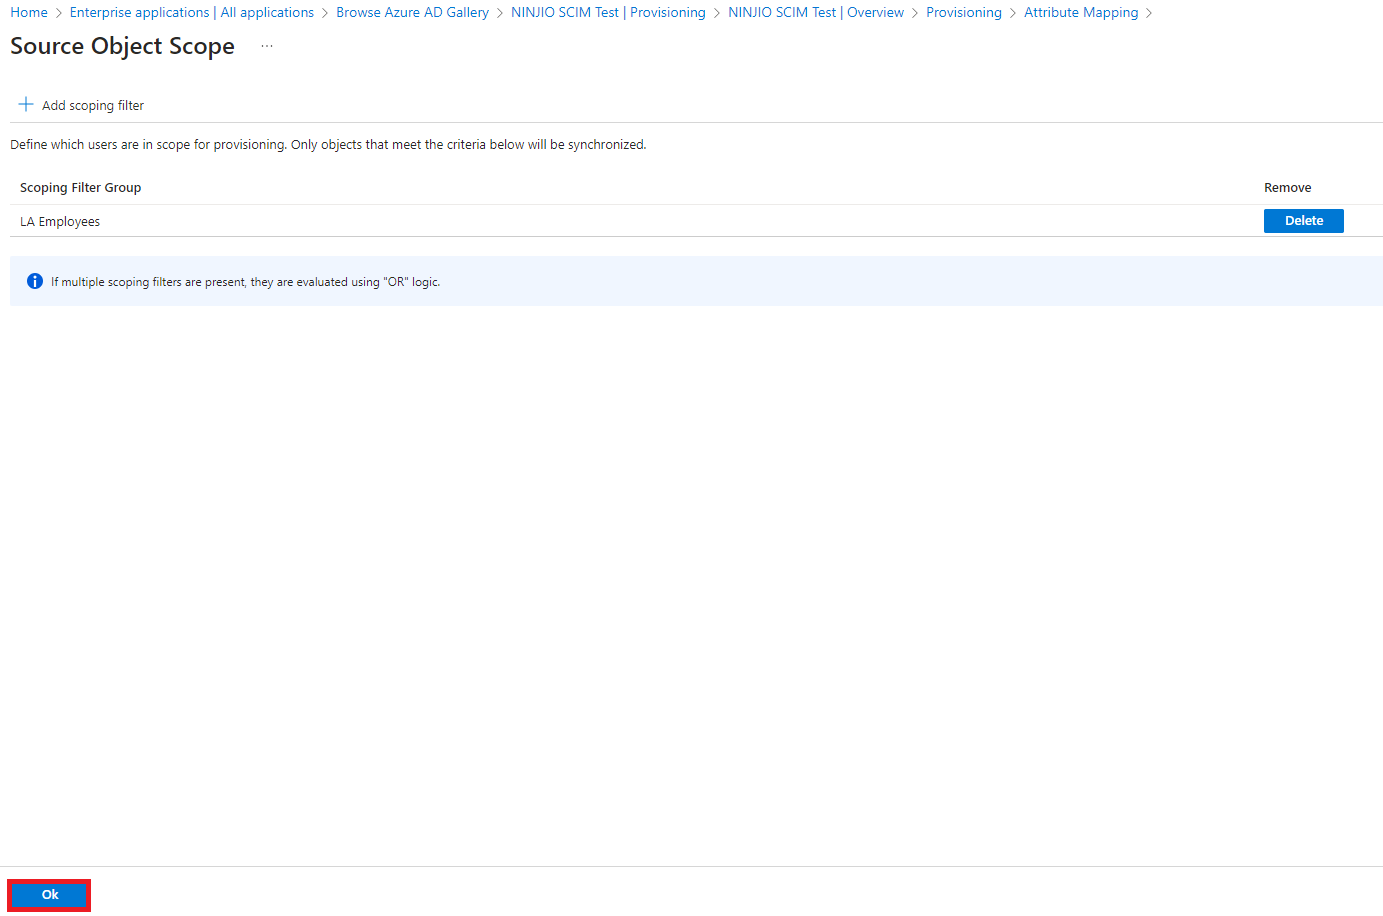
8. Click OK again to add the new scoping filter(s) to the Application (If multiple scoping filters are
present they will be evaluated using “OR” logic).
*NOTE* Scoping filters define objects as in-scope for the provision, i.e. Scoping filter clause of “city
EQUALS Los Angeles” will provision all AD accounts where the city is Los Angeles. To set an exclusion
attribute, think of it as using the opposite, i.e. “department NOT EQUALS Third Party” will provision all
AD accounts that are not in the Third Party department.
How to Set up Integration in OKTA
Okta Integration Demo
Go to https://login.okta.com/ and login into your portal.
Click the “Admin” button located on the right-hand side.
![]()
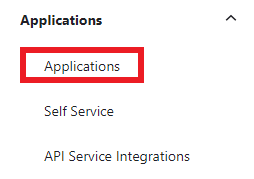
Once you’re within the Admin Panel, go to Applications dropdown and select Applications.
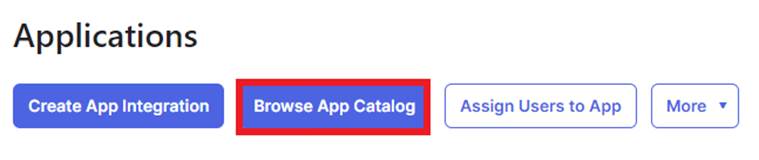
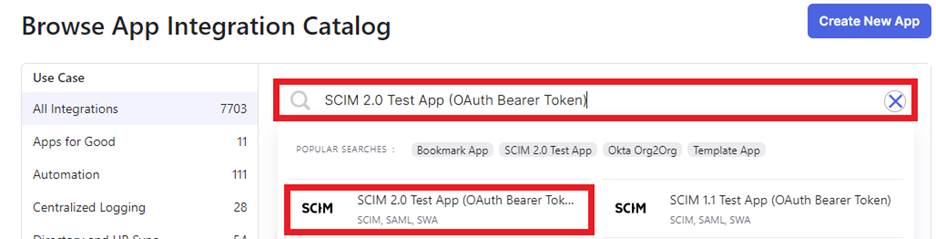
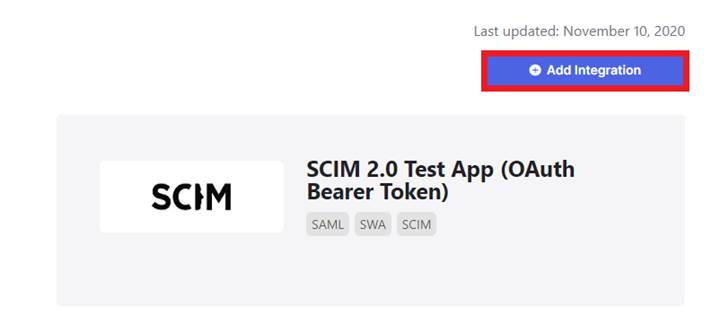
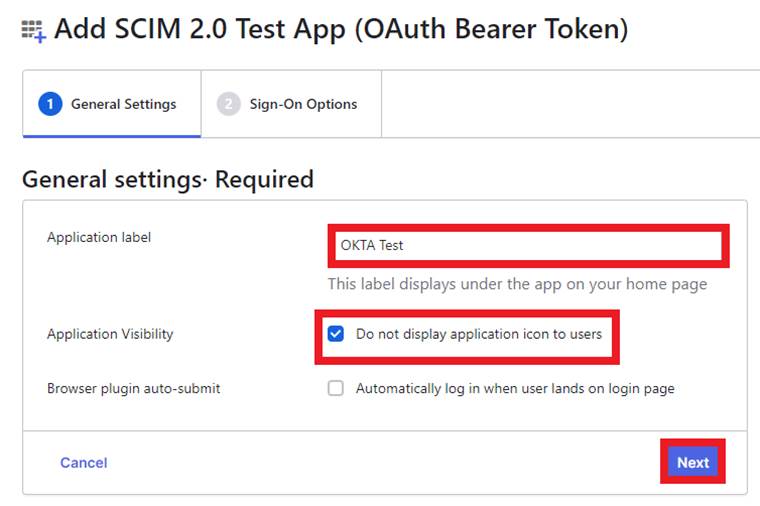
Within the Applications menu, click the “Browse App Catalog” button and search for SCIM 2.0 Test App (OAuth Bearer Token) and select the Add Integration” button.
Input a name for your app in the Application Label field, enable the “Application Visibility” option , disable the “Brower plugin auto-submit” option, and hit the “Next” button.
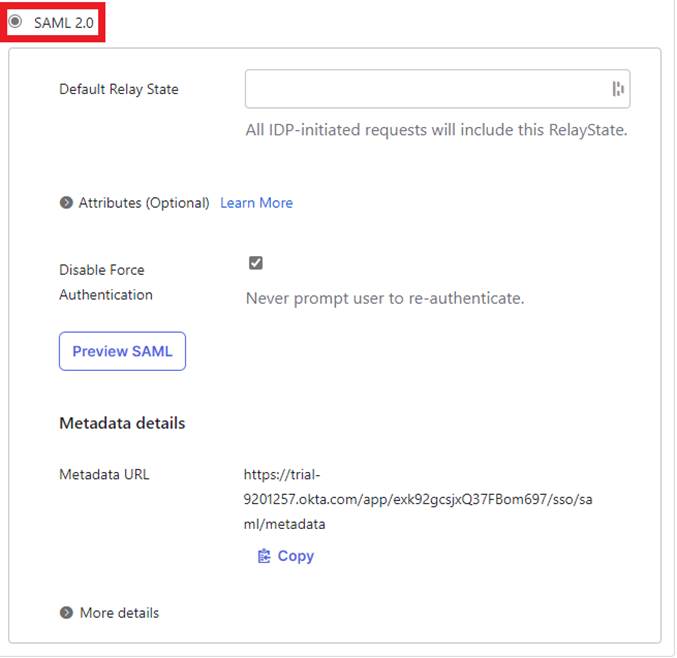
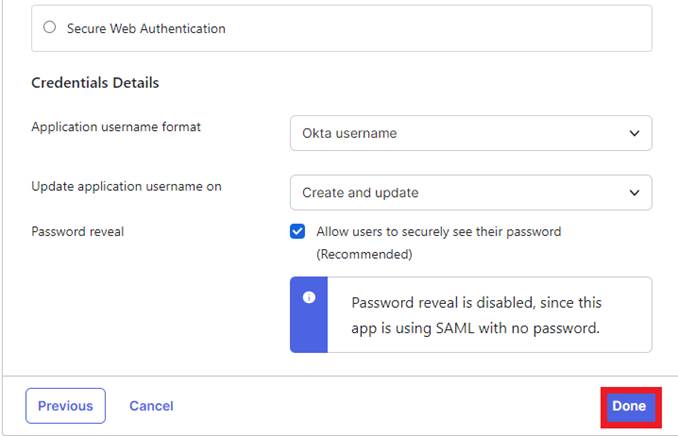
Select SAML 2.0 and click the “Done” button at the bottom of the page.
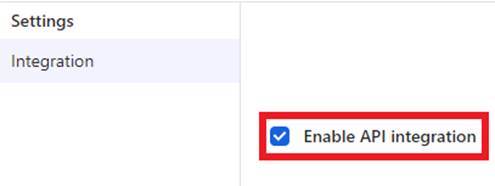
Within the Provisioning tab, select the “Configure API Integration” button and click “Enable API Integration.”

Input the SCIM URL “ https://scim.goninjio.com/scim/v2” within the “SCIM 2.0 Base Url” field and paste the Secret token that was generated into ”OAuth Bearer Token.”
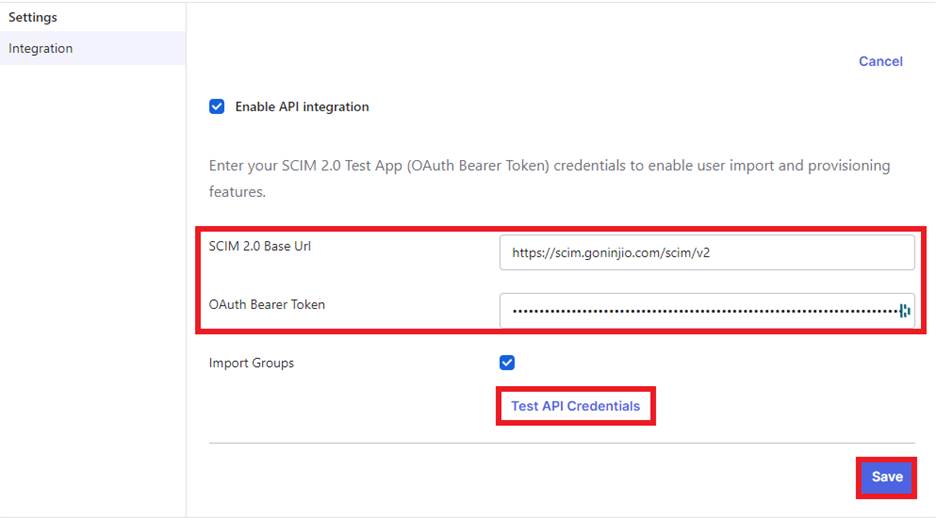
Once these credentials are inputted into the fields, hit the “Test API Credentials” button and hit Save. (You’ll receive a “Success” notification If this is set up accordingly.)
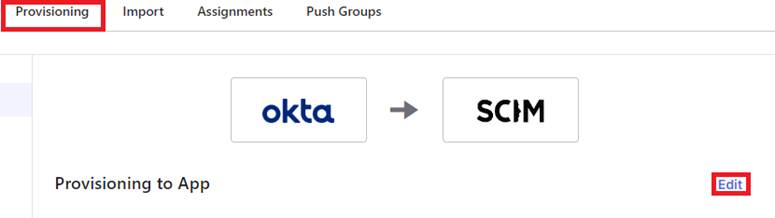
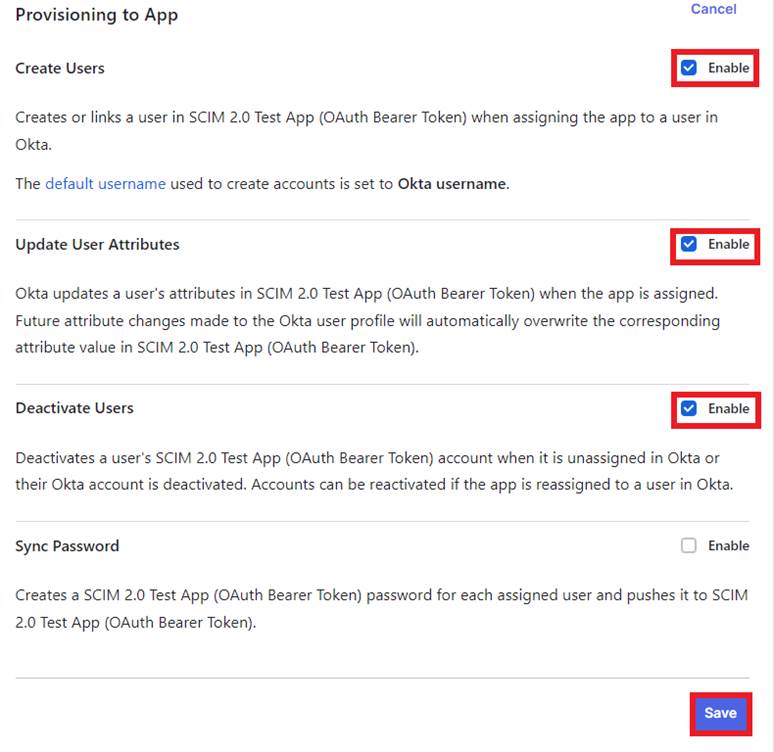
Once the provisioning settings have been saved, click the “Edit” button and make sure to enable the following below and hit the “Save” button.
-Create Users
-Update User Attributes
-Deactivate Users
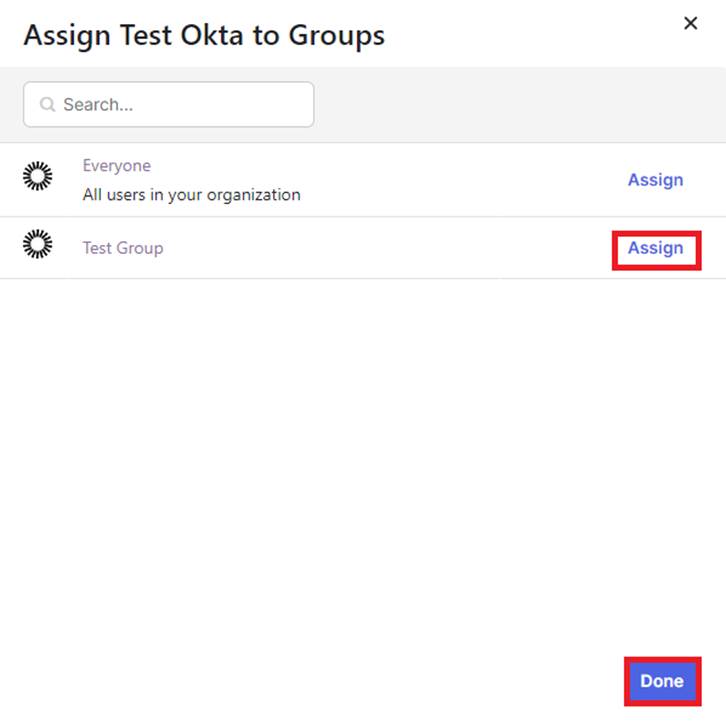
Under the Assignments tab, click the “Assign” drop-down button and select the “Assign to Groups” option.
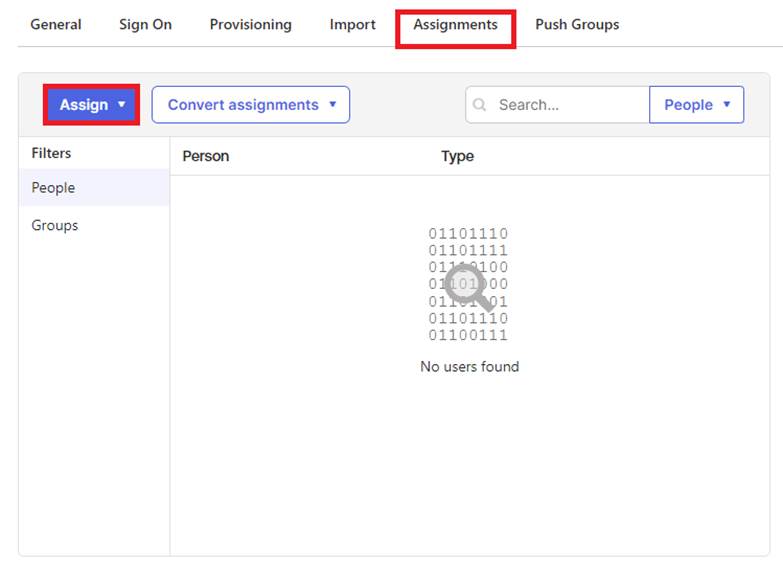
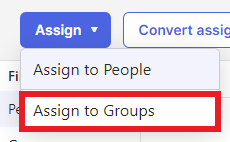
Once the group(s) have been assigned, you can select the “Done” button. (You may also select the Assign to People option and add individual users if needed.)
Provisioning Cycle:
The provisioning cycle is between 10-30 minutes on average. This also be the same for deprovisioning cycles.
Comments
0 comments
Please sign in to leave a comment.