Stay on top of your phishing data by scheduling and exporting reports in the Enhanced Phishing Reporting Dashboard. Follow these steps to set up automated exports and manage your reports efficiently.
How-To Video:
Step By Step Instructions:
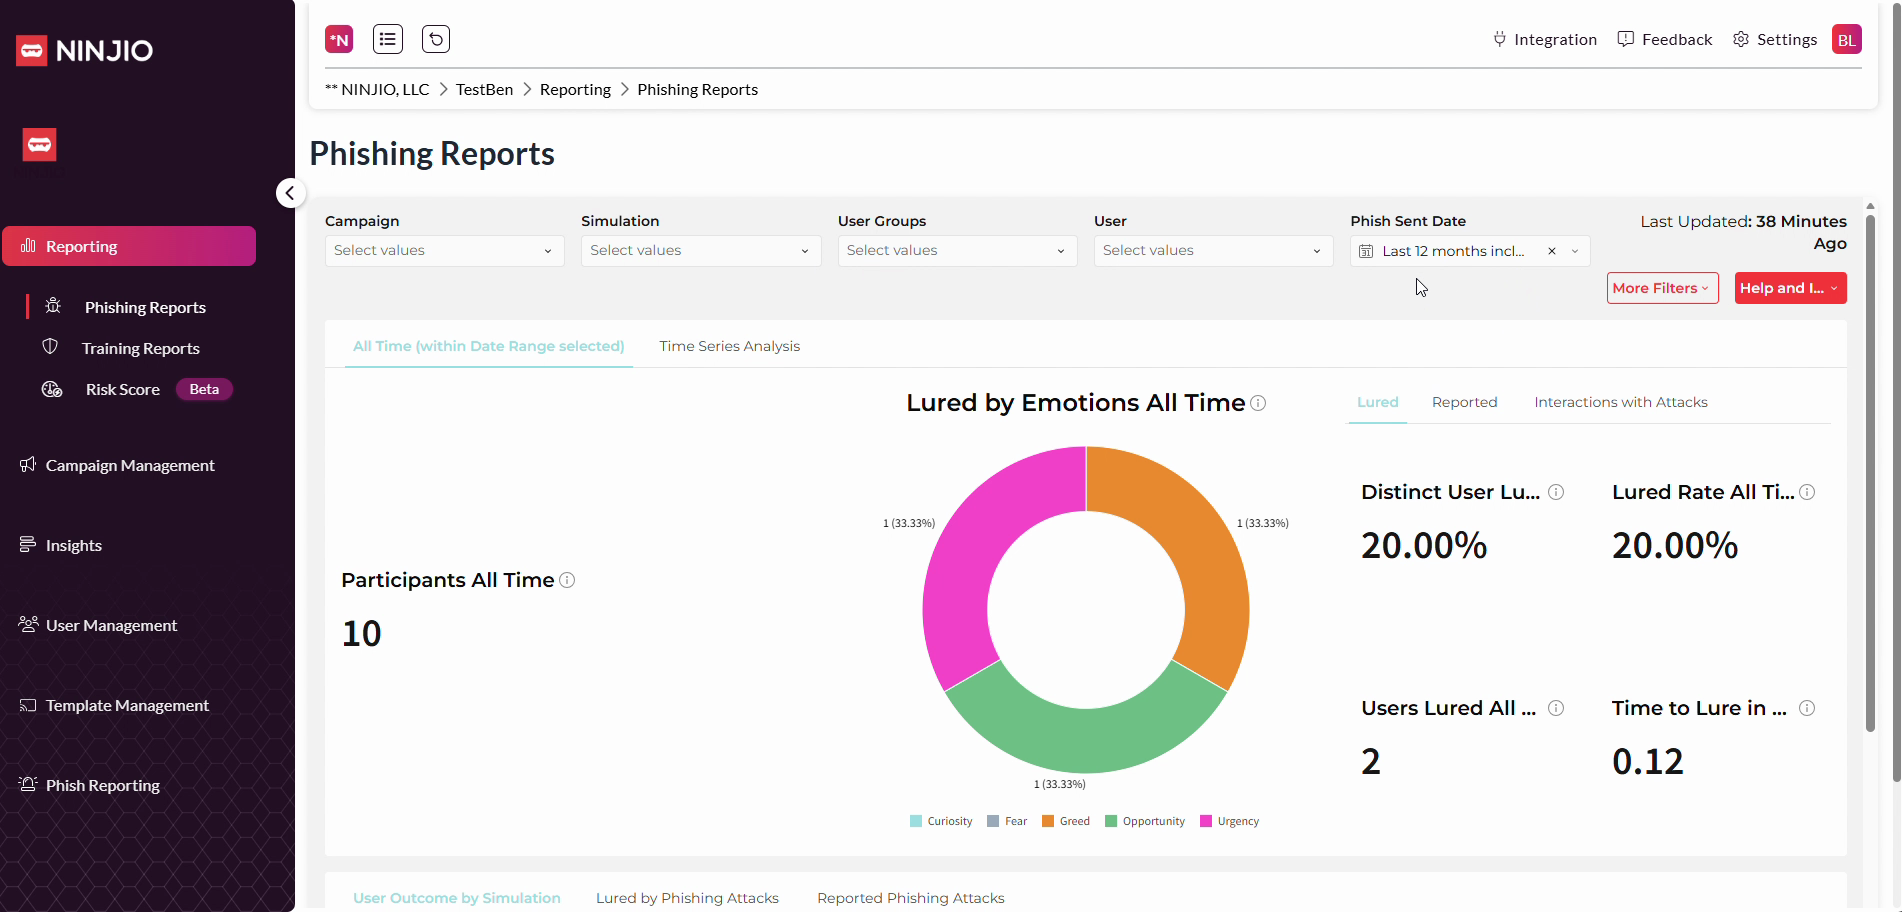
Step 1: Open the Enhanced Phishing Reporting Dashboard.
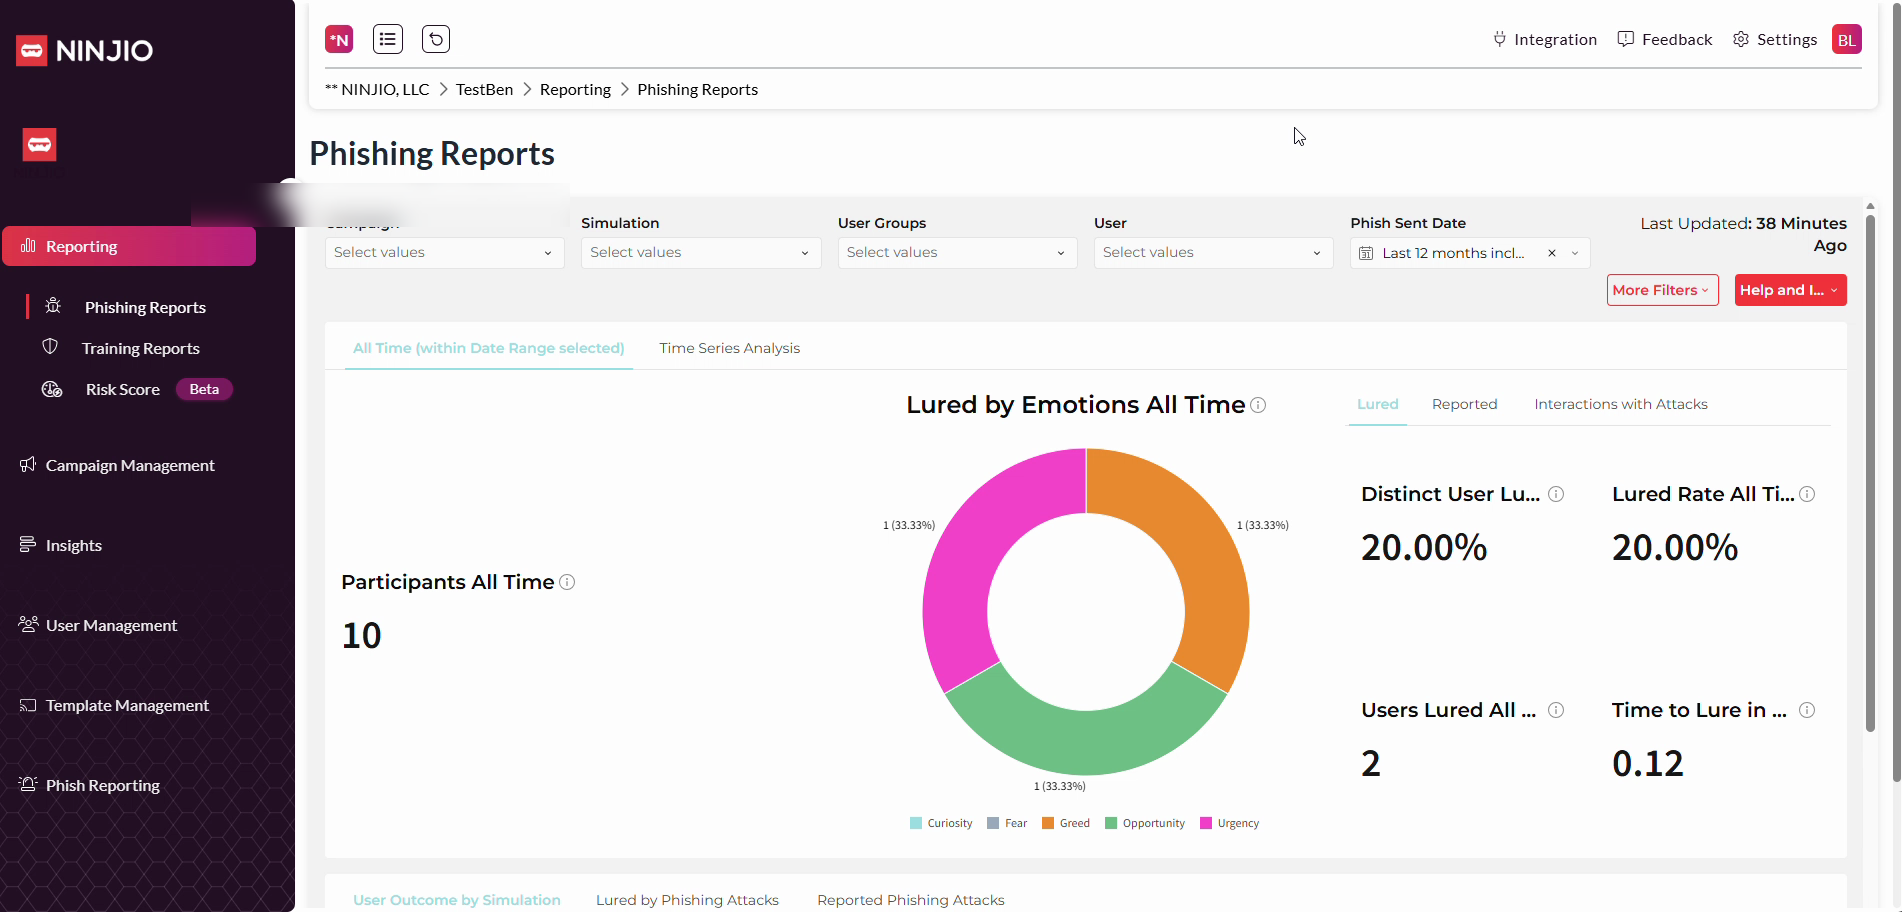
Step 2: Scroll down the page to access dashboard options.
Step 3: Click the menu (hamburger) icon in the lower left-hand corner to expand more options.


Step 4: Select Schedule Export from the menu.

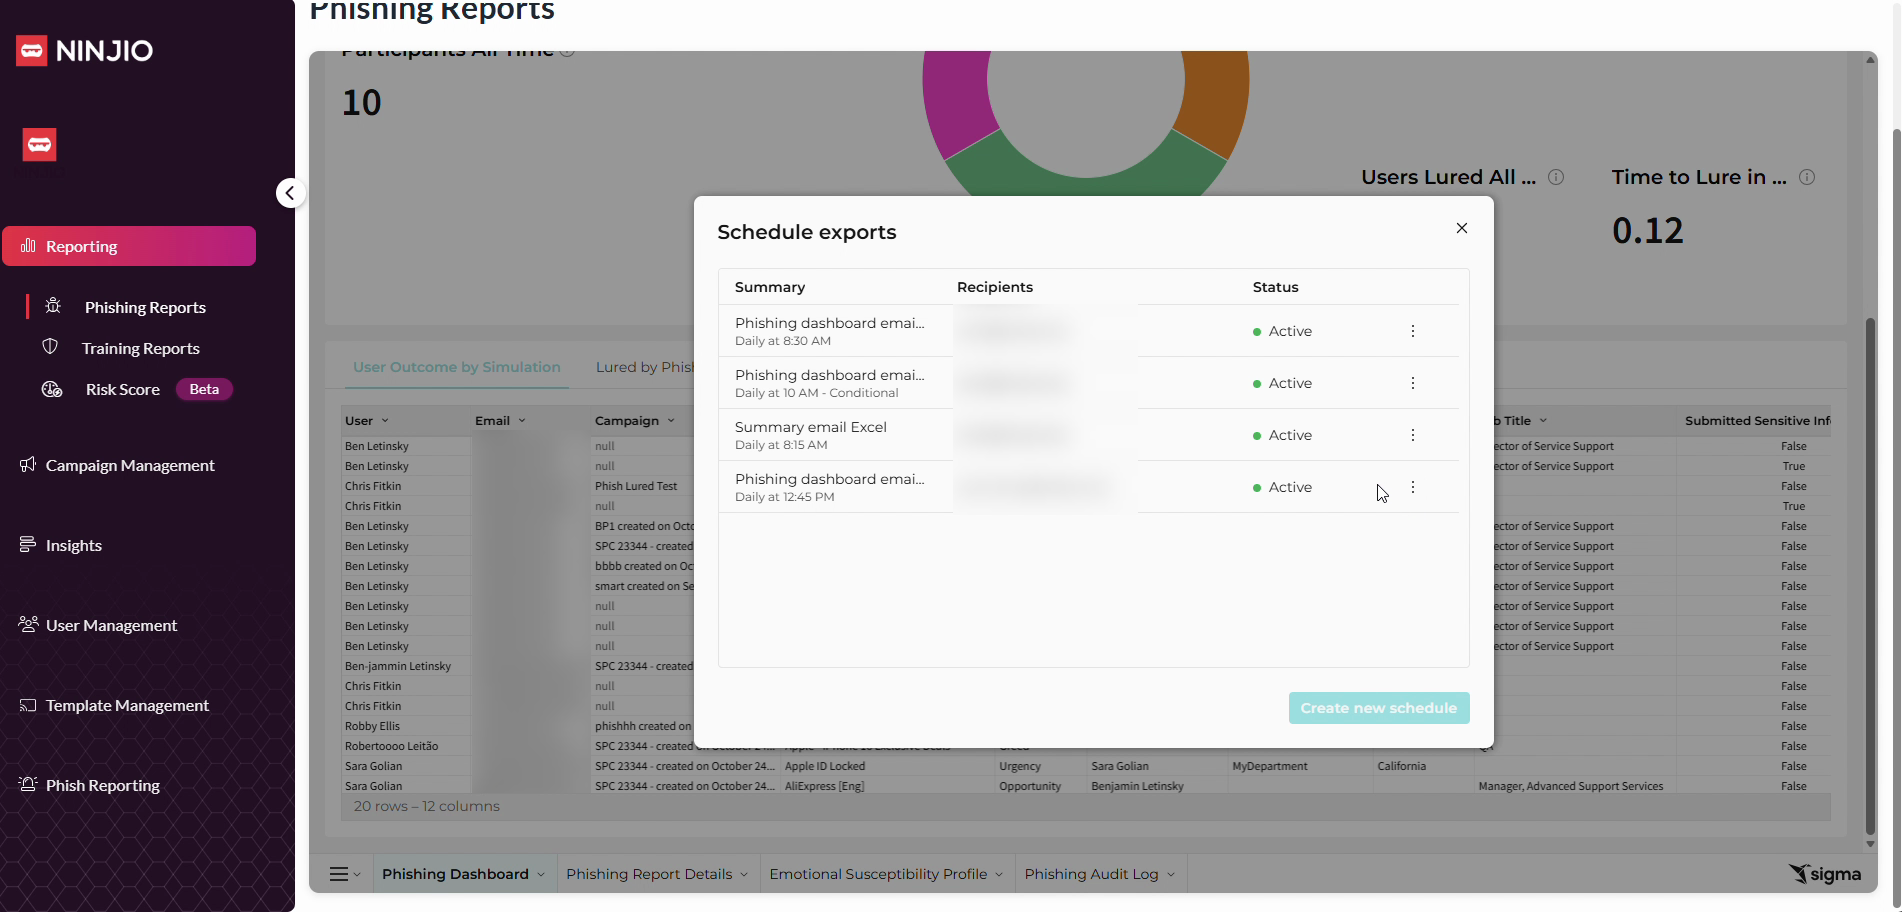
Step 5: You’ll see a page listing all active scheduled exports.

Step 6: Click Create Schedule to set up a new scheduled report.

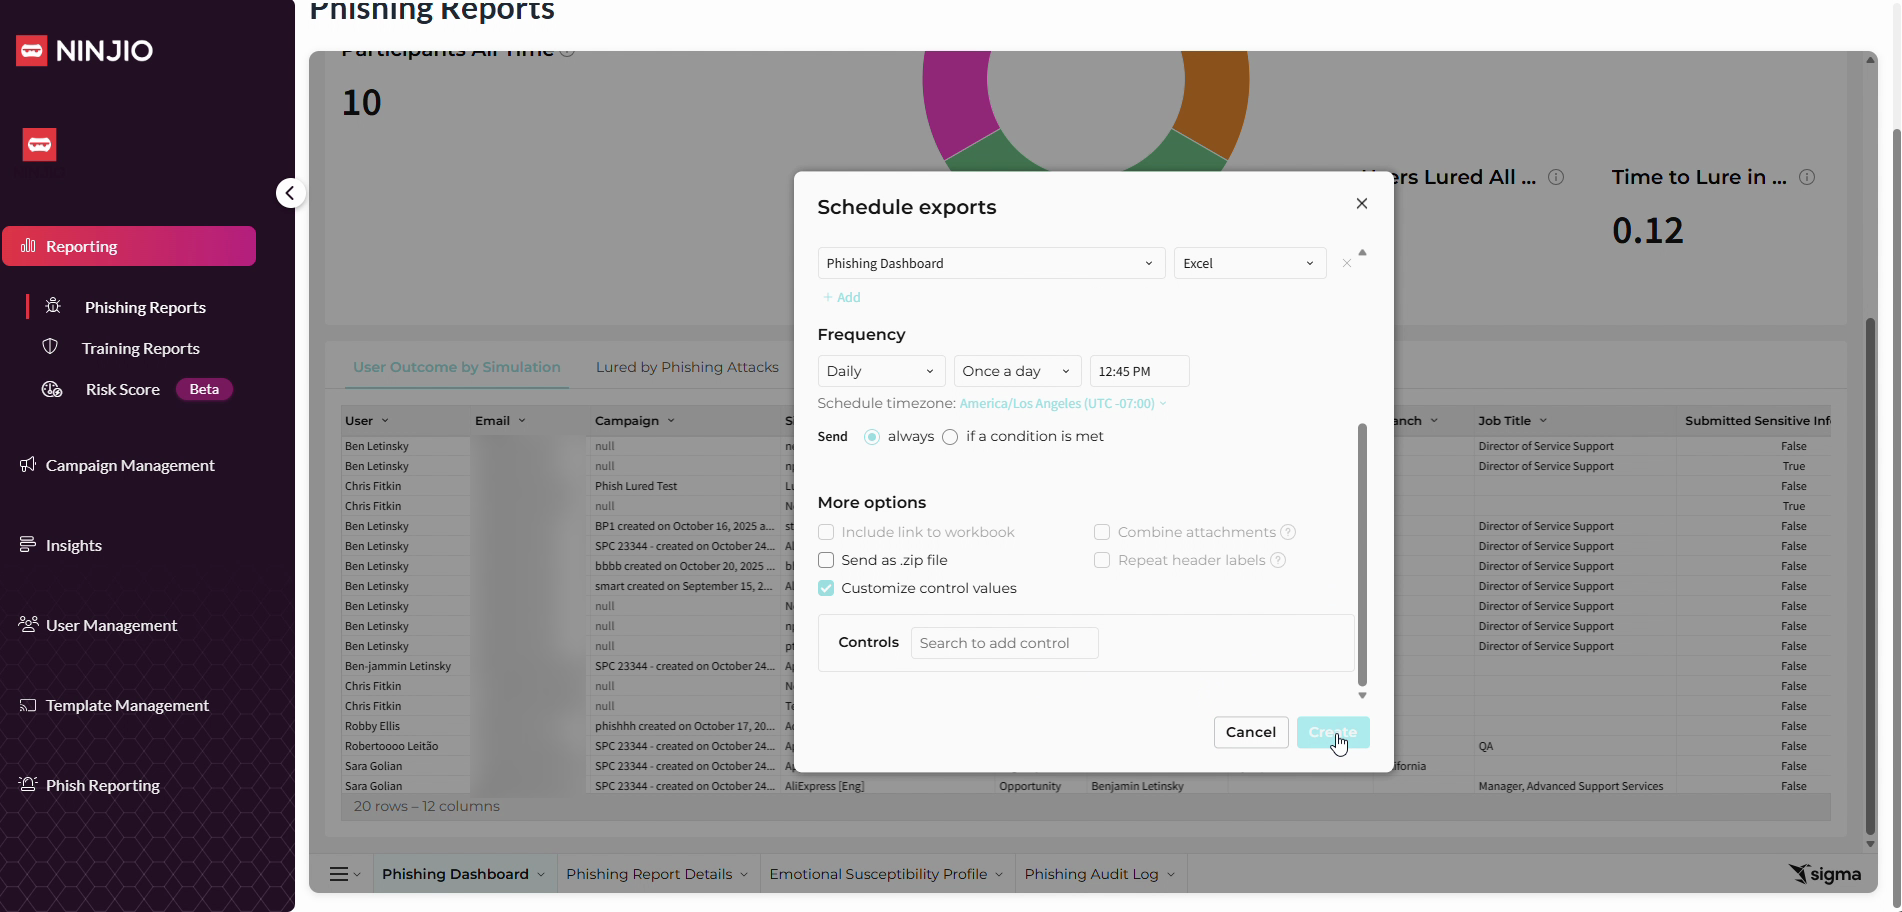
Step 7: Enter the recipient email address for the scheduled report.
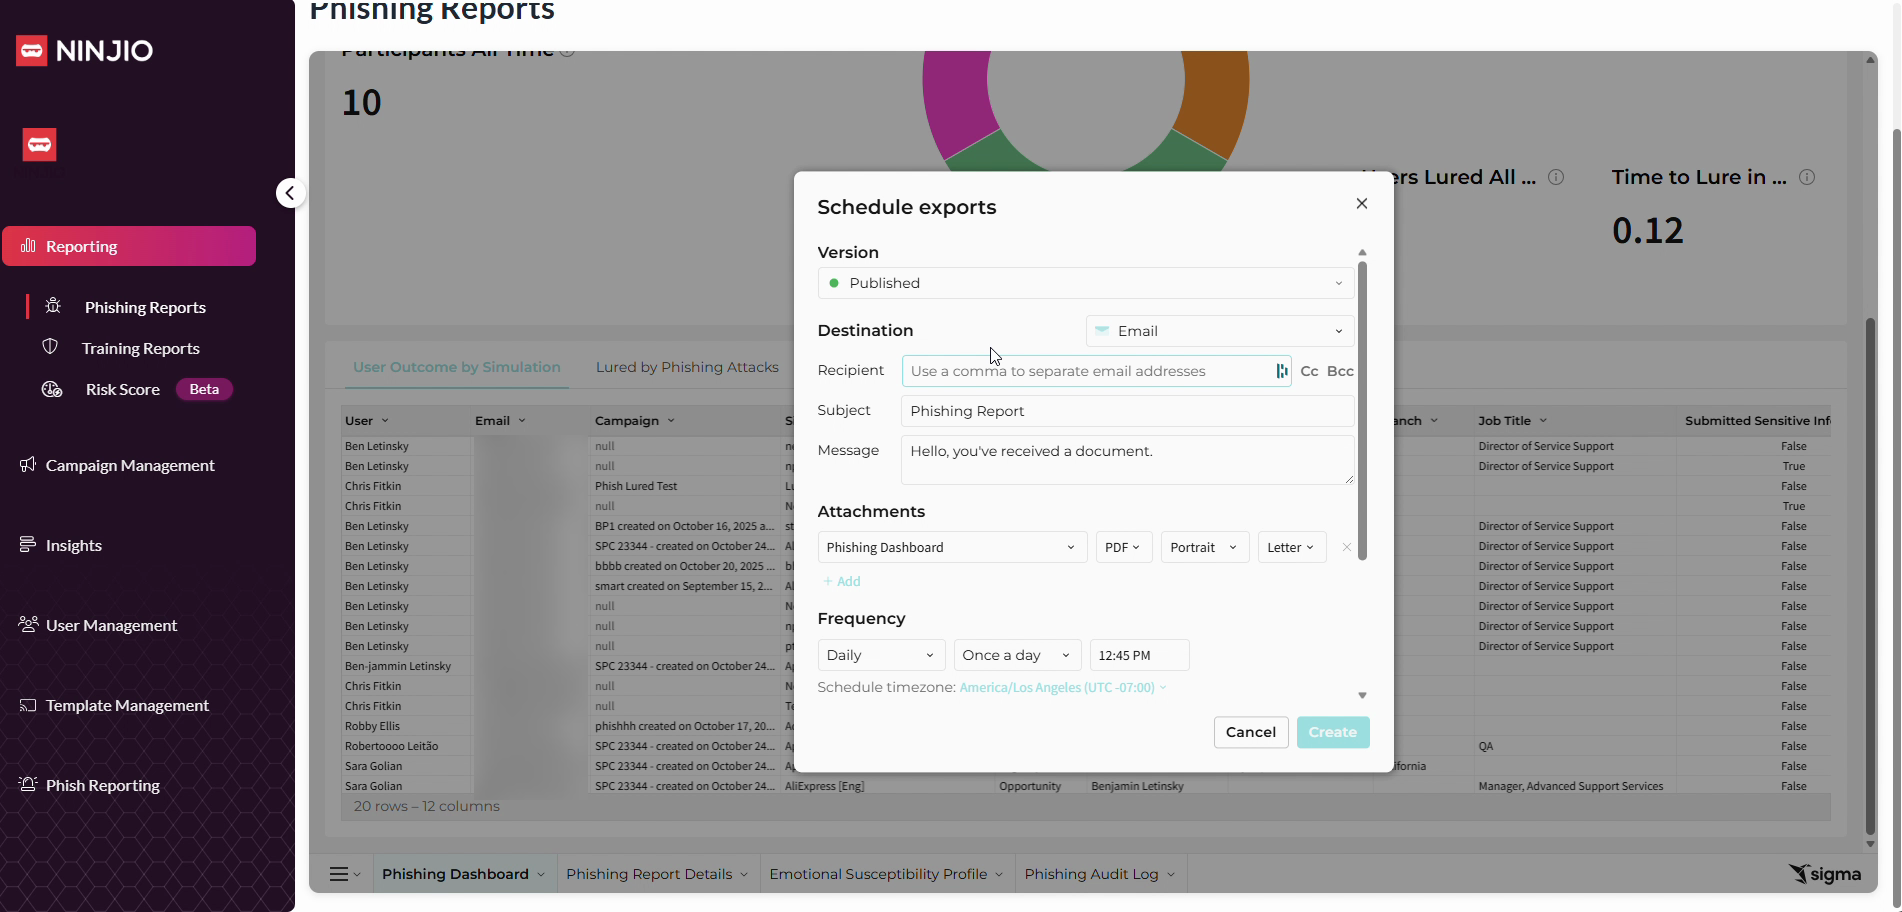
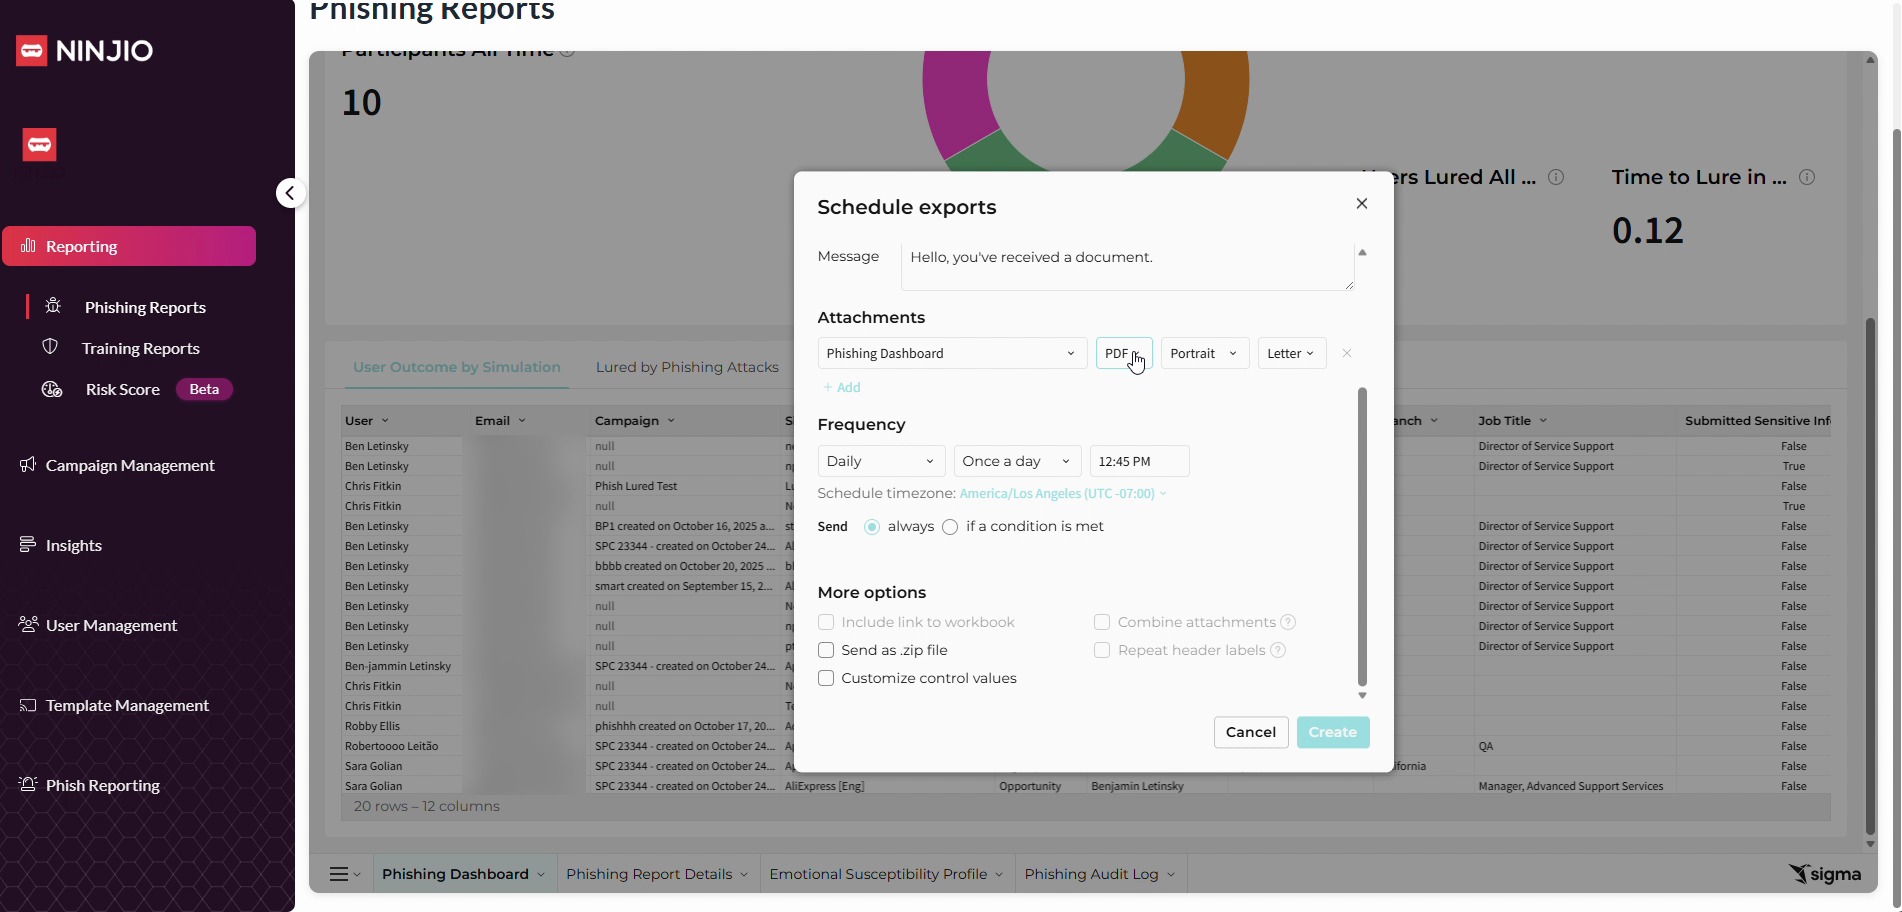
Step 8: Add a subject and an optional message.

Step 9: To attach a specific report, choose the default file format (PDF). For full data export, switch the file type to Excel as PDF may cut off data rows.


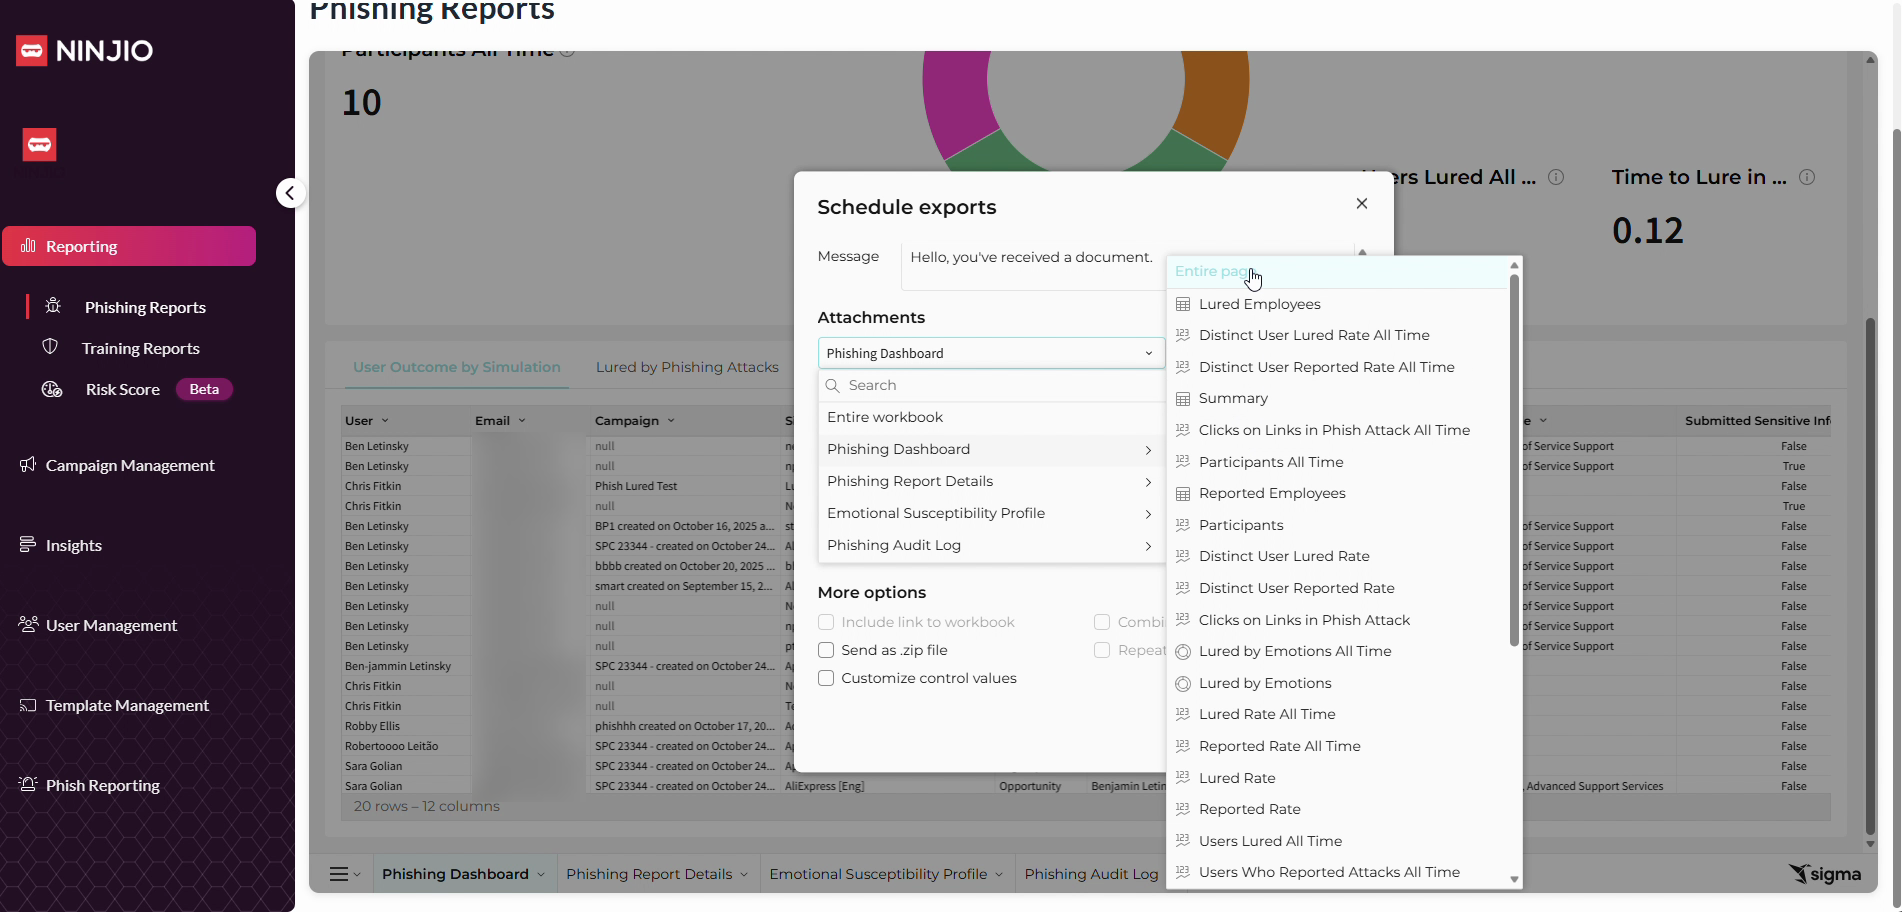
Step 10: Select how to filter your data for the export attachment.

Step 11: In the filters, use the sidebar dropdown and select Entire Page to ensure all data rows are included.

Step 12: Verify your attachment and data filters. All data from the Phishing Dashboard page will be included in your export.

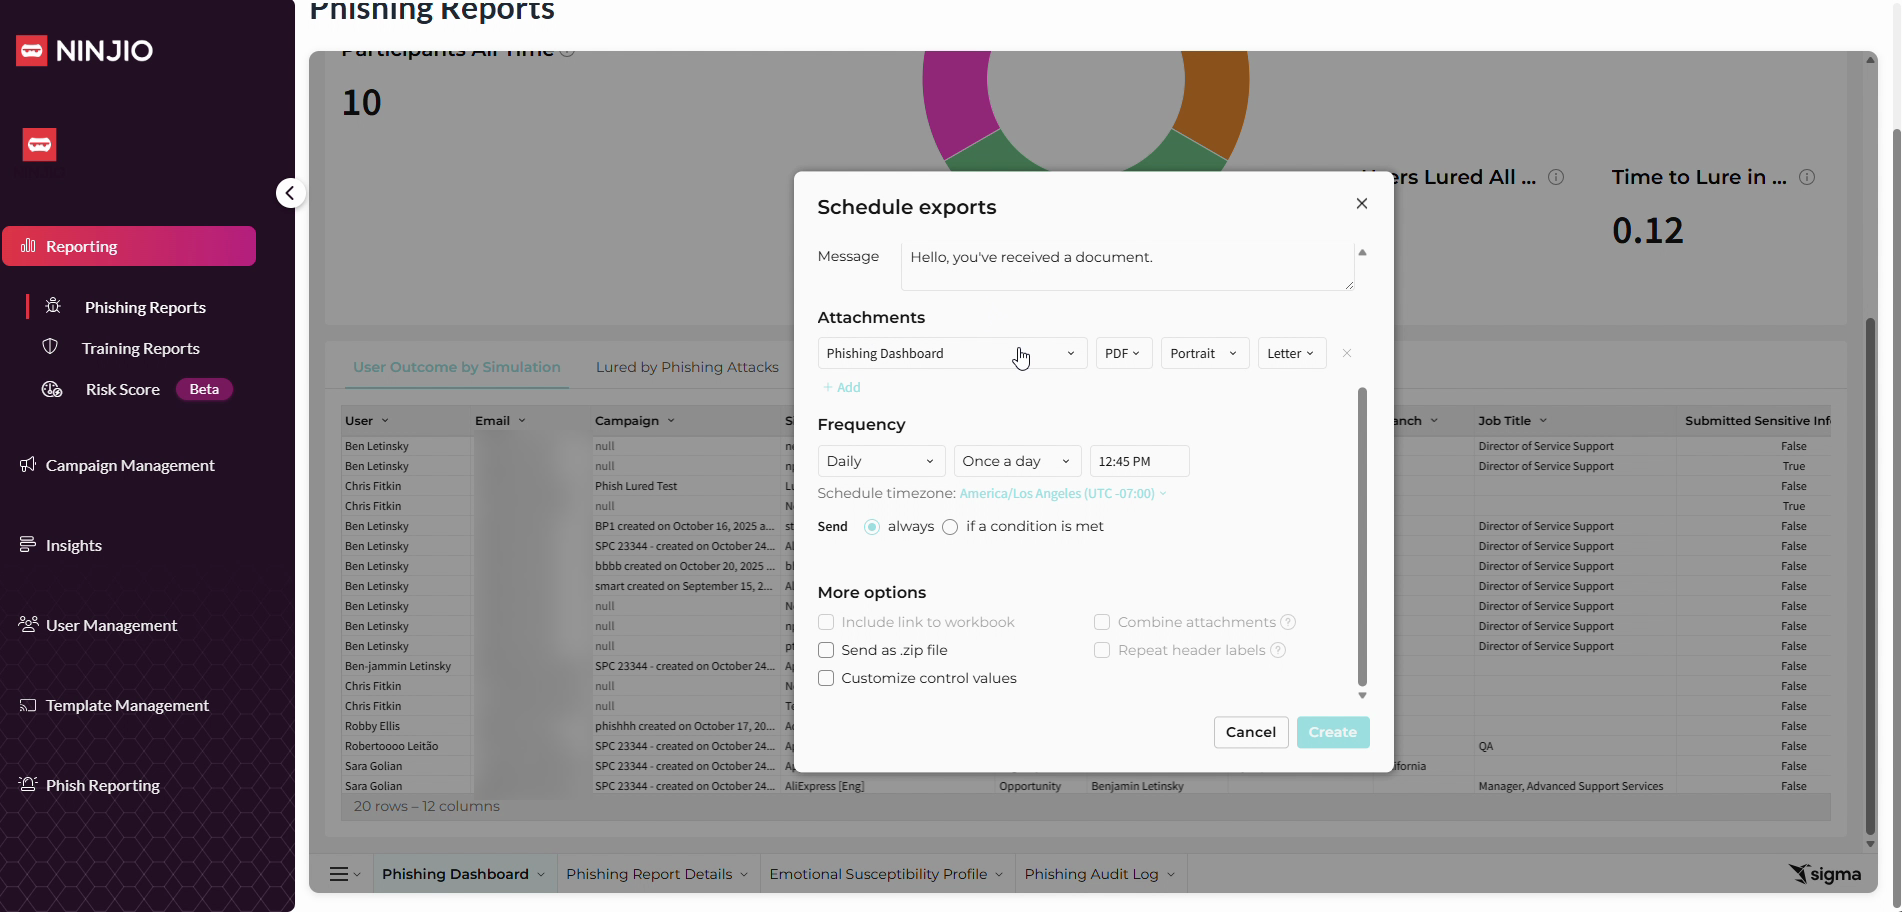
Step 13: Set the day, frequency, and time zone for the scheduled export.

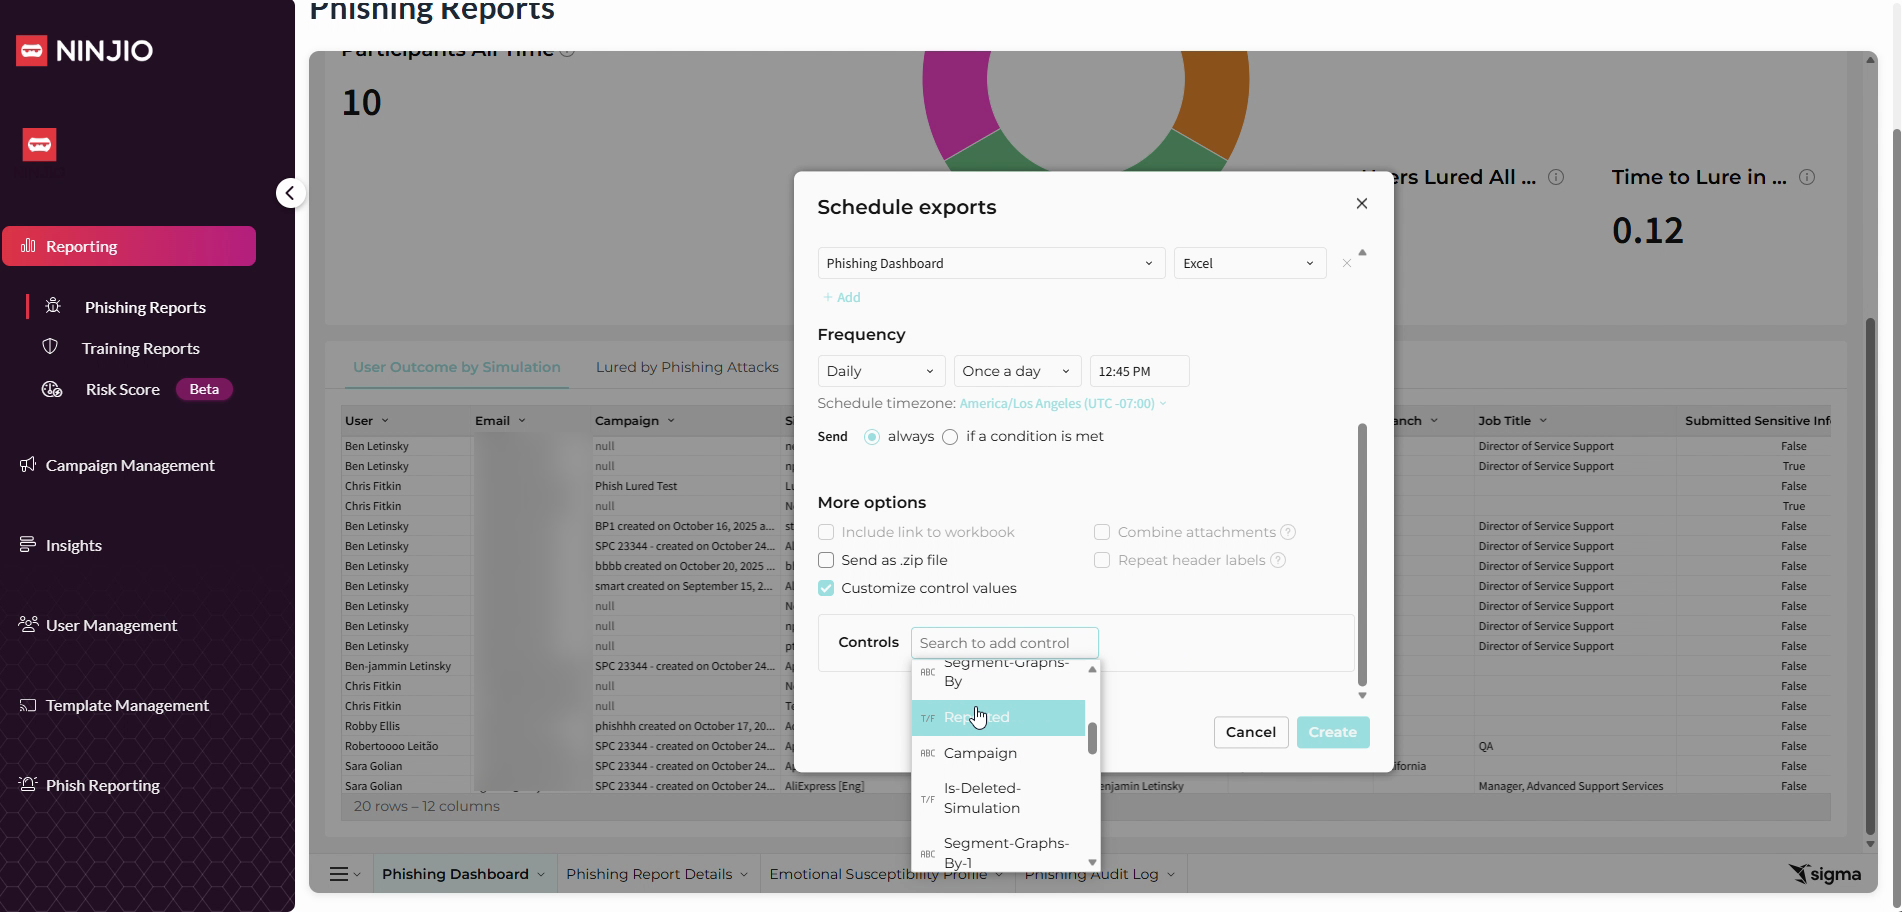
Step 14: (Optional) Add control values such as Manager, Department, Campaign, or Simulation by clicking Controls under More Options, and then selecting the values.

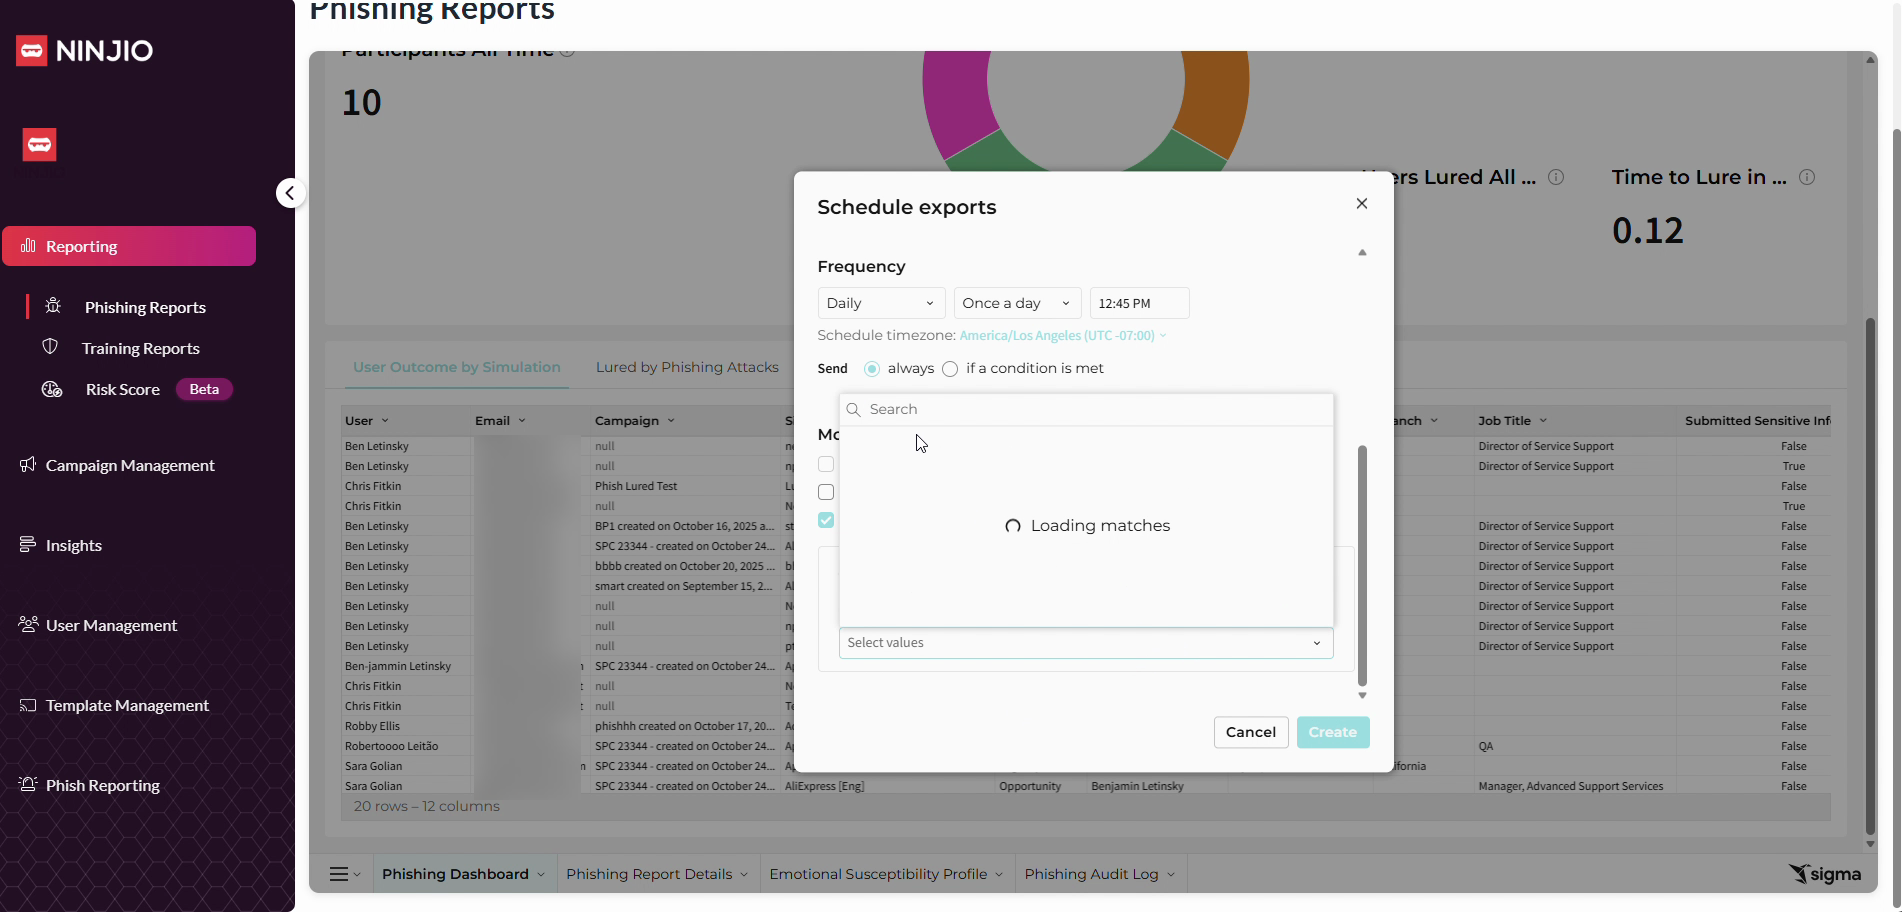
Step 15: When all options are set, click Create to finalize your scheduled report.
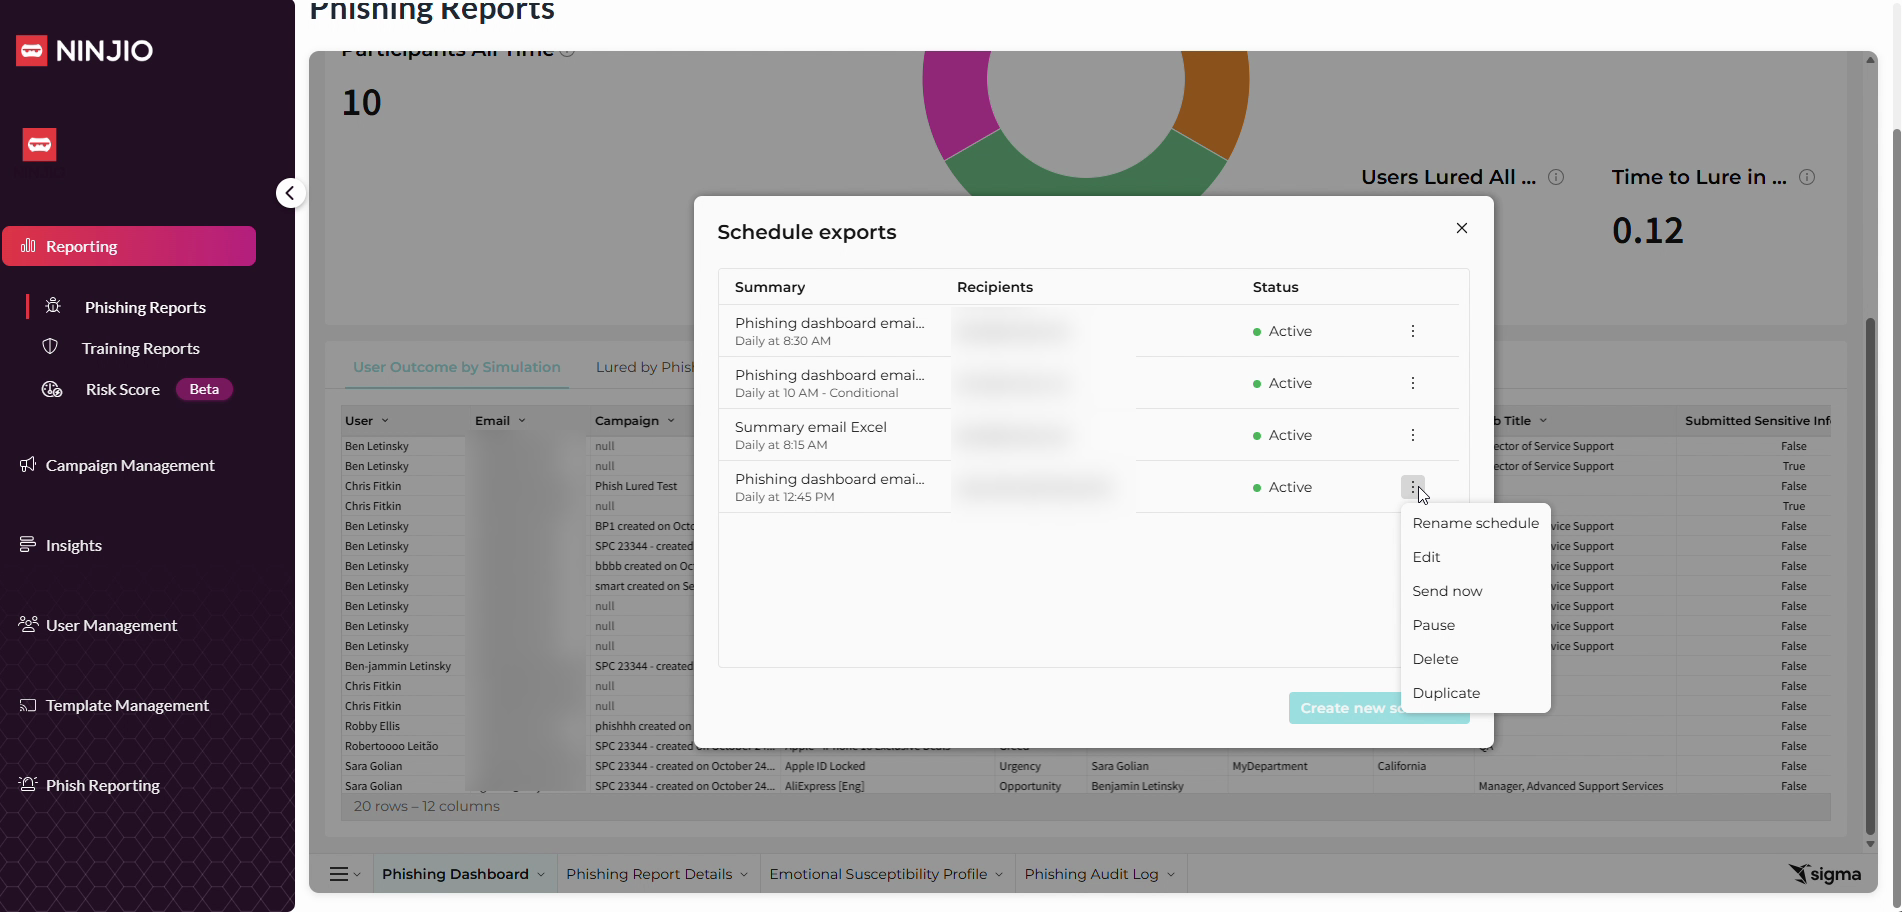
You can manage your scheduled reports here. To edit, rename, send immediately, pause, delete, or duplicate a report, use the three-dot icon next to a scheduled export.

Export Reports Manually
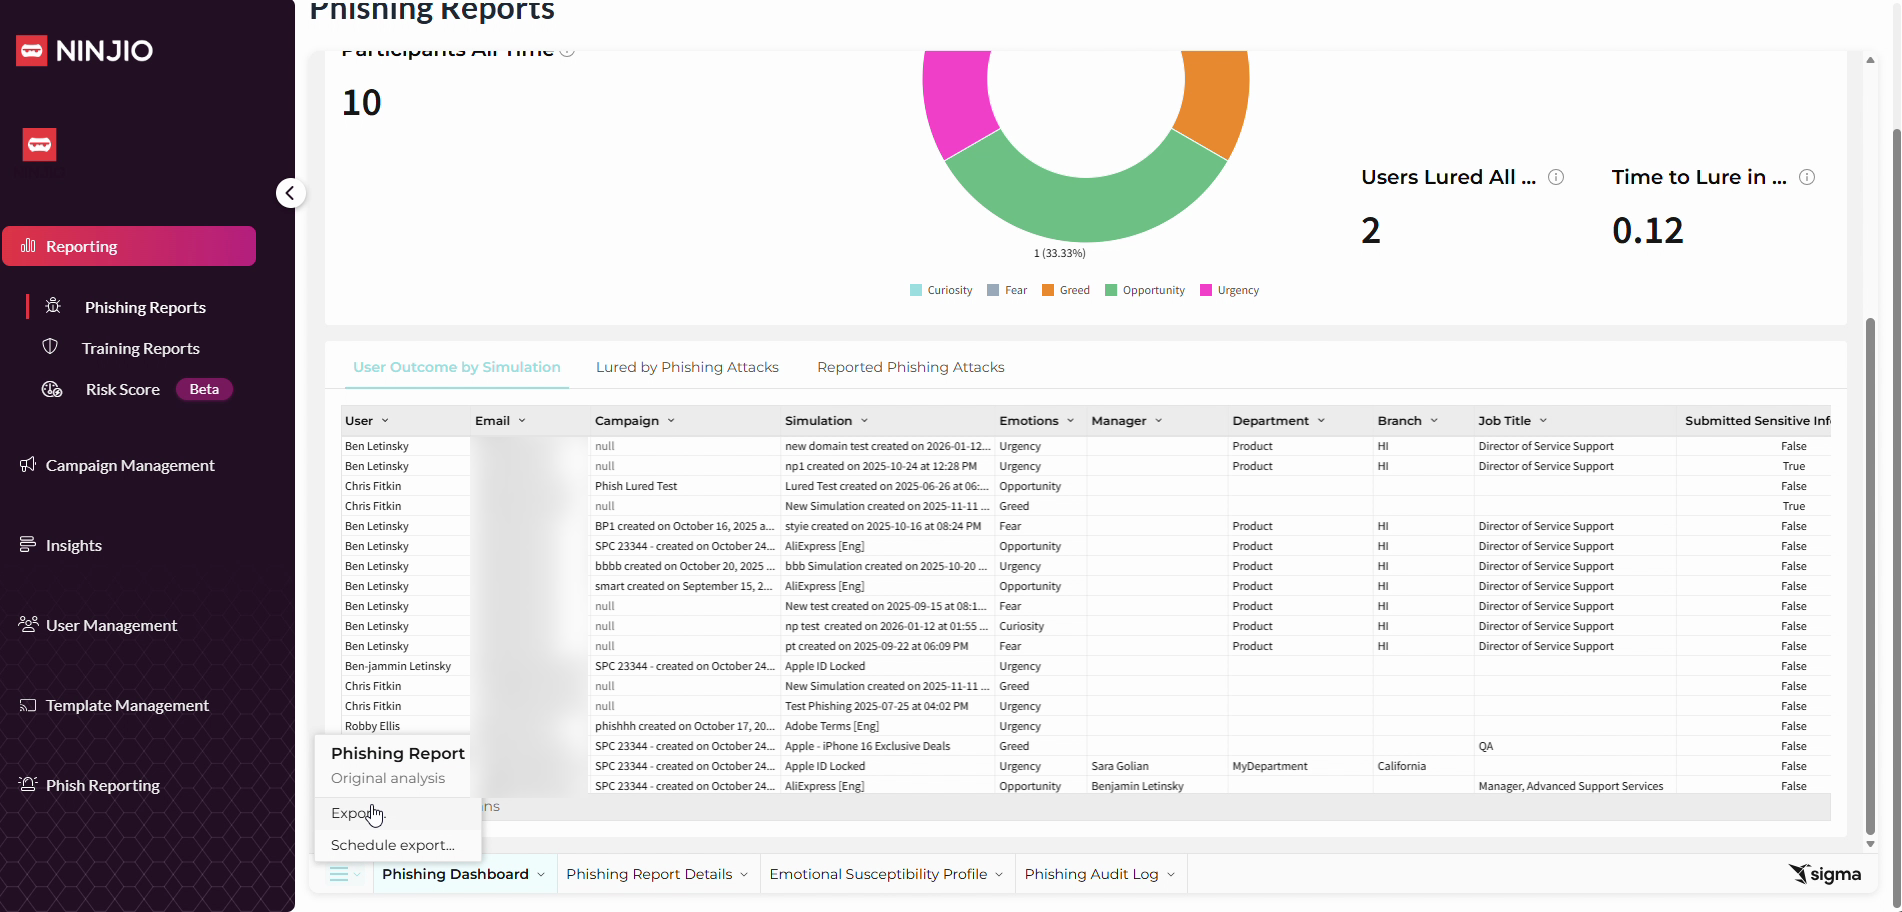
Step 1: Click the menu (hamburger) icon in the lower left corner to access export options.
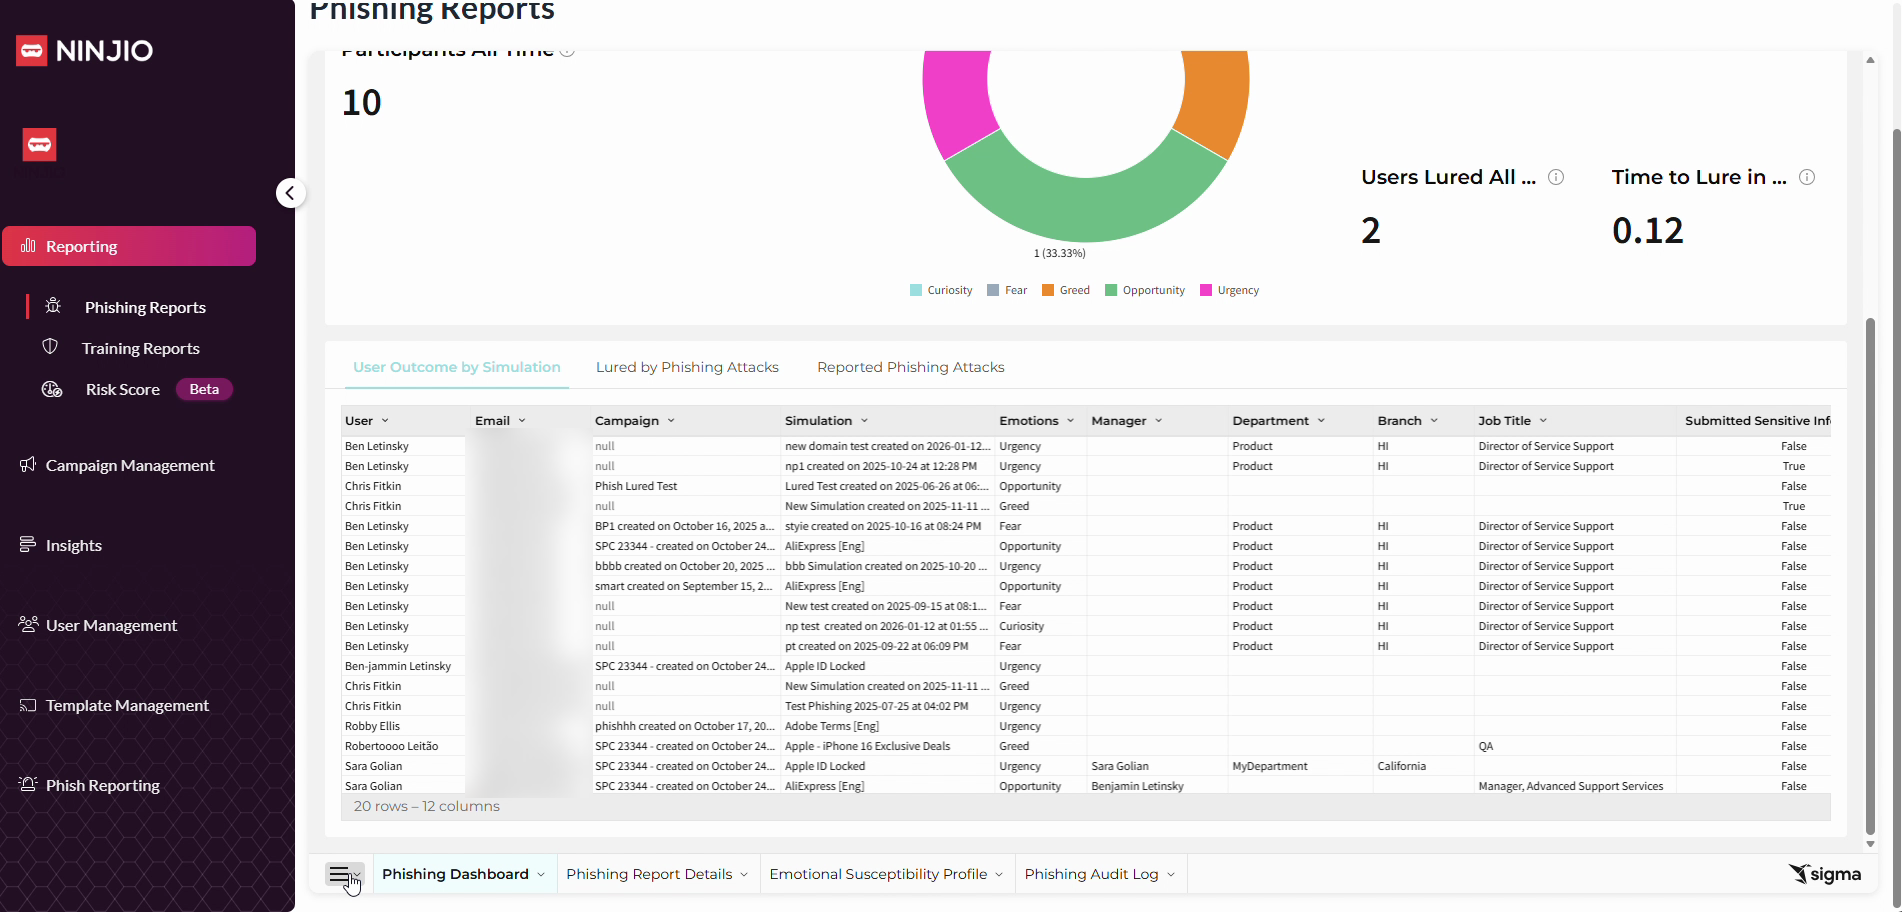
Step 2: Select Export from the menu.
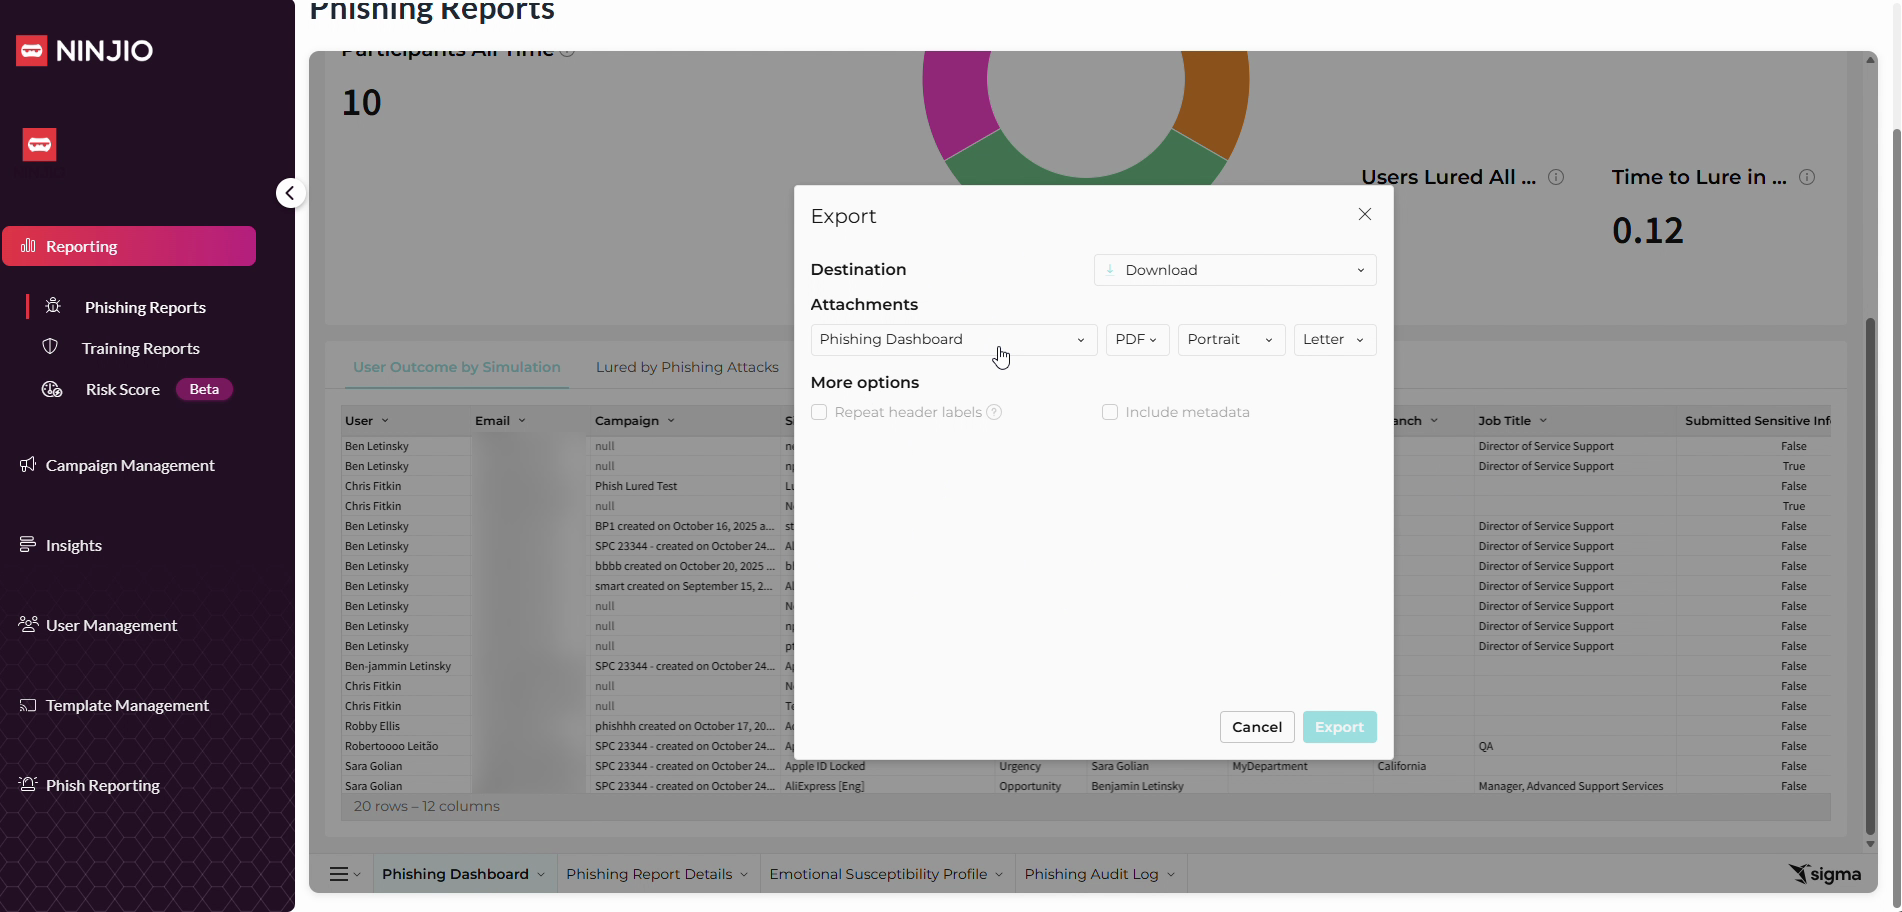
Step 3: Choose your export settings and ensure the correct attachment is selected. Change the file type to Excel (XLSX) for better data formatting if needed.

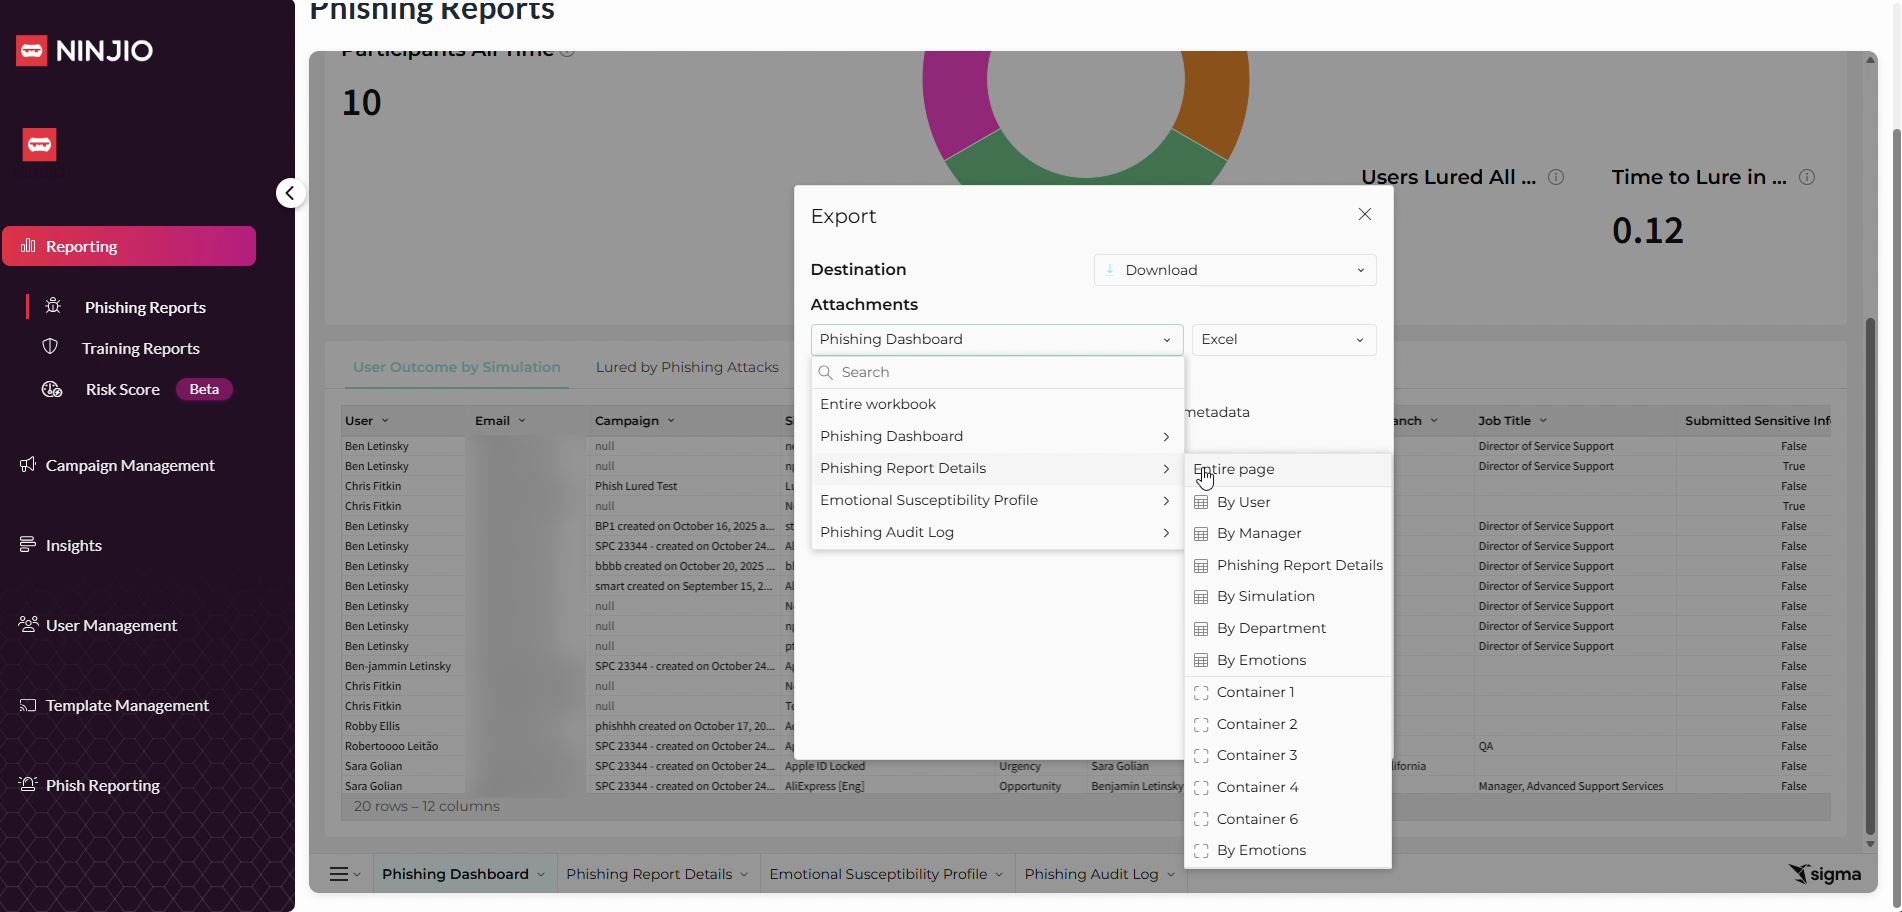
Step 4: If exporting report details, select your specific report, click Entire Page, and then choose Export.

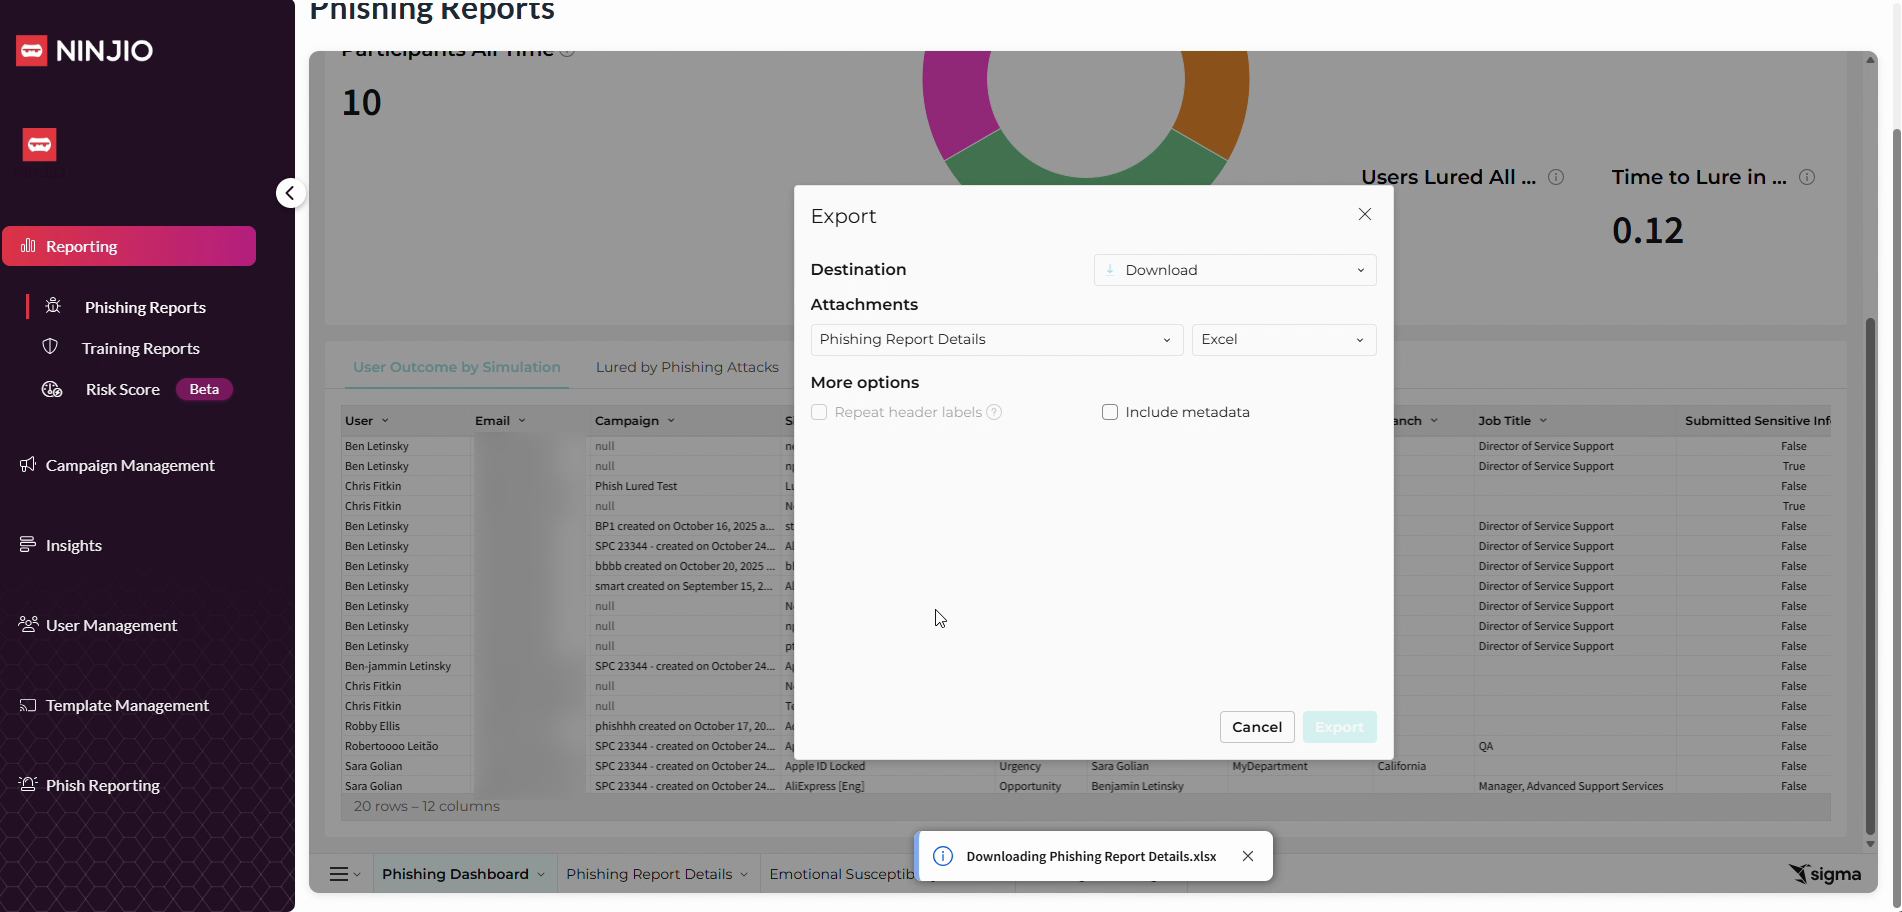
Step 5: The exported report will be sent in an XLSX file format.
For further assistance, contact support@ninjio.com.
Comments
0 comments
Please sign in to leave a comment.